Black Diamond Makes Chew Toys
This week I sat down to repairing cork handles on some trekking poles that have been languishing in my gear room. Last season my wife and I were out enjoying scenic Colorado hiking in the high country. The weather had come in, and we were appropriate bundled in gloves and multiple layers, using our trekking poles for a little extra traction. We lacked microspikes and it wasn’t bad enough for crampons so the poles made do. The hike went well, and we came home and put our gear in the living room in a heap. Poles and backpacks on the floor, gloves, hats, and warmth layers on the table.
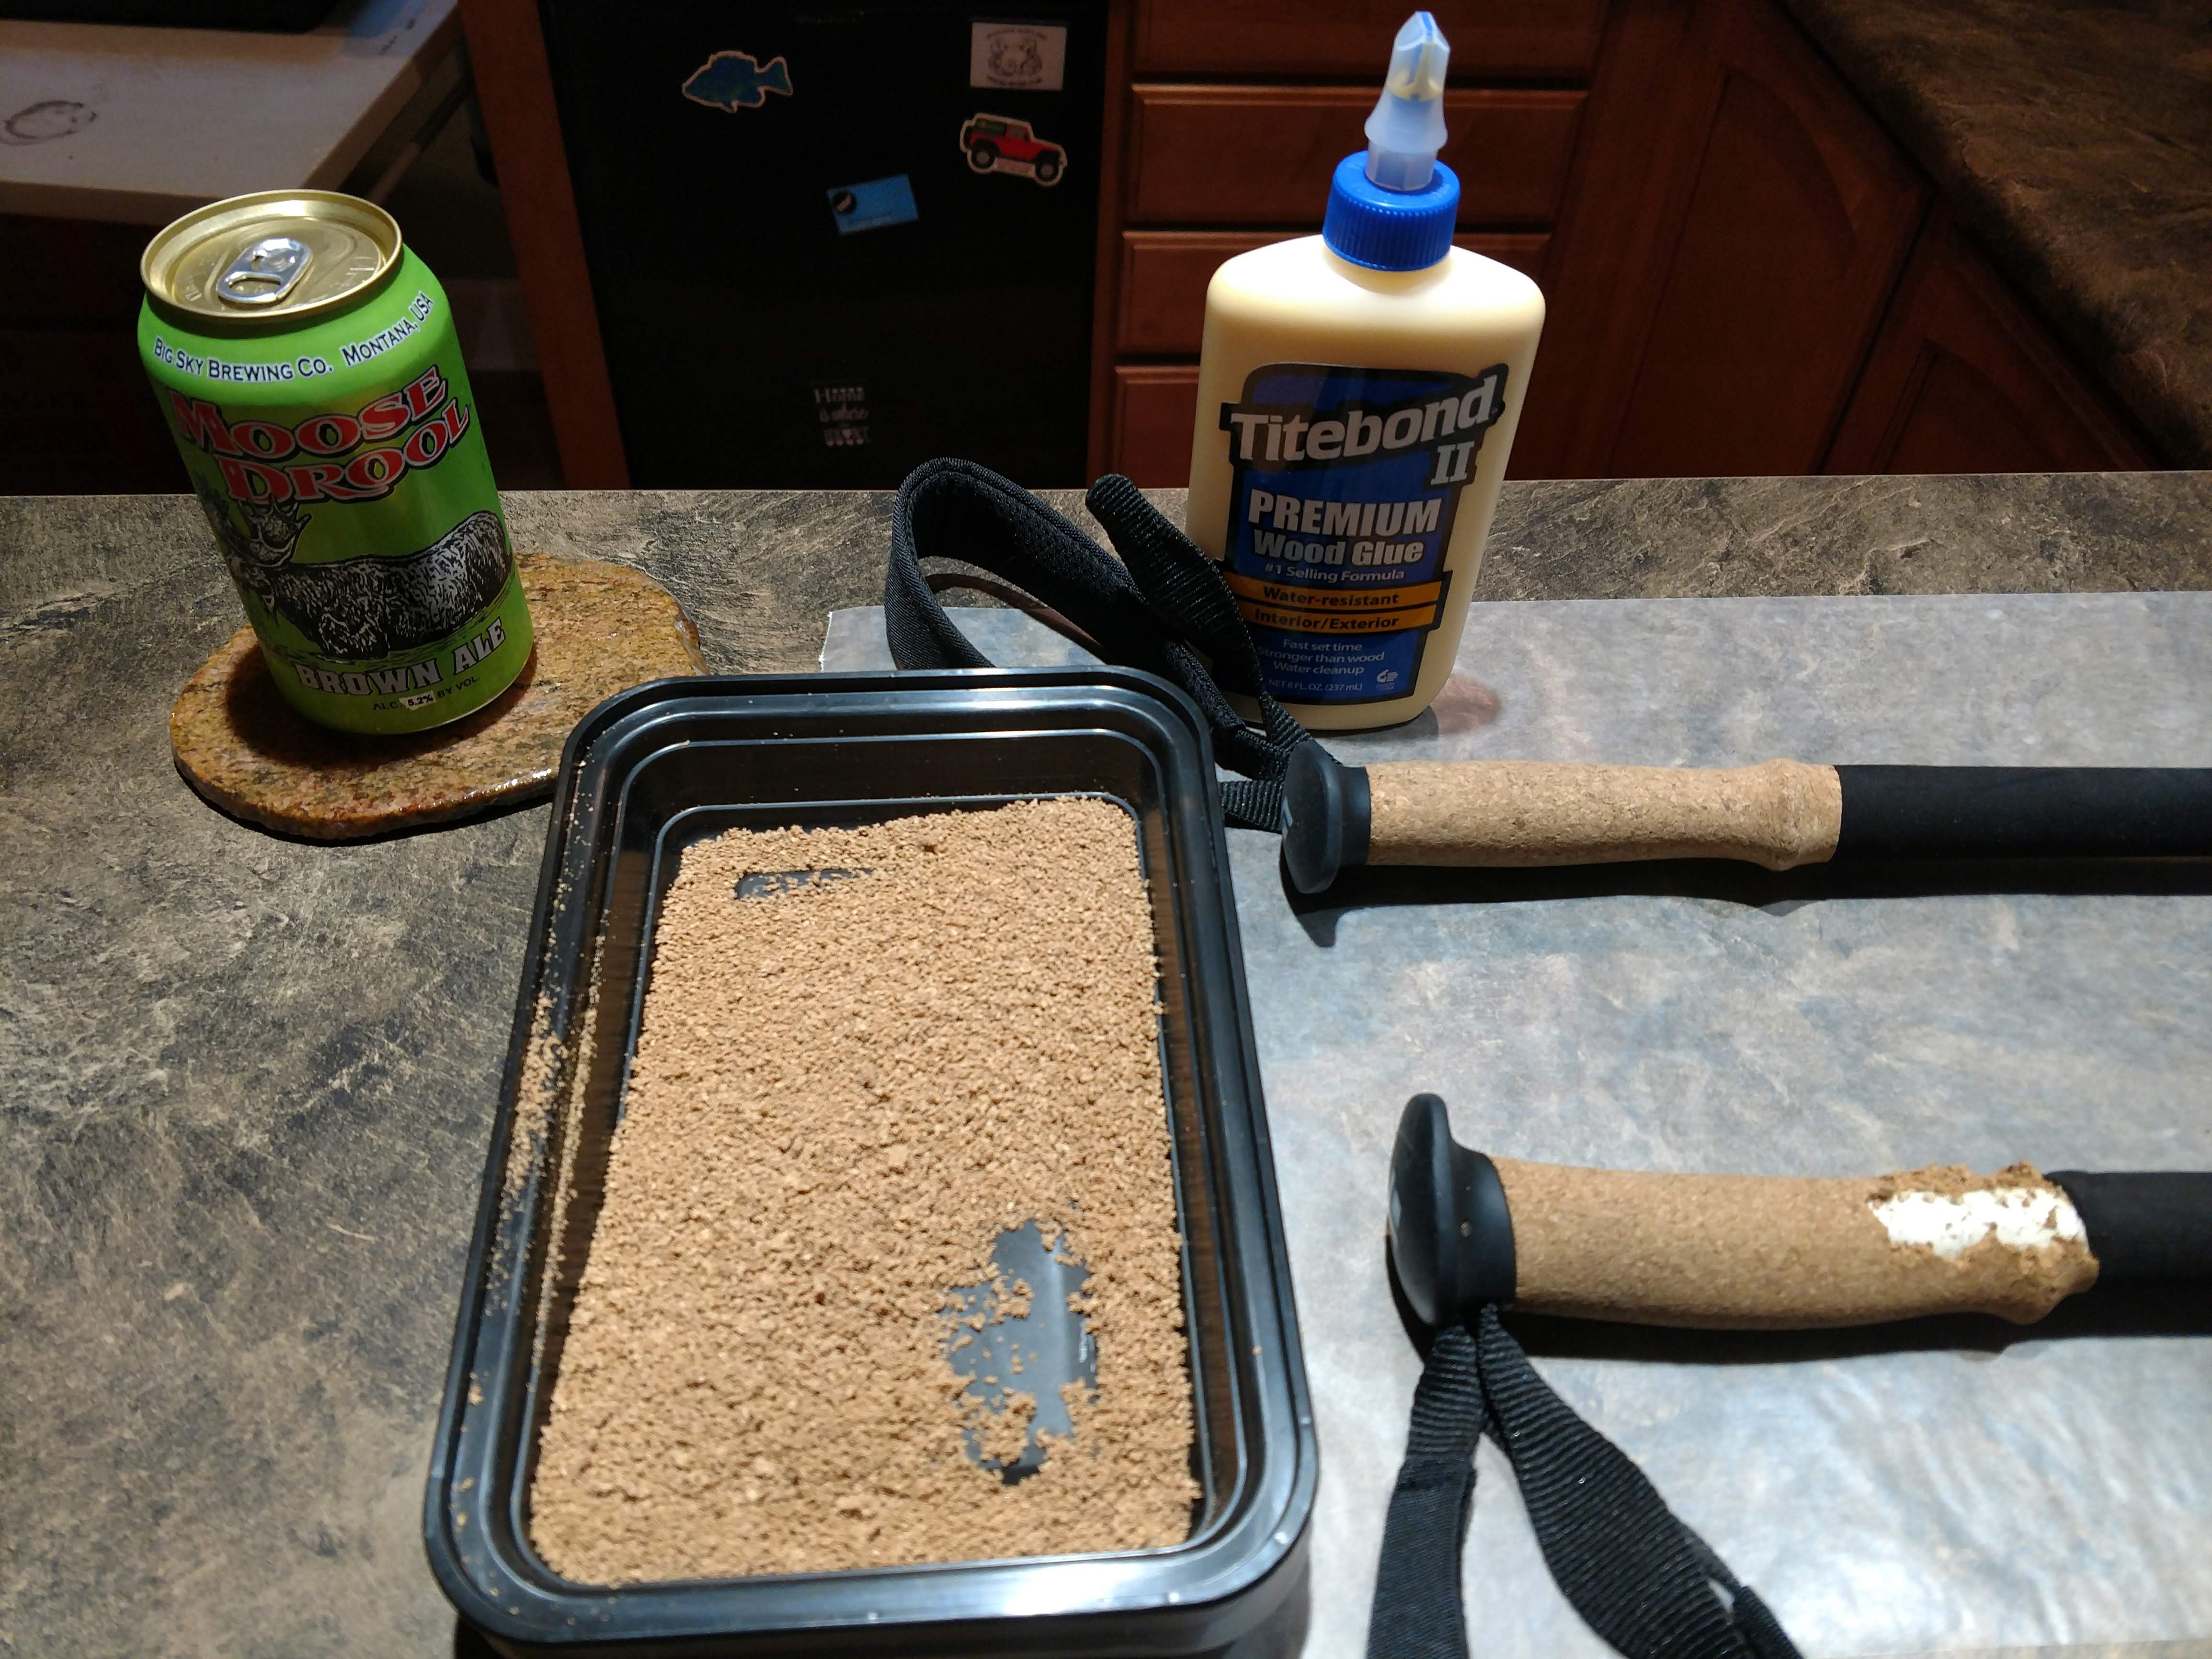
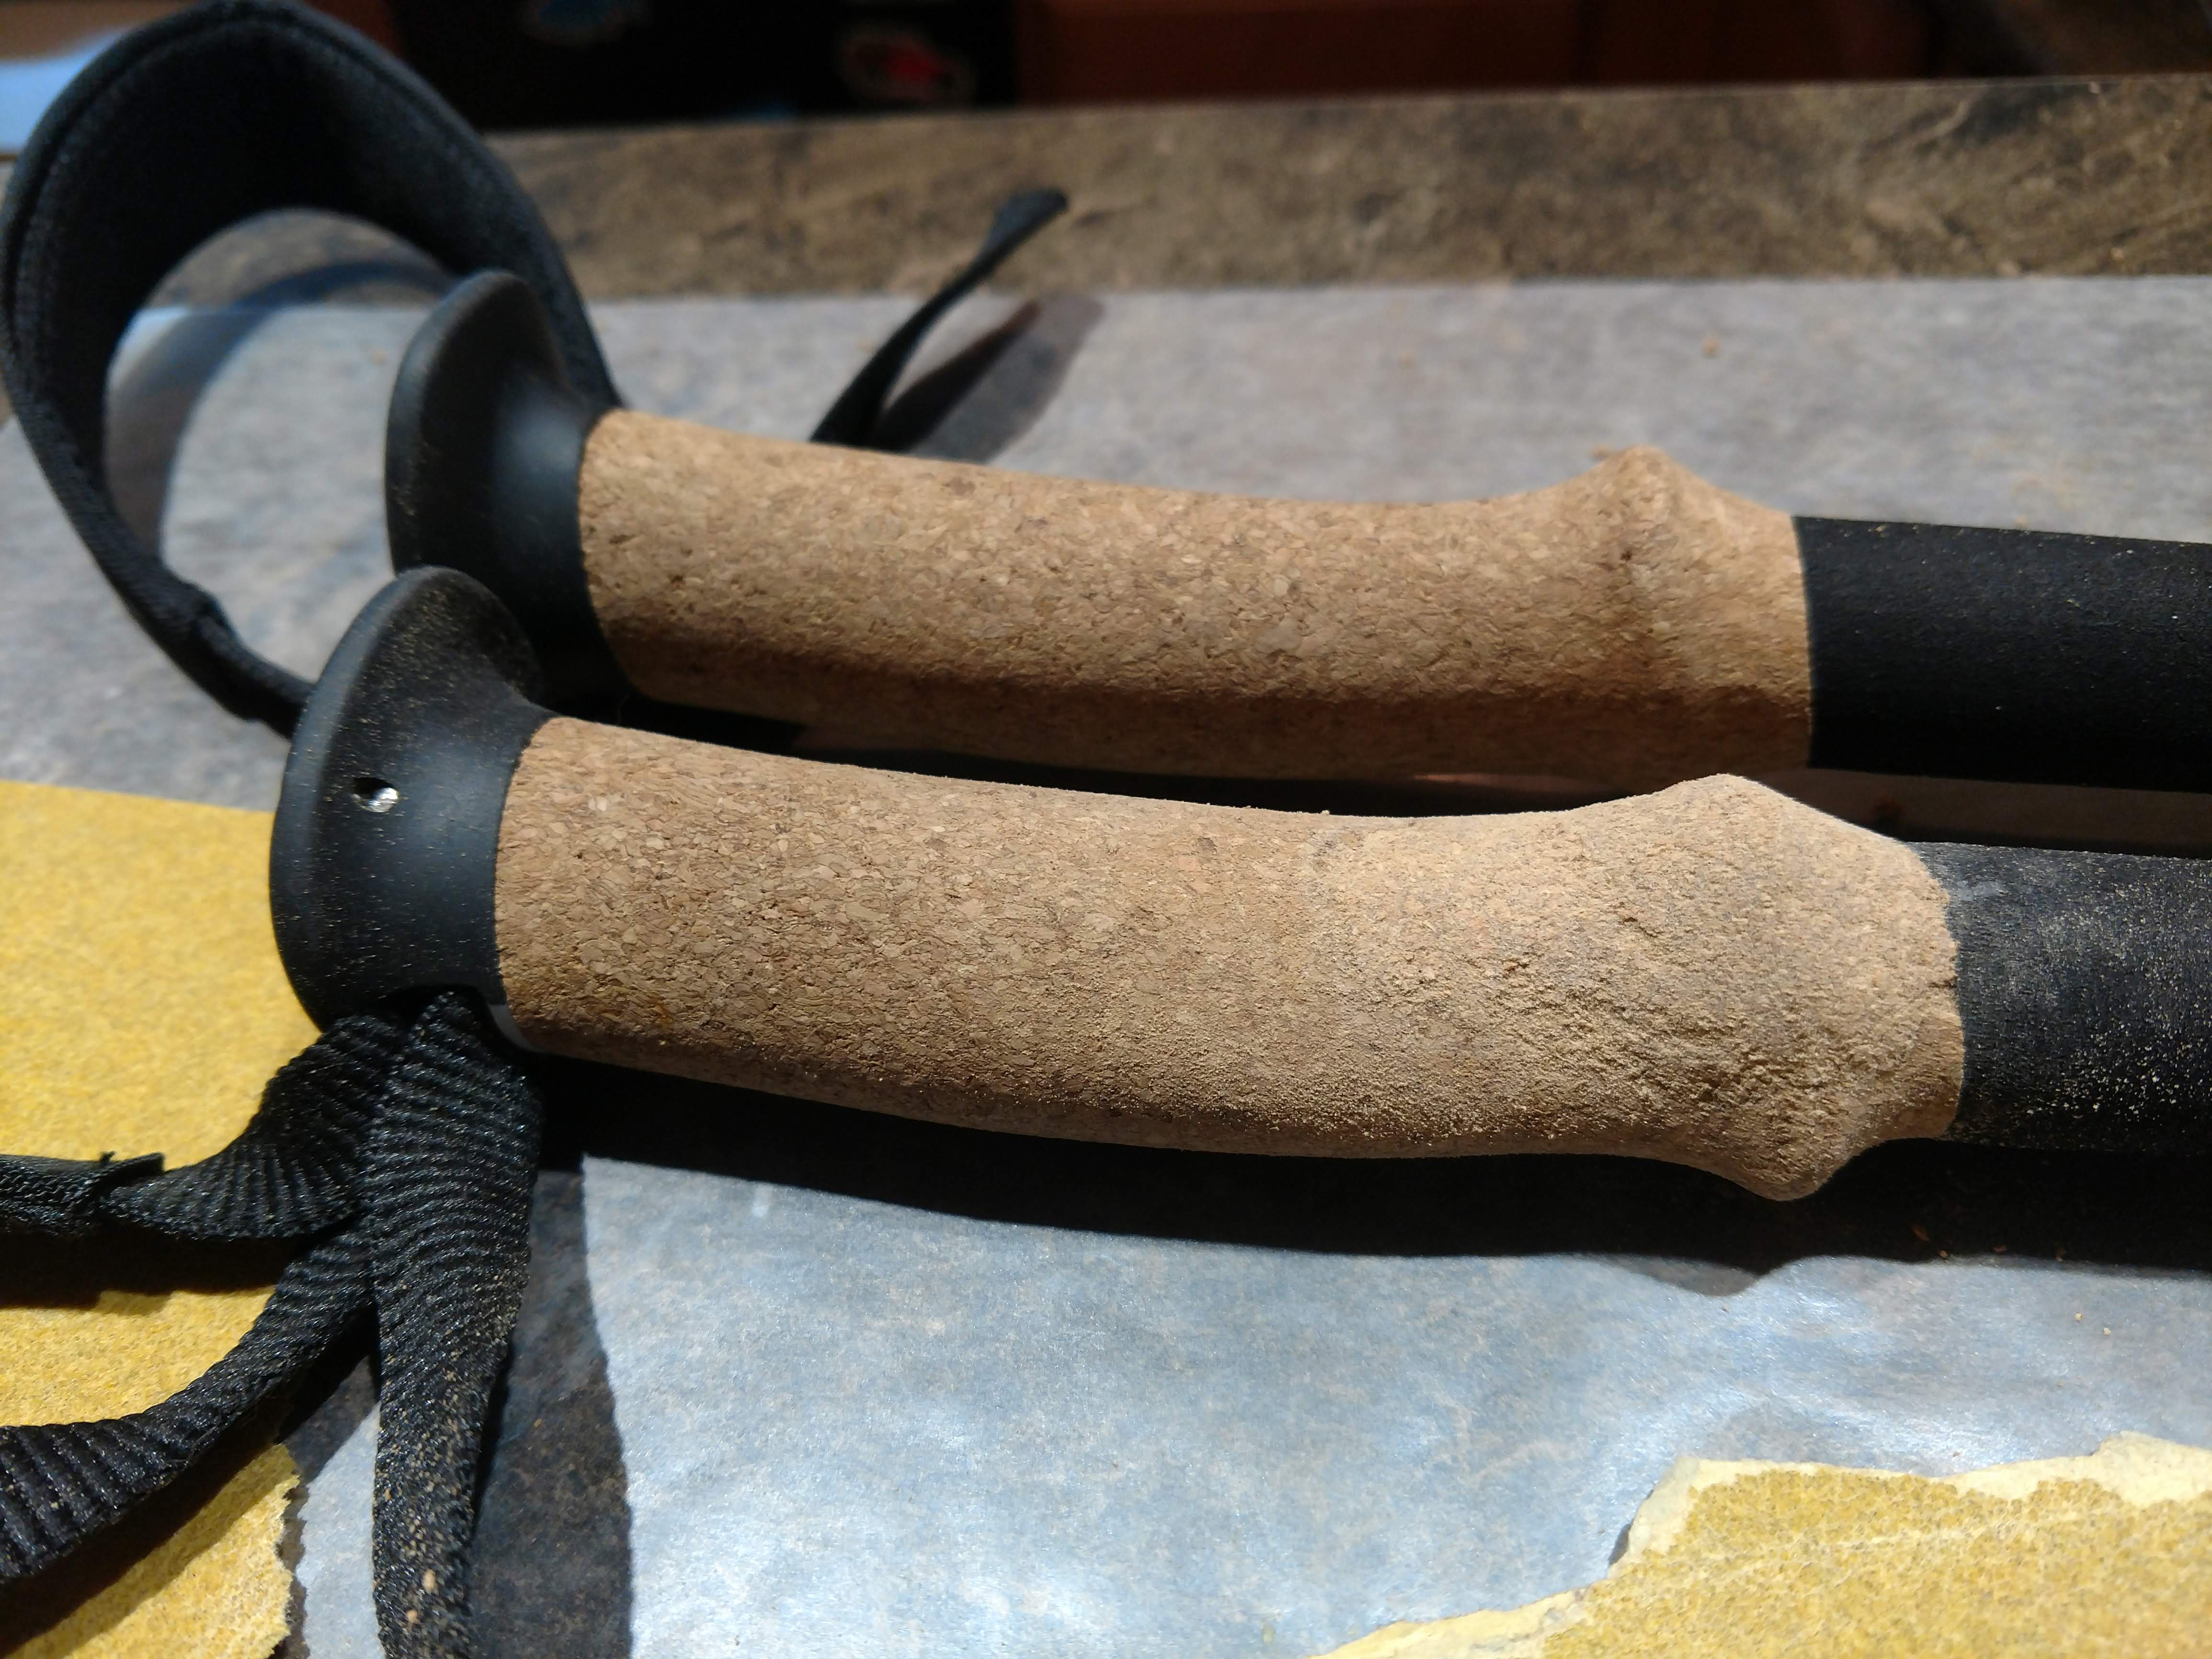
The next morning when I went to put away our gear downstairs in our gear room I picked up my wife’s trekking poles and noticed our dogAbbey had destroyed the cork handles on one of the sets of poles. It turned out that one of us had used our hunting gloves, smelling awfully birdy, to handle the trekking poles we’d purchased just that season. As it would happen, having your Gordon Setter slobber and chew on the Black Diamond Alpine Cork Carbon trekking poles is not necessarily covered under warranty as ‘normal wear’.
Now inside until our Colorado Stay-At-Home order expires I’ve been gifted some time to tinker. I never threw away the trekking poles, though I did replace my wife’s pair. Now we’ve got three pair, and it’s time to sit down and get to repairing the cork on the broken and dog-chewed set.
What you need
In order to get started on this project you’ll need to assemble some fairly basic tools.
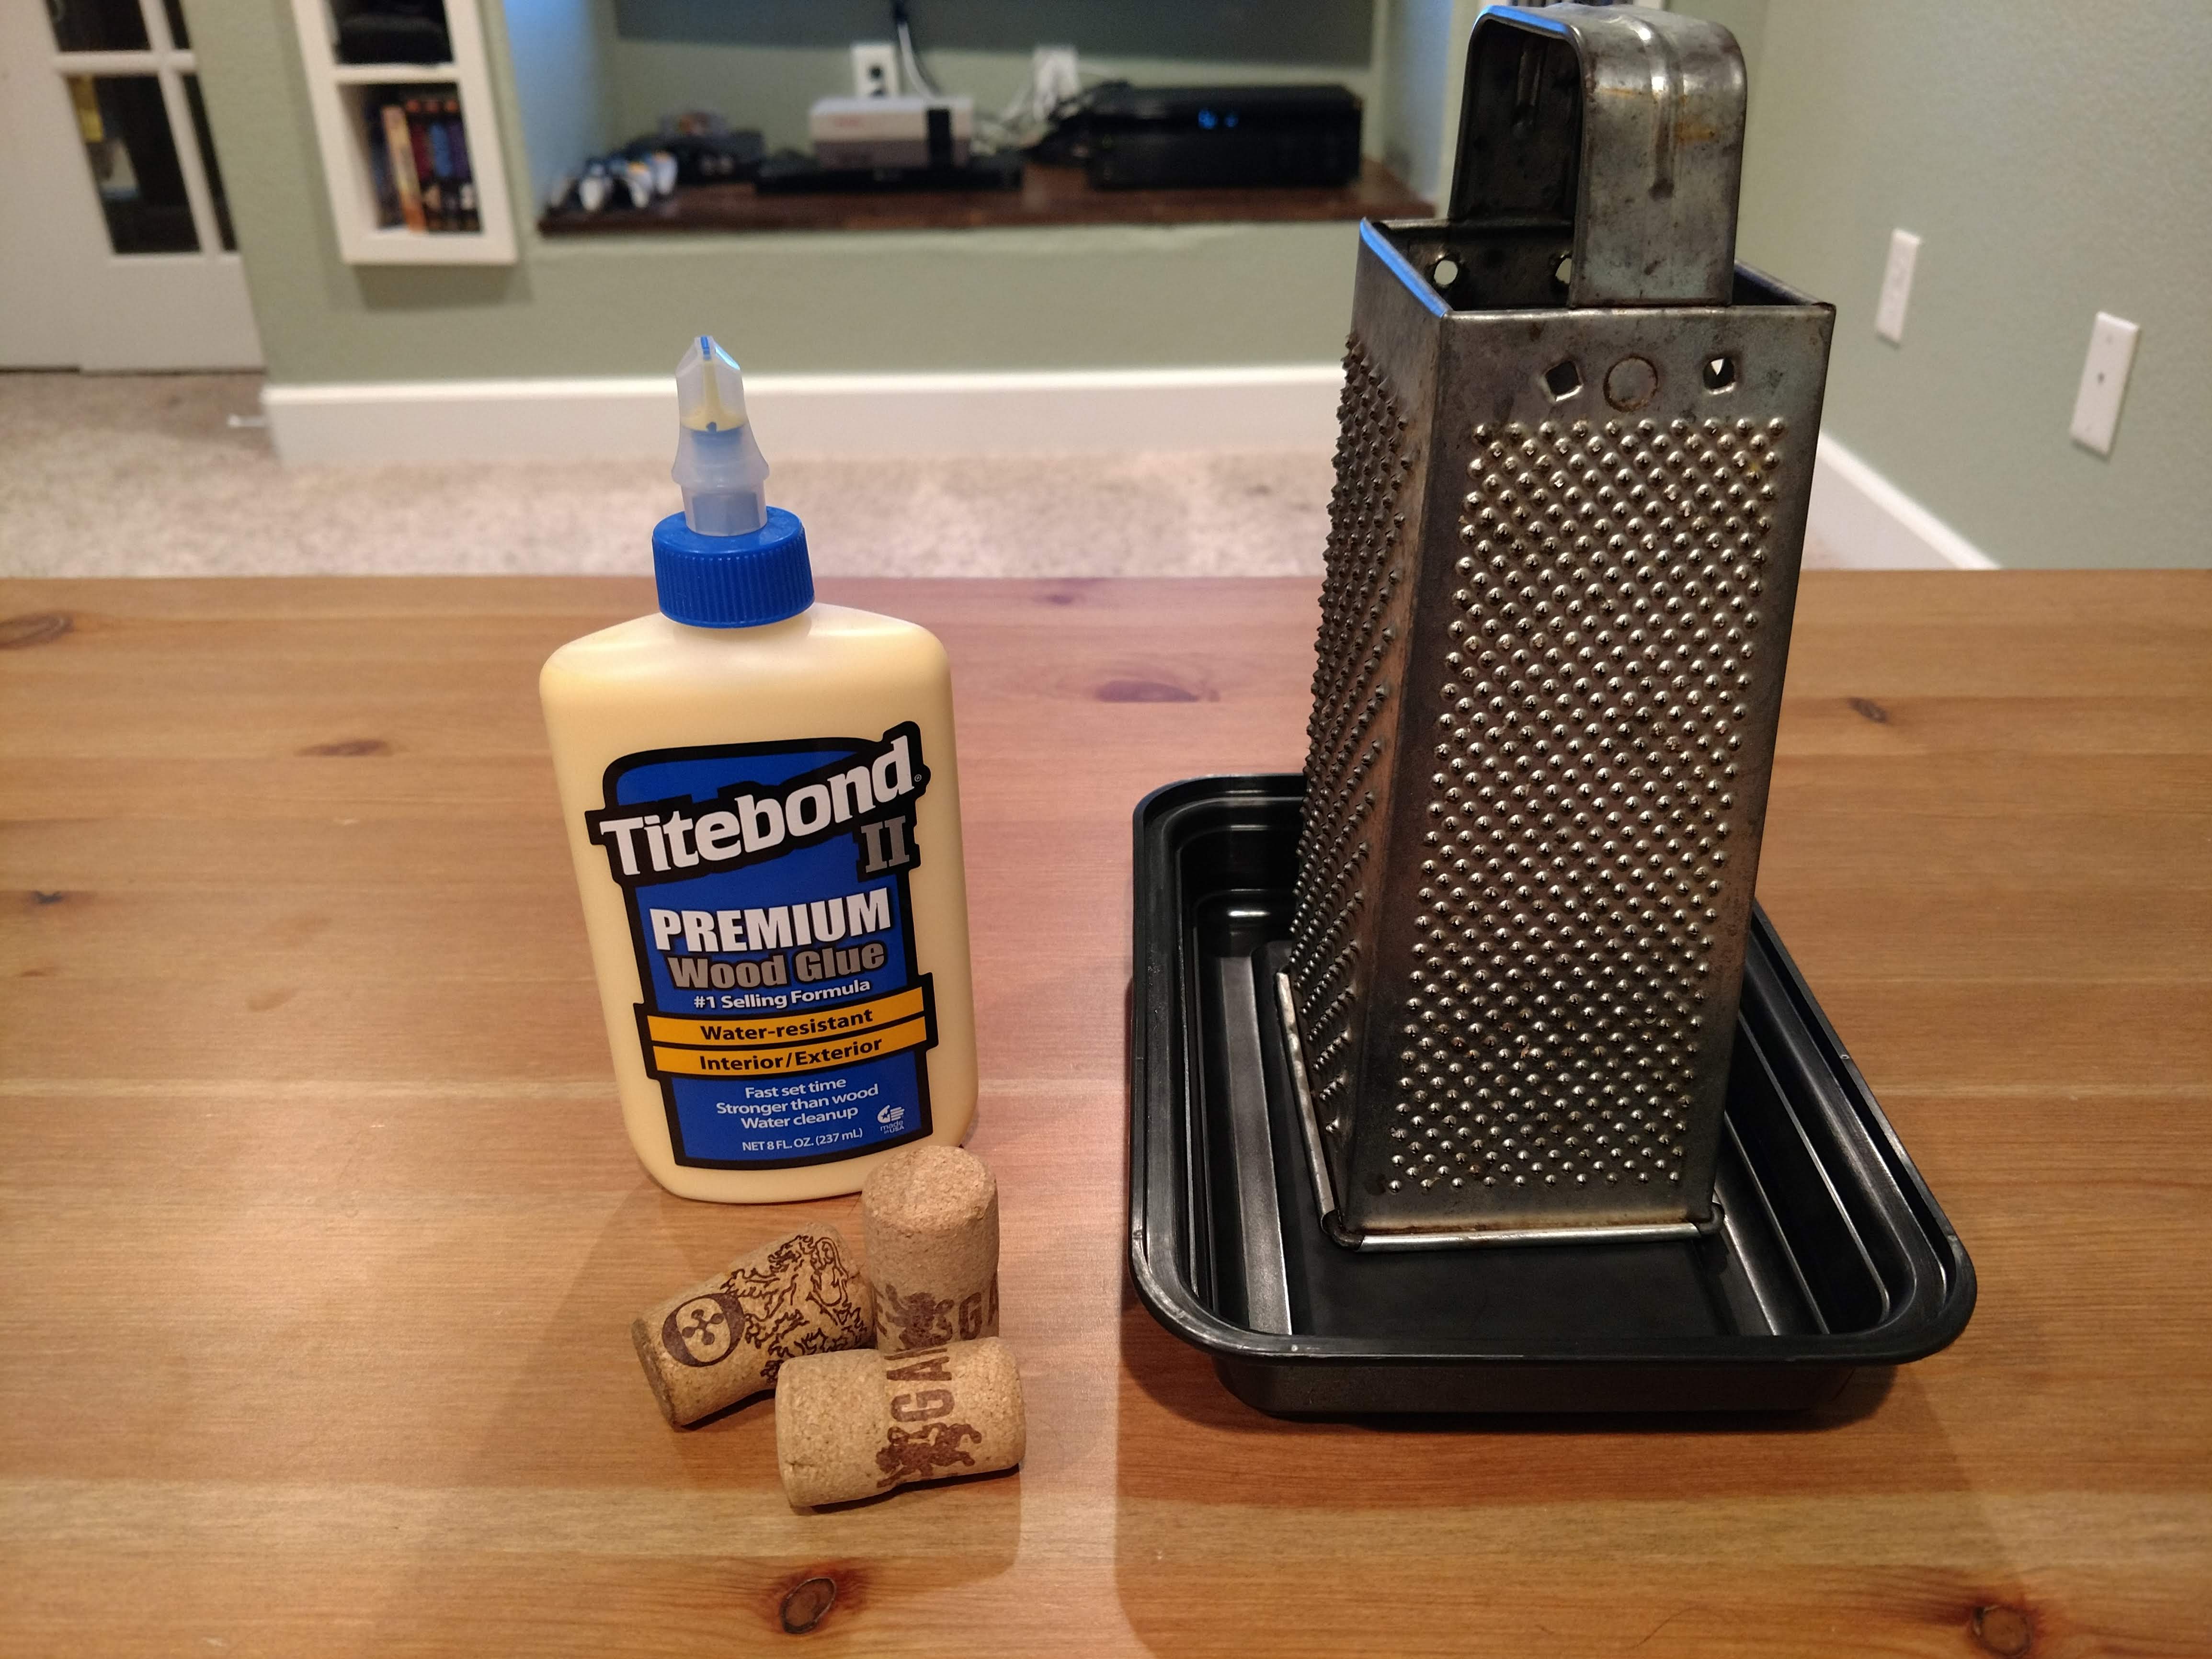
- Plastic takeout container
- Box grater
- 1-2 Natural wine or beer corks
- Time
- Wood Glue (I like Titebond II Premium)
- Wax Paper
- Fine Grit Sandpaper
It’s Not a Problem
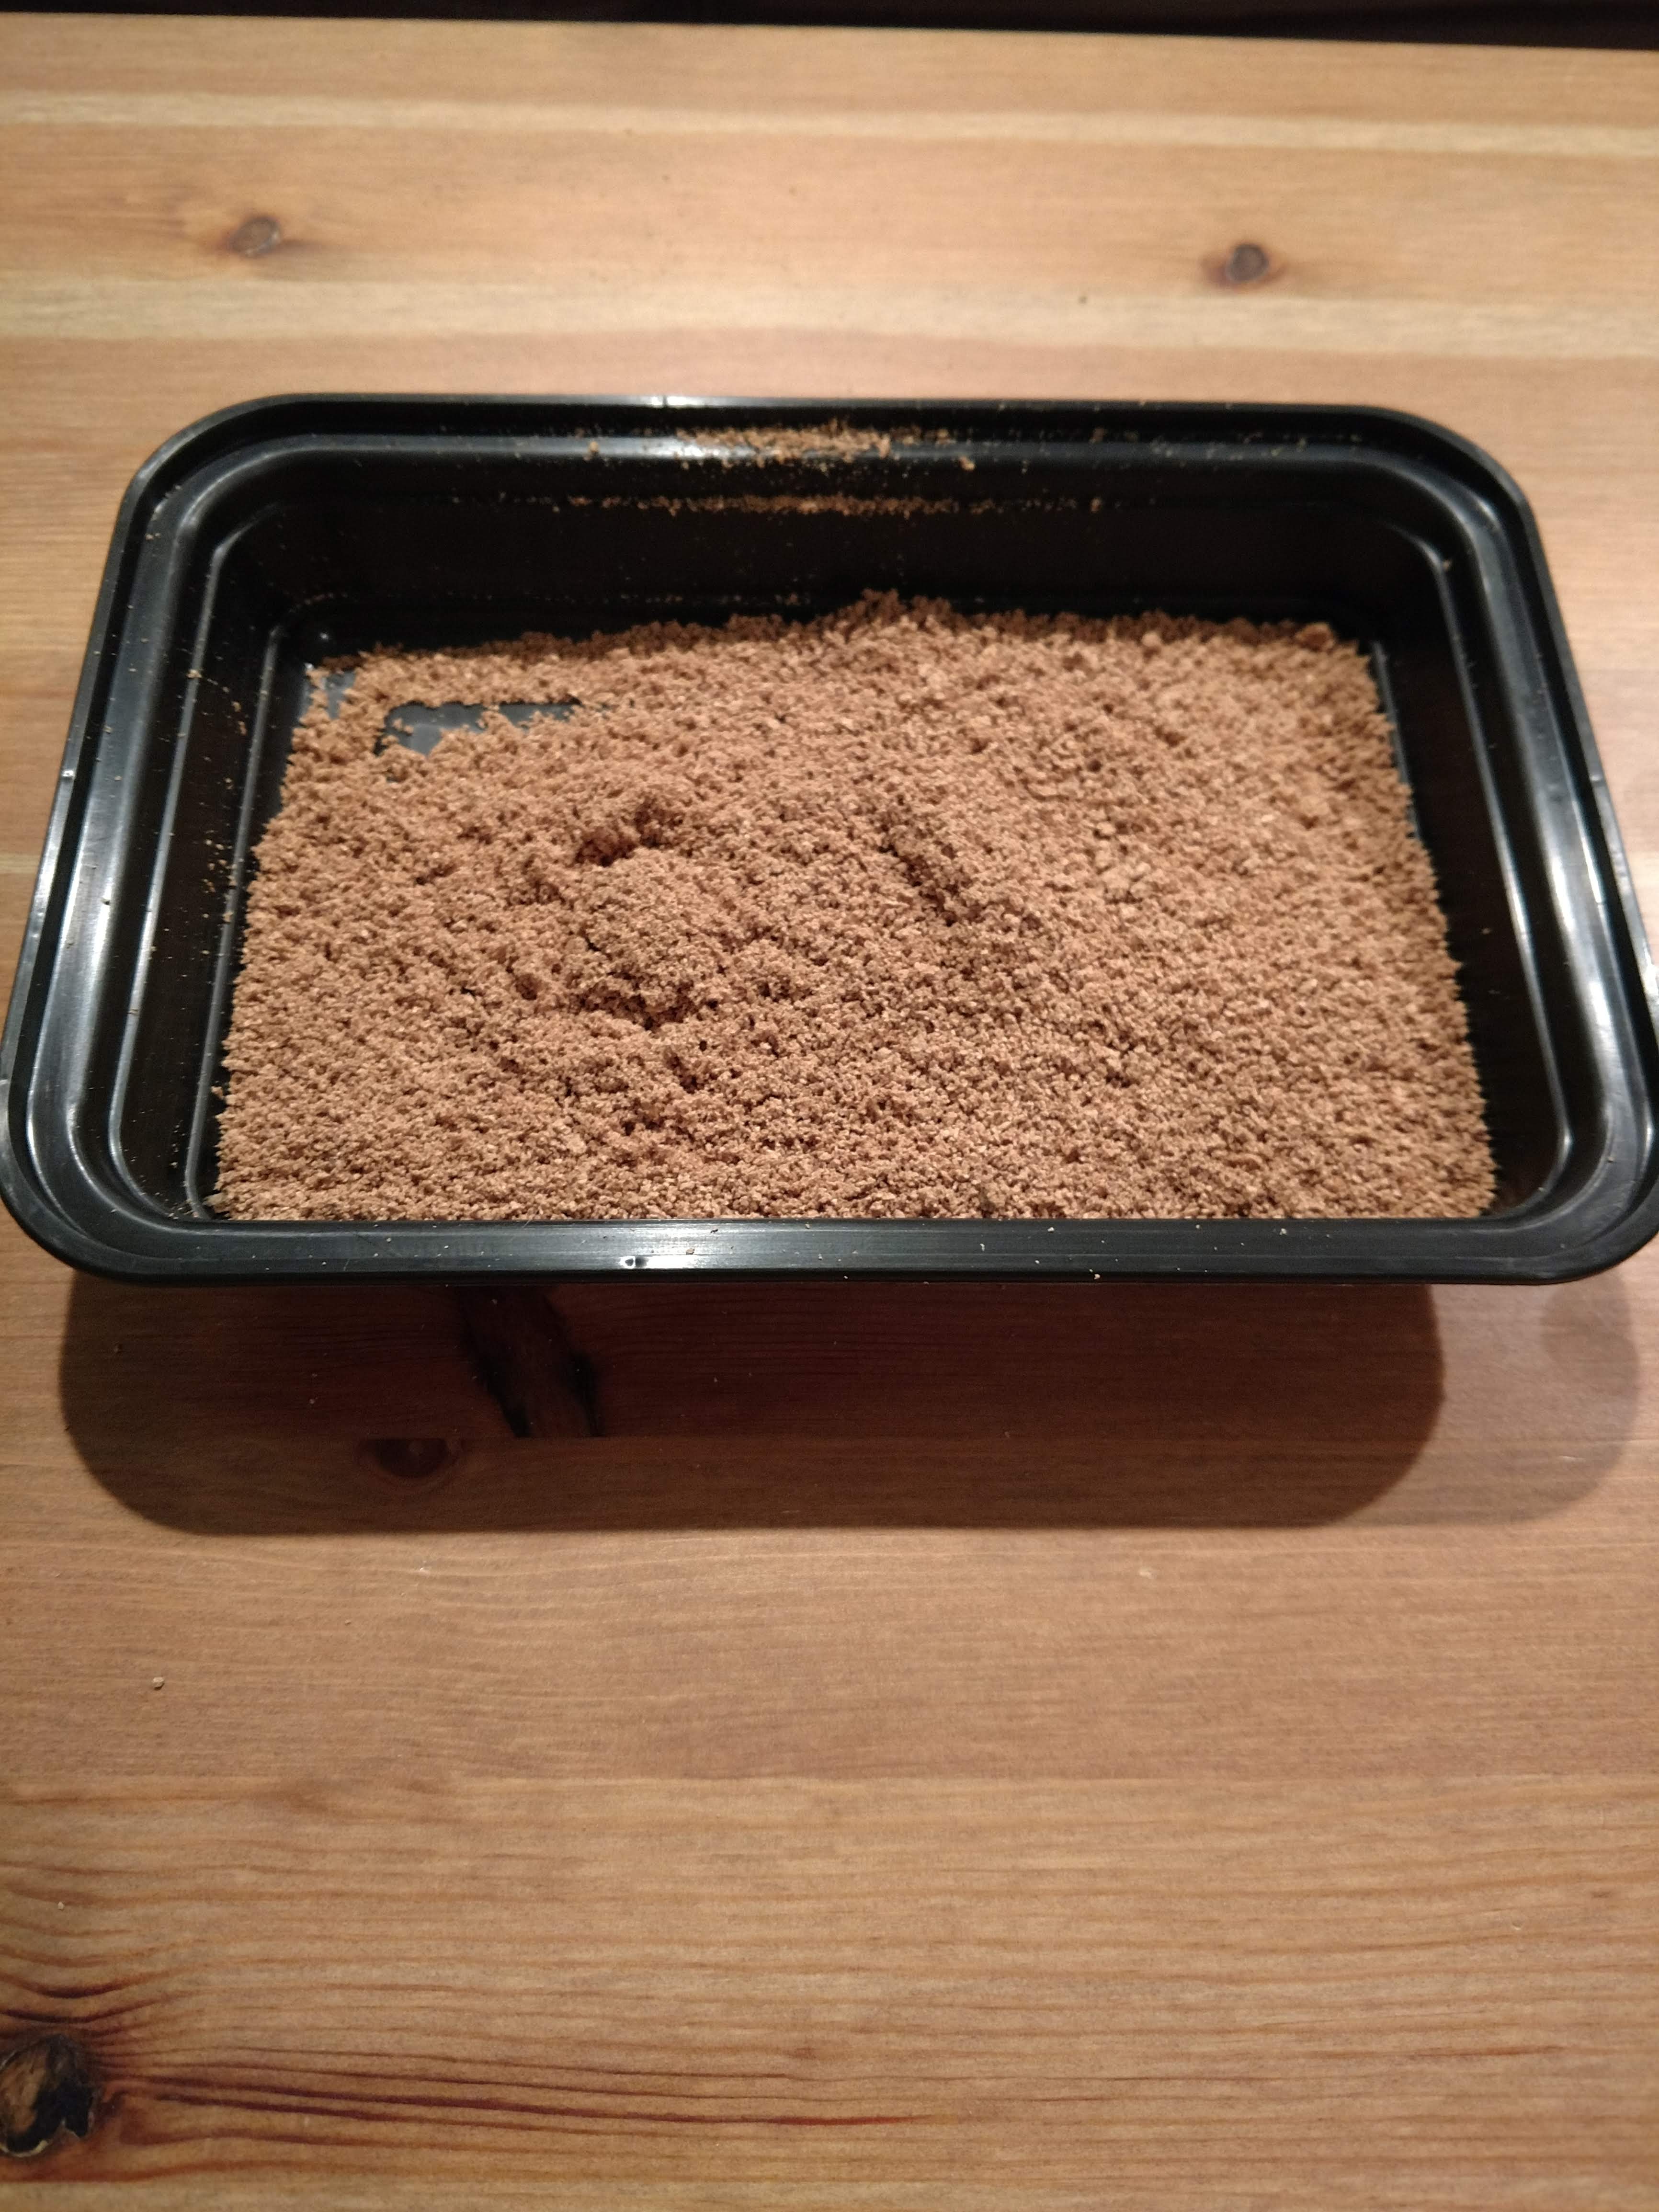
I will say that I’ve never been more thankful for having a bowl full of saved corks from wine and Belgian beer laying around. In order to start repairing your cork handled trekking poles you need to have some natural cork from some willing sacrifices donors. I happened to have some Ommegang brewery corks laying around. Here you take your box grater and go to town on one of the medium sized grind settings until you have a nice pile of cork shavings.
It’ll take a while to get a pile of shavings, so just take your time and throw something on the TV or on the radio. Working through the corks you’ll start to get a nice pile of roughly ground dust, making sure to keep your workspace clean grind right into the take out container and keep policing your area for errant cork bitsies.
Now the Real Work
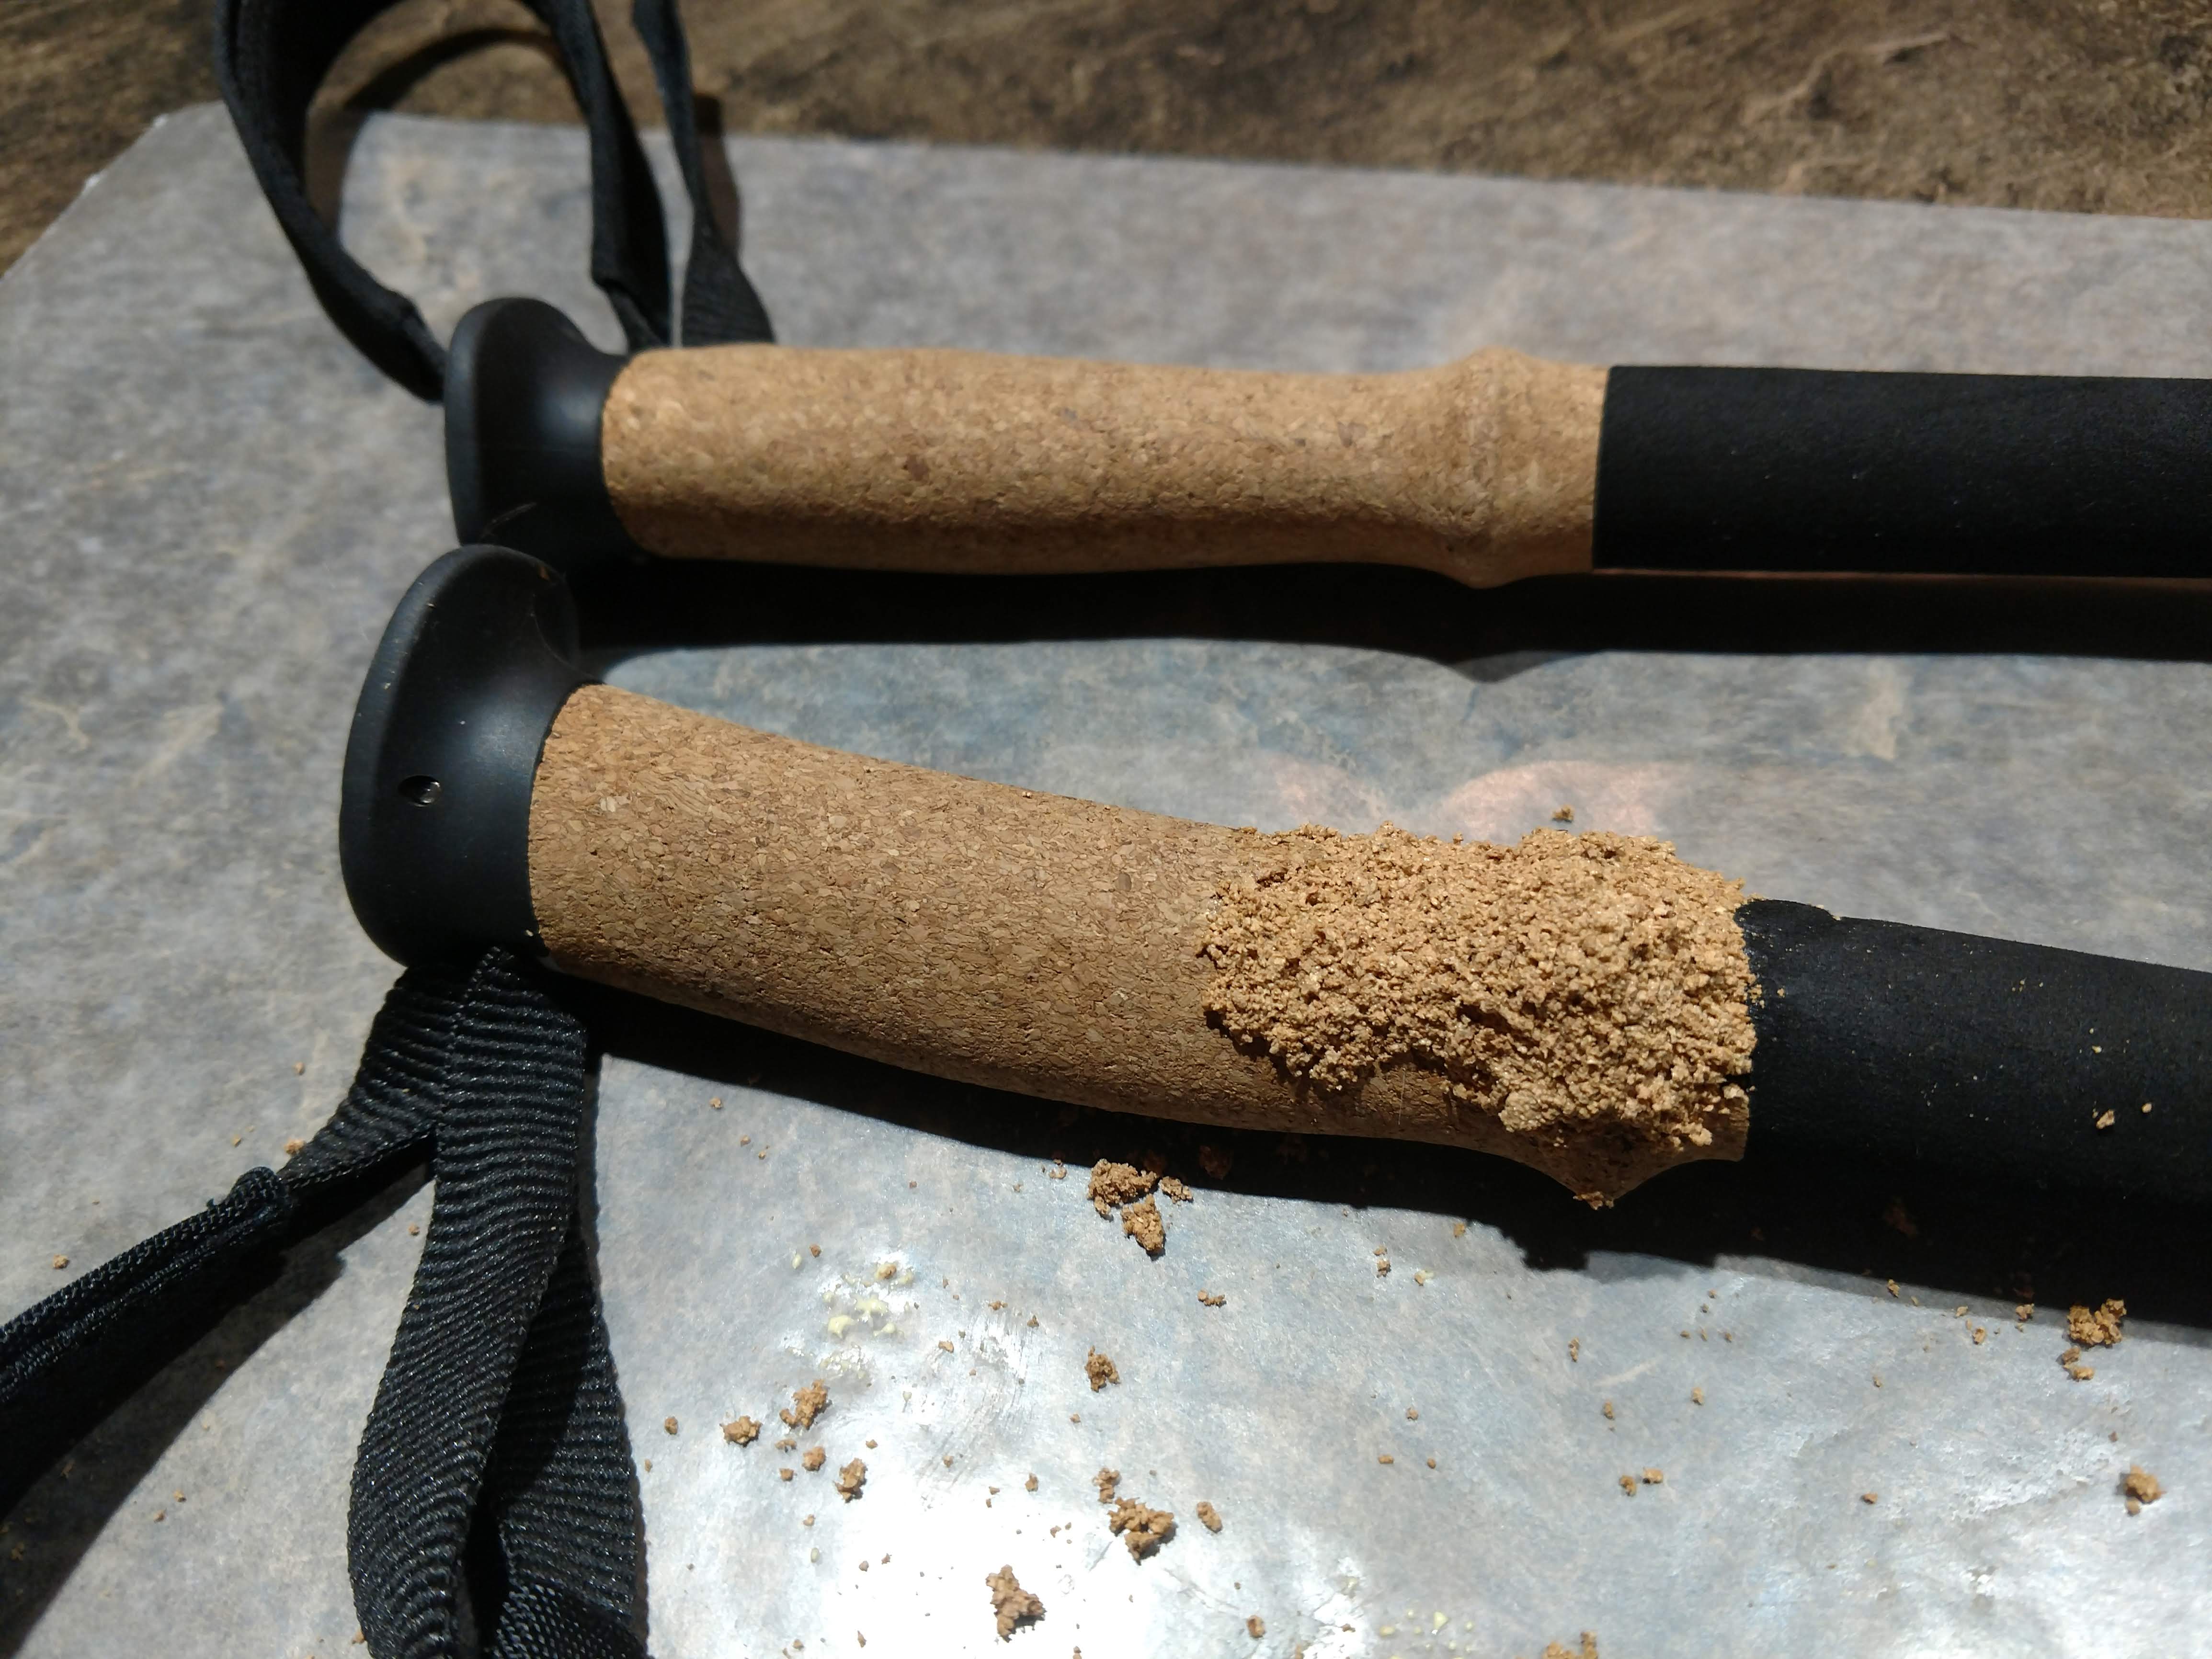
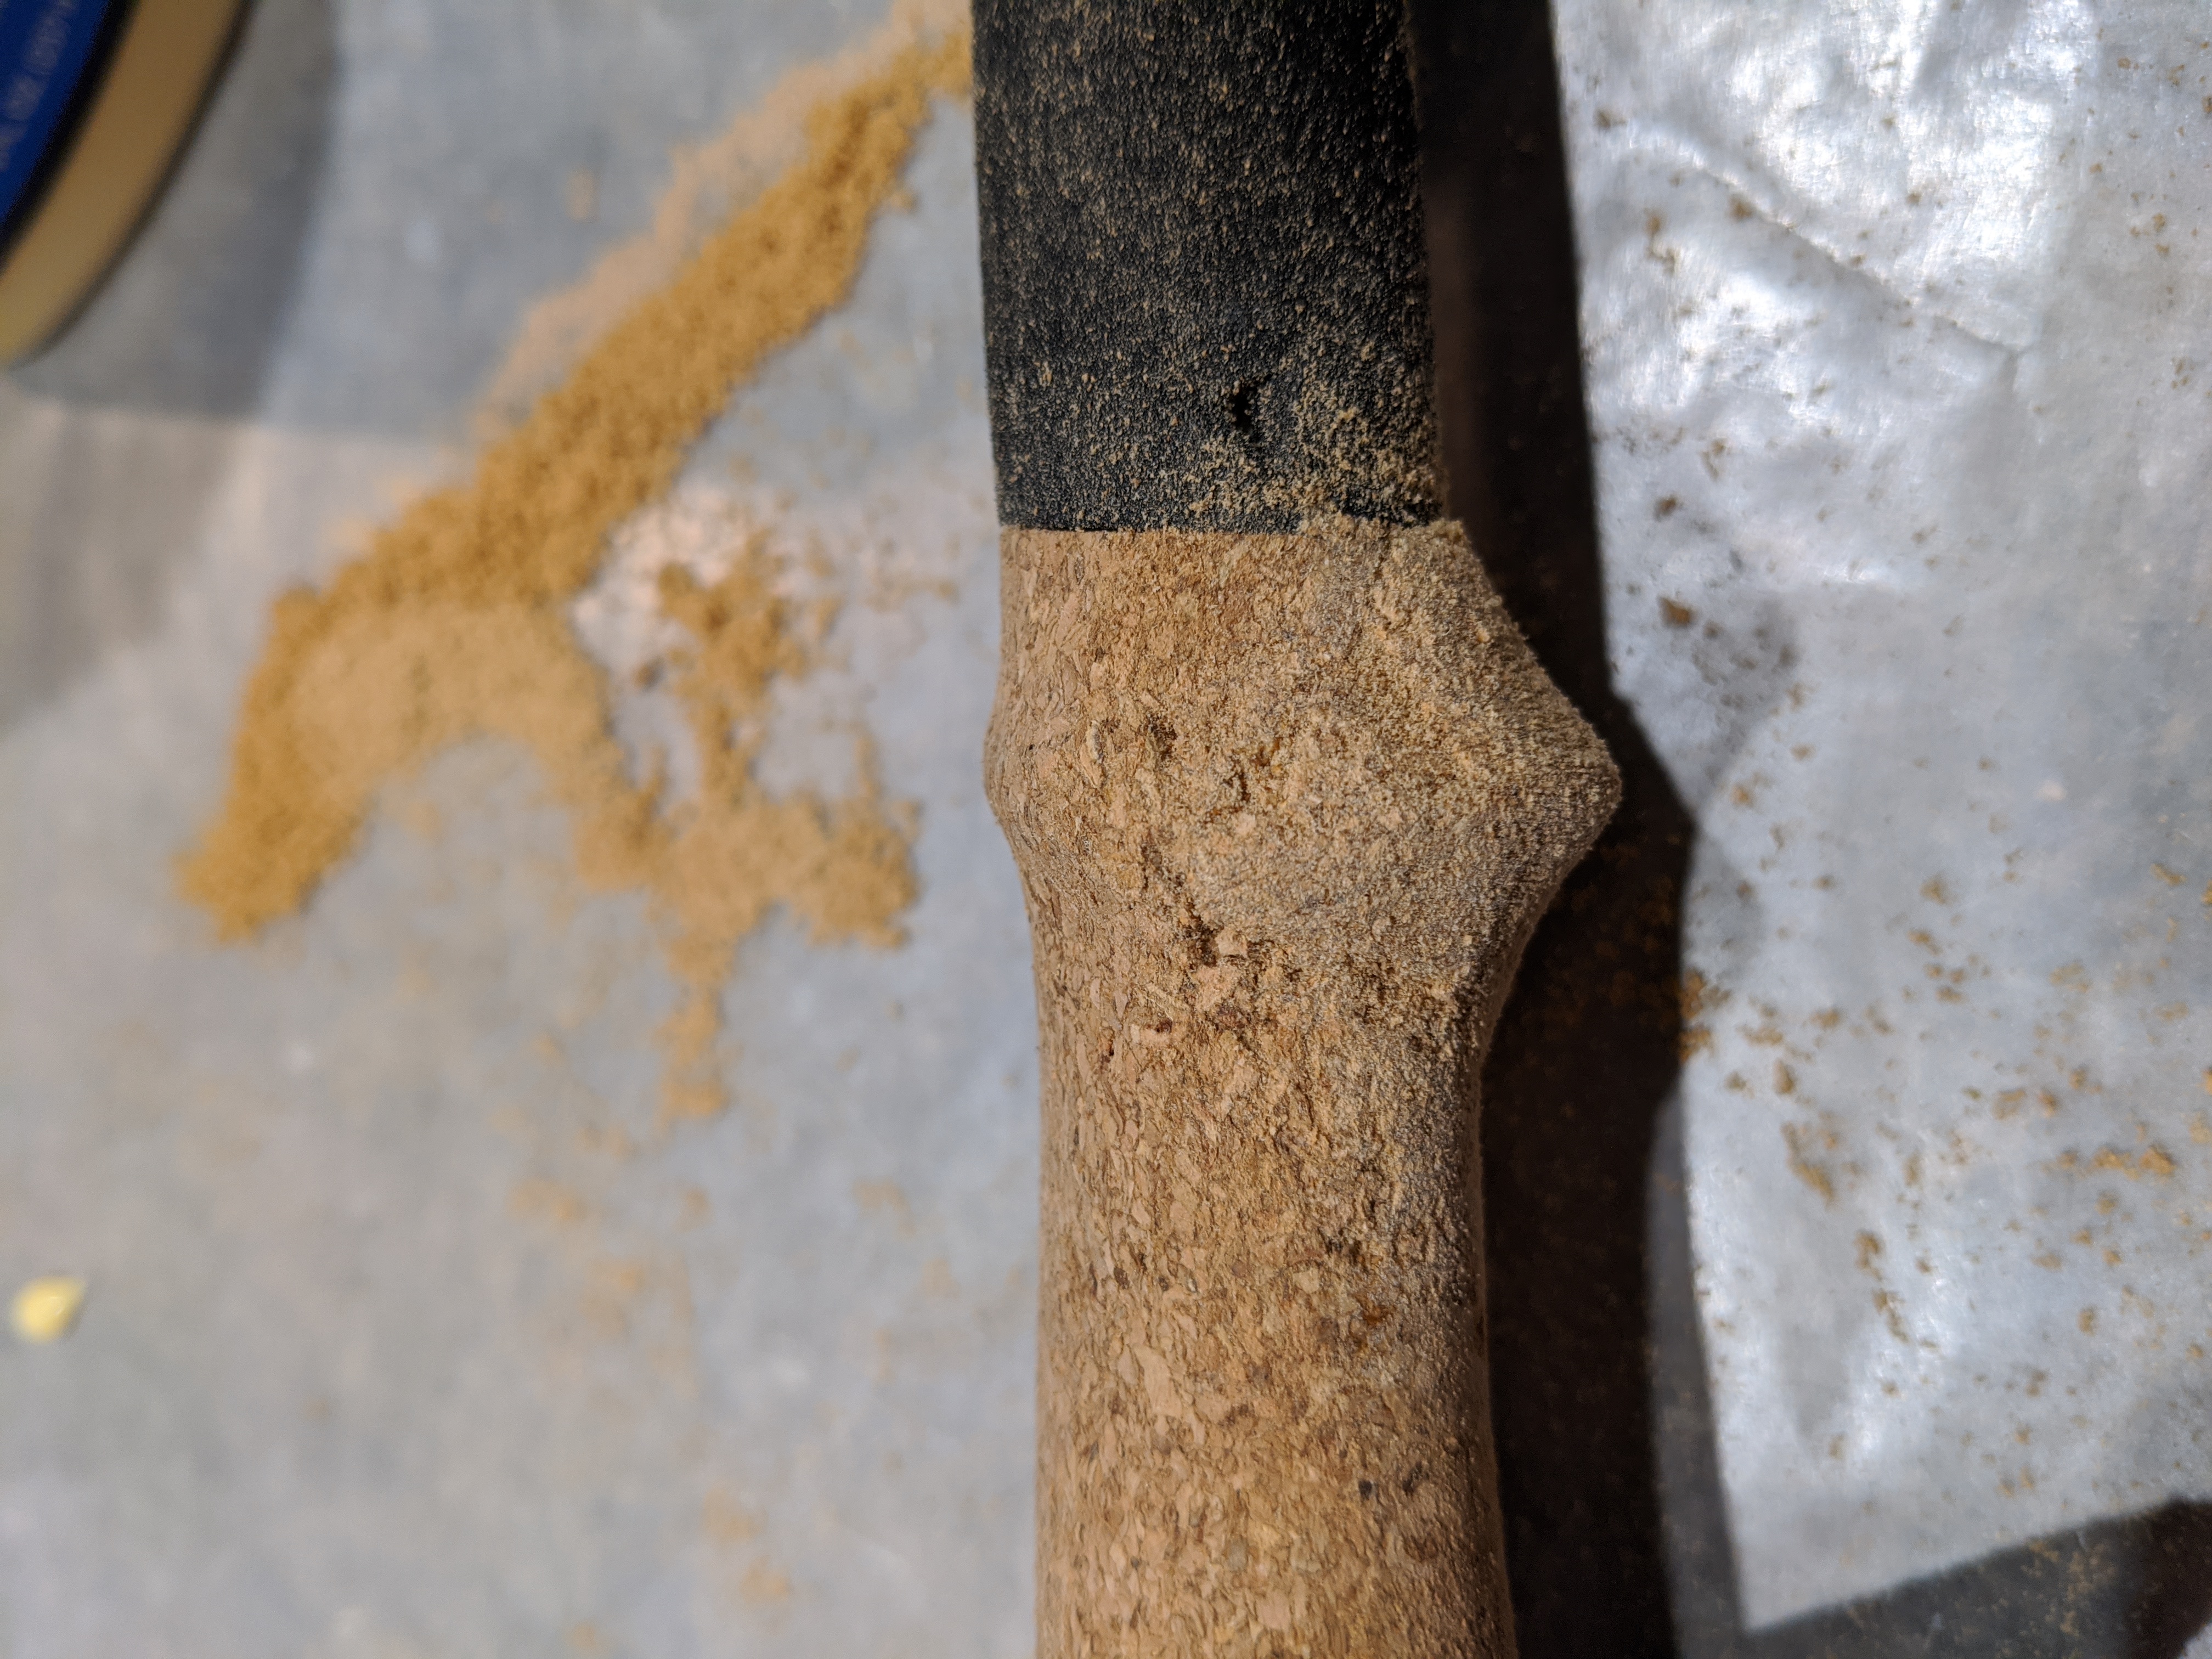
Once you have more dust than you think you could possibly use, lay down your sheet of wax paper on your work space and look at the handle of your trekking pole or fly rod. If the part that needs to be repaired is a little rough that’s okay. If there are pieces hanging then you might want to cut some of them free with a utility knife or an Exacto.
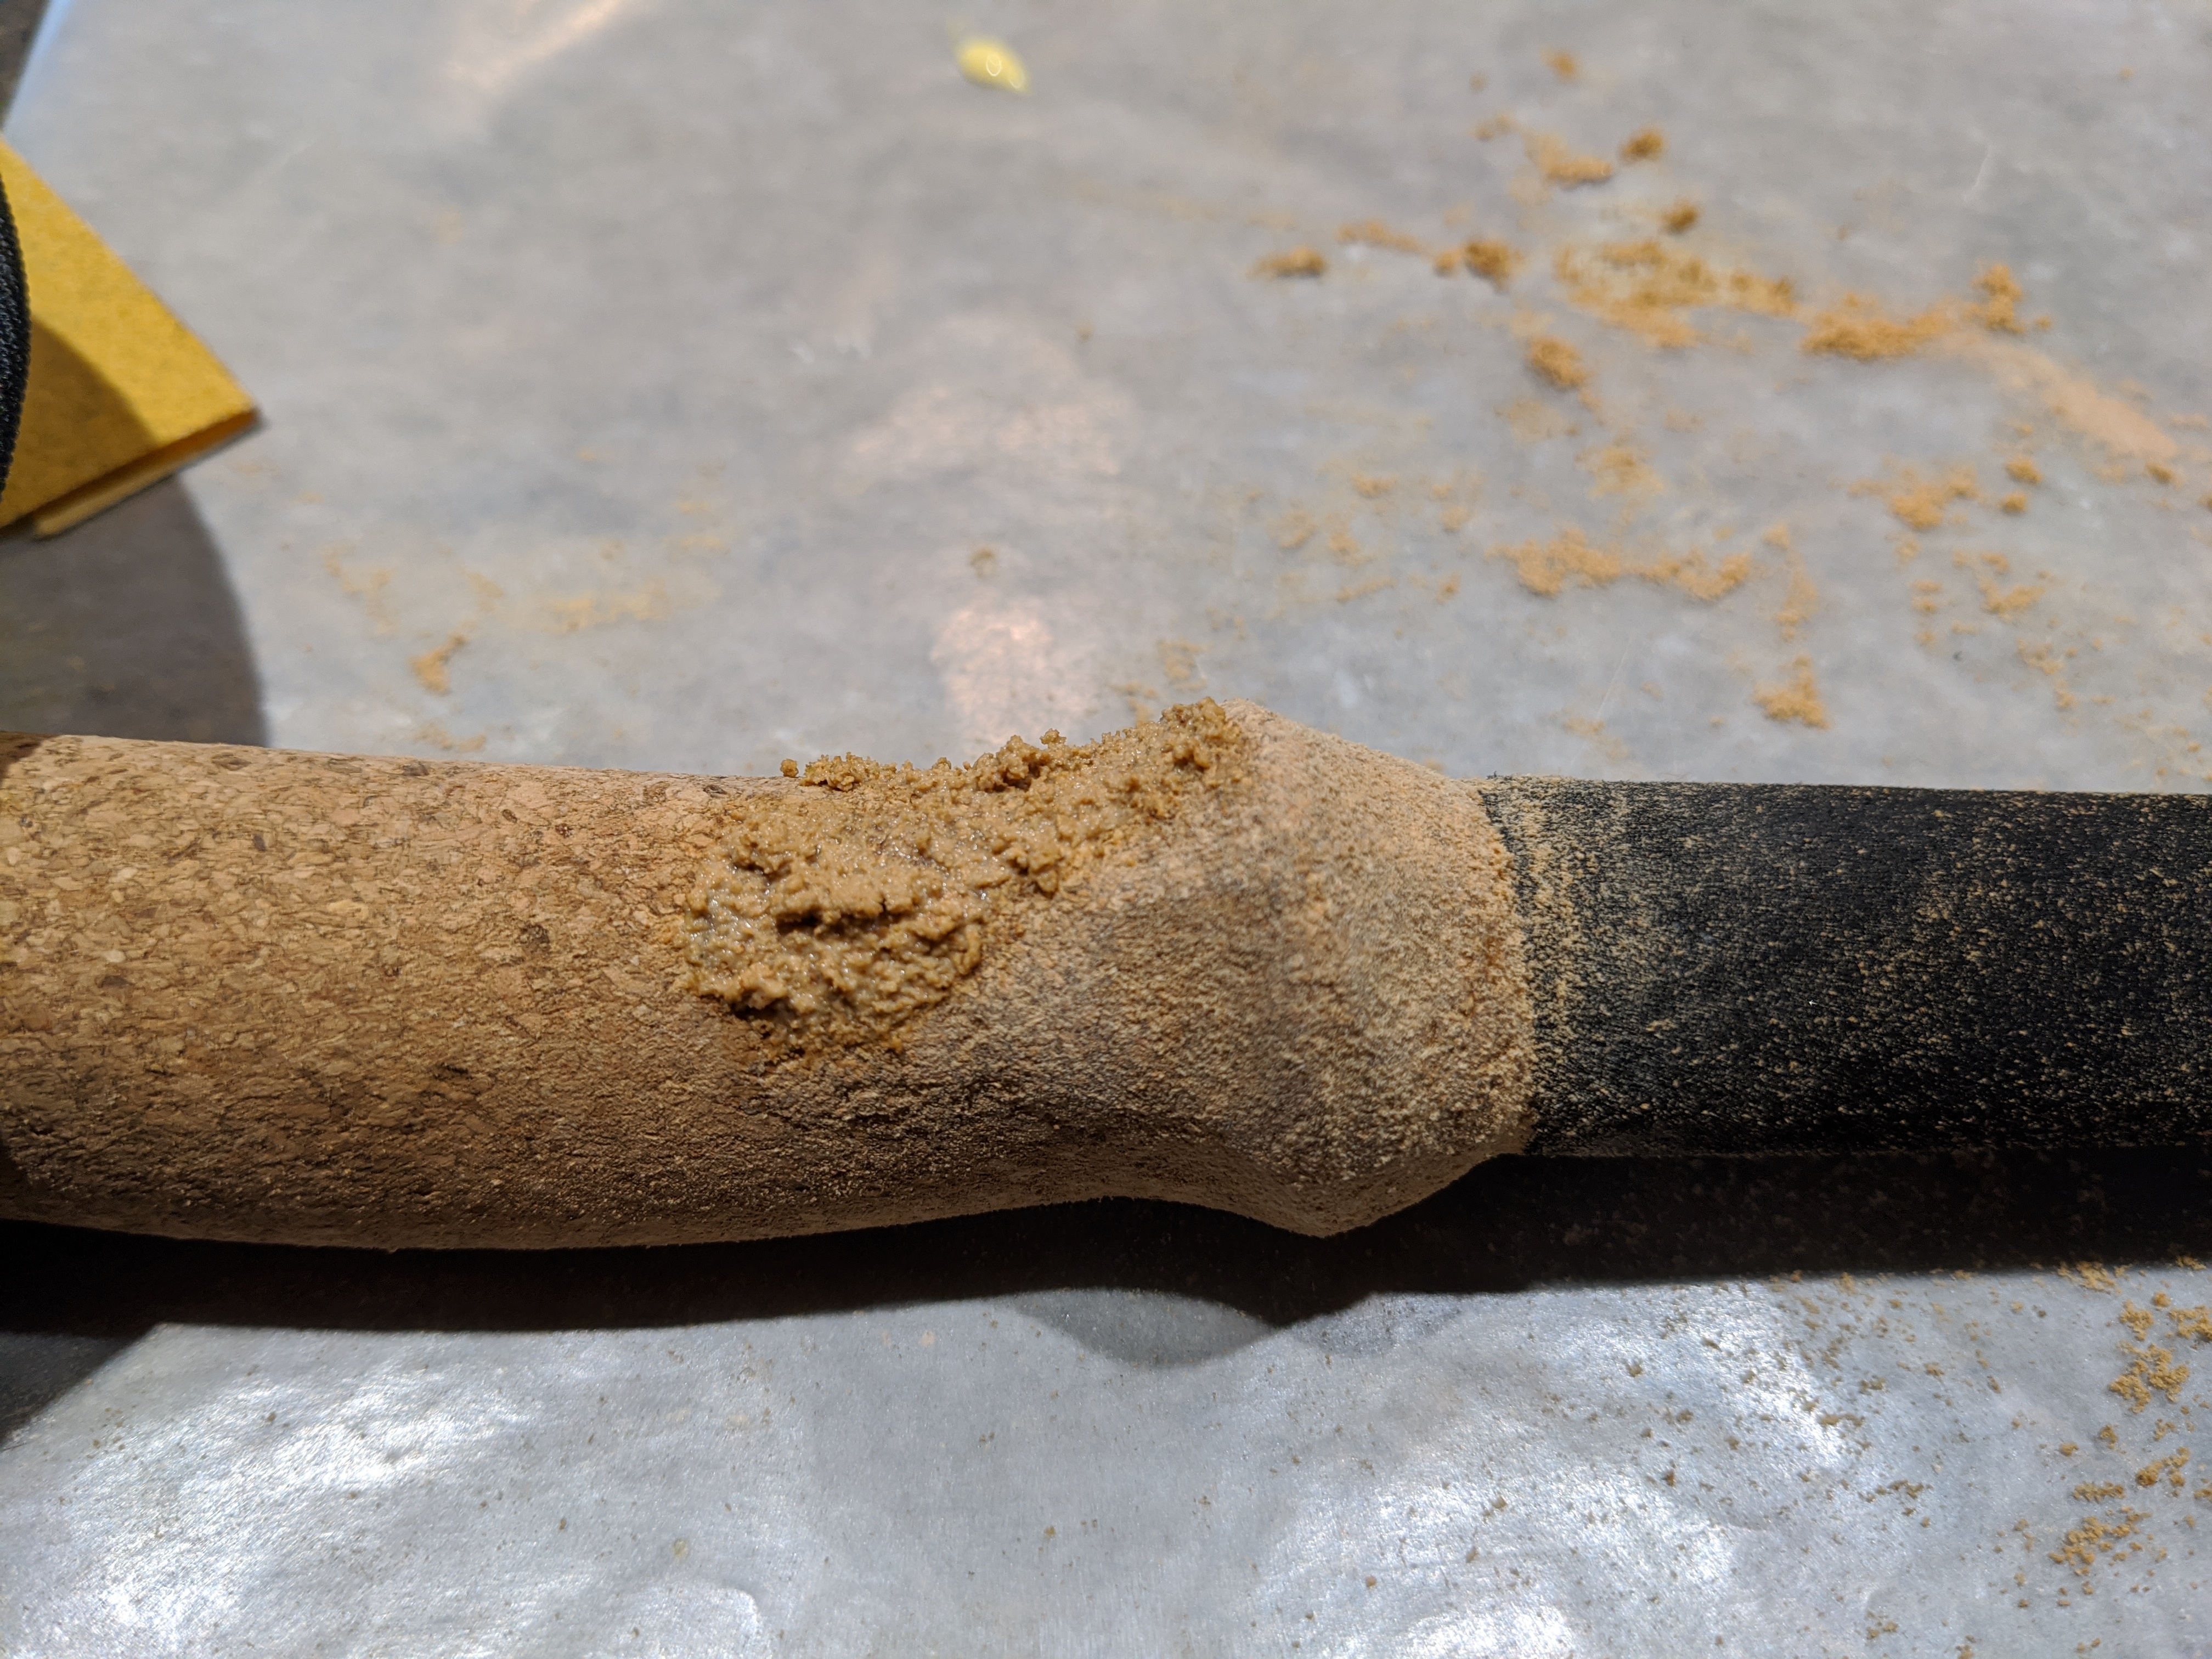
Mound up a small pile of dust in a corner of the takeout container and apply a line of wood glue to it in order to form a rough paste. Let the glue hydrate the cork dust until the entire glob feels a little tacky. From there, work the cork and glue blend into the holes in your trekking pole or rod handle. If you’re in doubt and trying to match contours apply more material than you think you need.
Now We Wait.
You’ll notice I put time on the things you’d need for this project. This is where waiting will 100% pay off in the long run. The more of the cork and wood putty concoction you put on the longer you’ll need for it to cure. I’d recommend 2-3 days of the project just sitting so the glue and cork can harden and cure. Too soon and it’ll flake away leaving a rough texture once you start sanding. There are no penalties for waiting too long here.
Once it’s had time to cure, take a fine grained sandpaper like a 180-220 grit and begin sanding the handle on your wax paper in order to catch the dust. If you need to apply more of the putty be sure to wait and allow it to dry and cure again. As you get closer to finishing the job you might want something even a little finer like a 320 grit sandpaper to get the final finish.
Finesse Work
From here you have the basics and it’ll be all about technique. It’s harder to get the contour for something like a trekking pole handle than it is for something like a flat fishing rod cylinder but this is a labor of love restoring your gear. If my dog had thumbs I’d have made her do it. There is a satisfaction in knowing that I’ll have put these poles back in the field.
When you’re done with the project make sure to remove any wood glue remnants in your pile of cork dust and pop the lid on the takeout container. Chances are now that you’ve done this once you’ll find other things that’ll need repaired. Keep the container with your stuff out in the shop, you never know when it’ll come in handy.
Waste Not Want Not
When you’re sanding you’ll get extra fine cork dust. Keep this set aside for final detail work. If you need to fill holes or imperfections as the job progresses you will want to use this mixed with wood glue. The finer dust will fill all the nooks and crannies that may have occurred if you sanded too early or too aggressively.
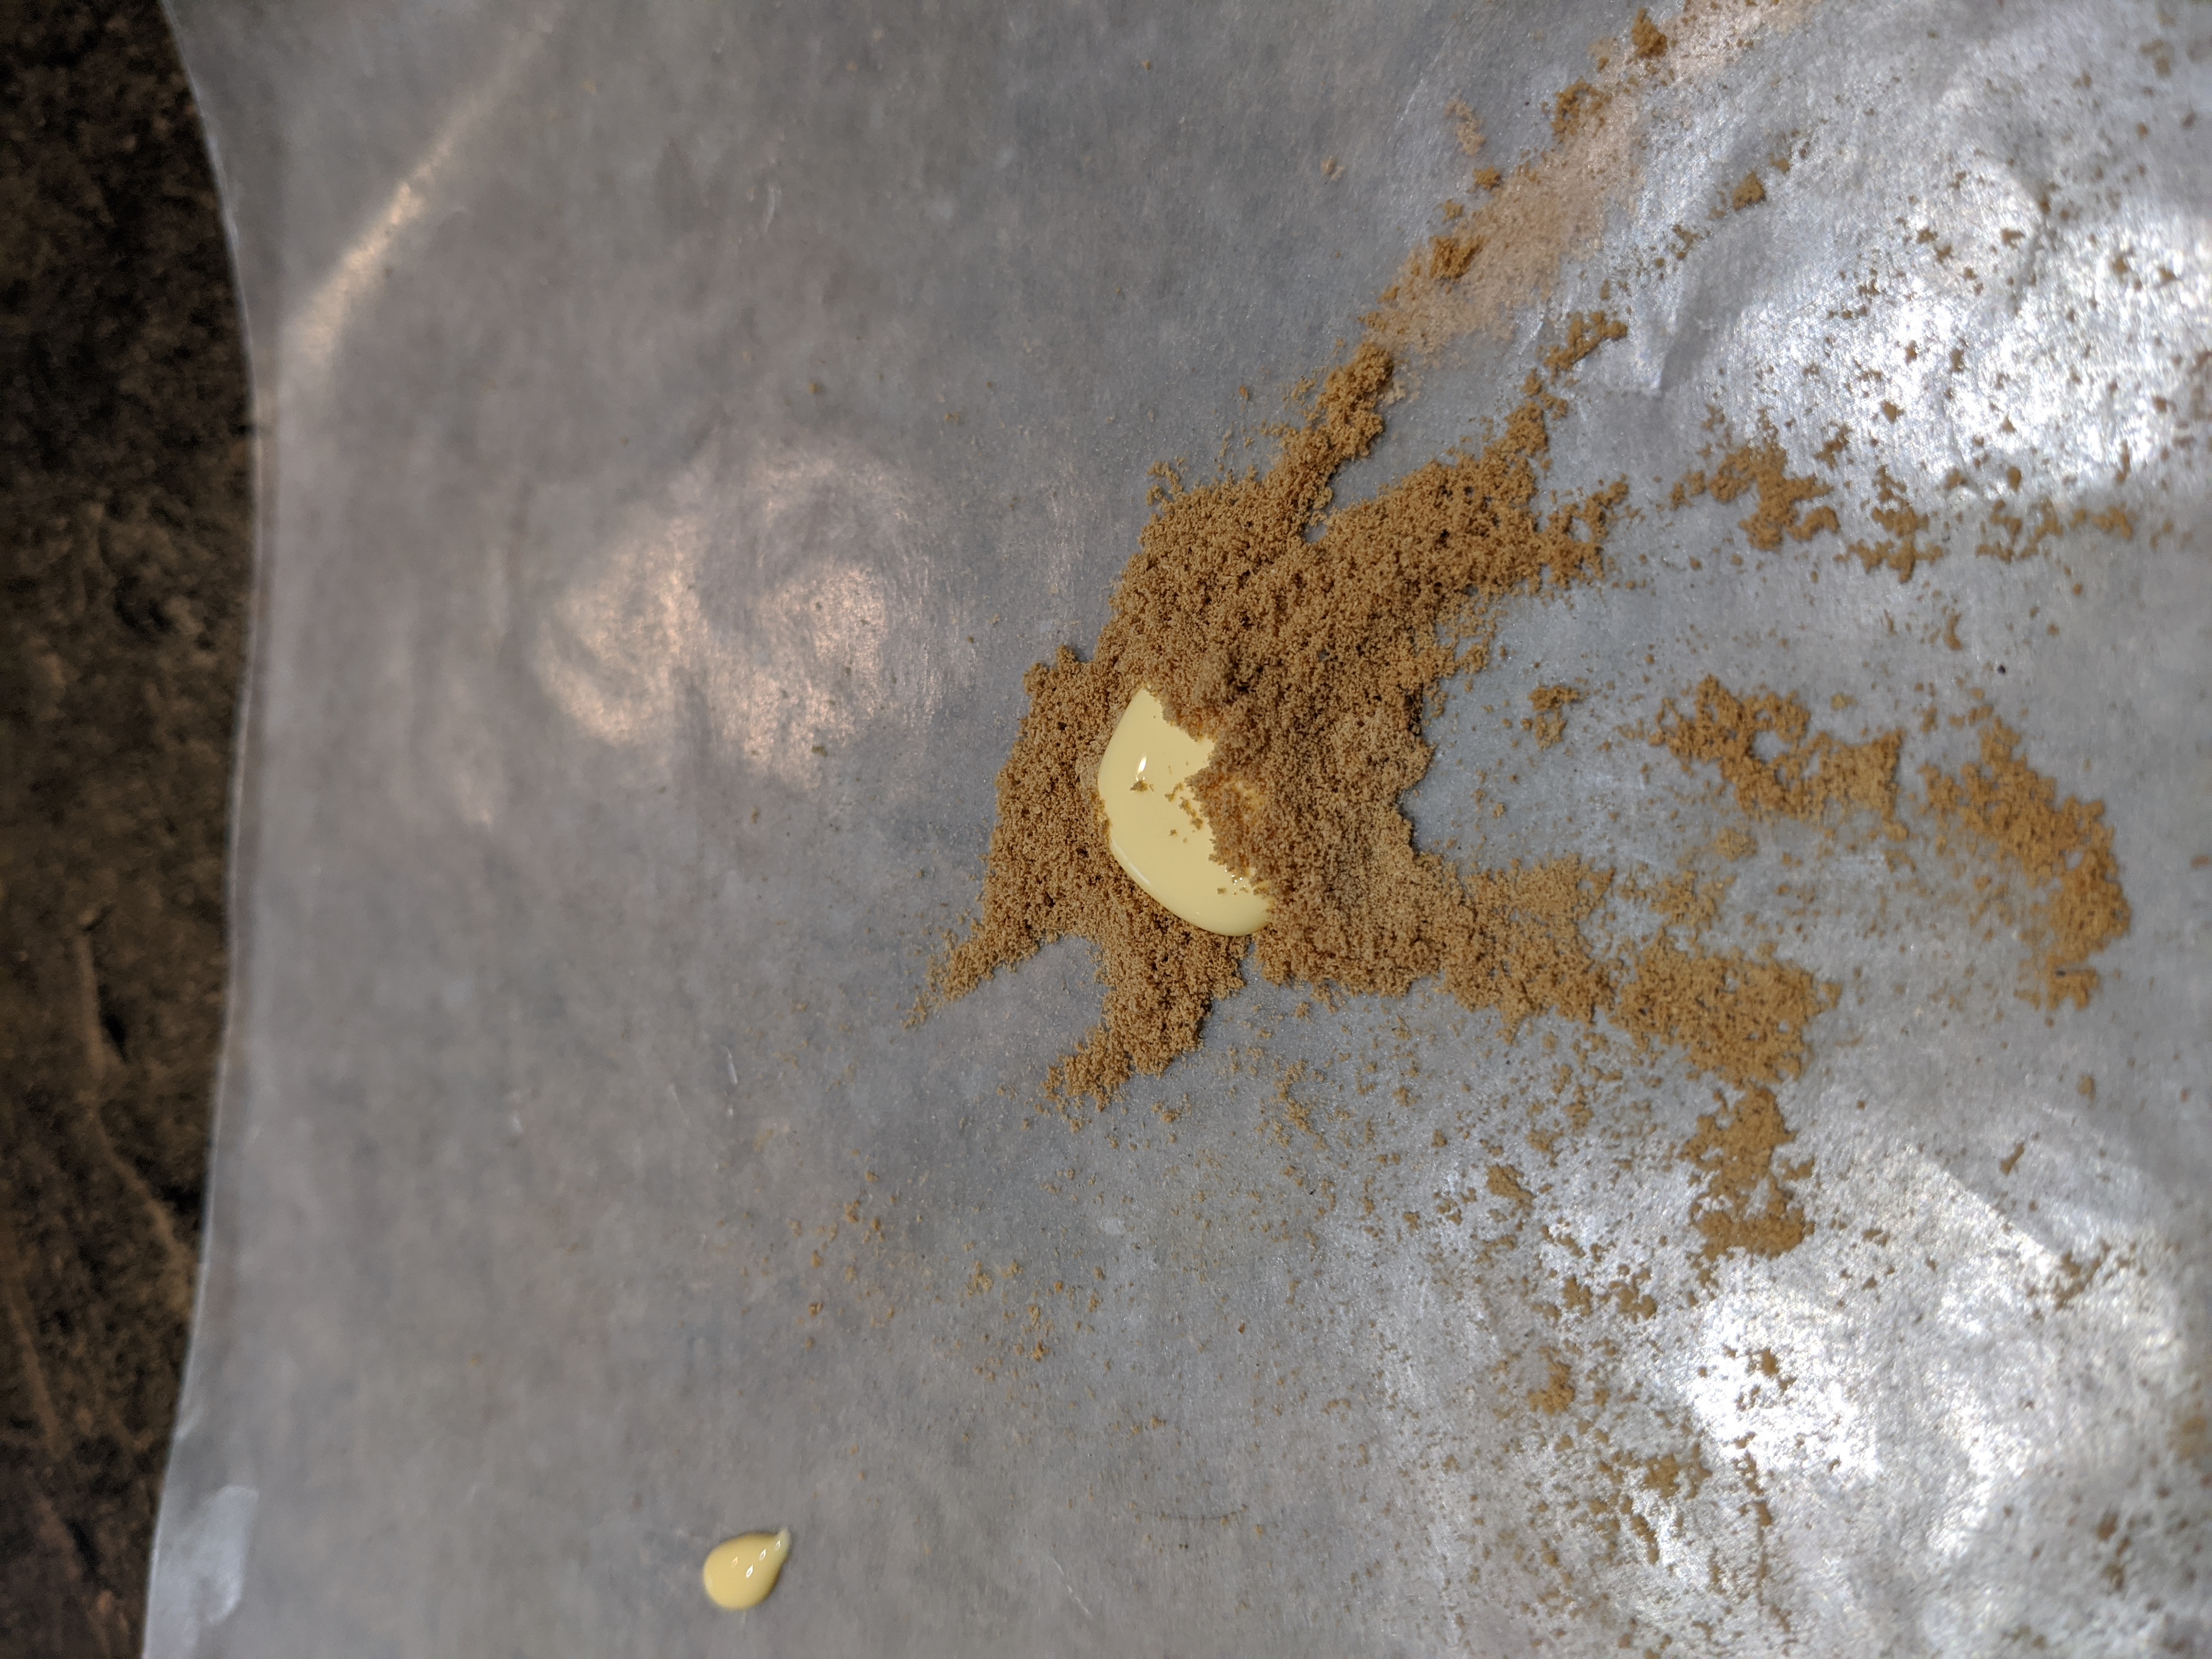
One thing that you might want to consider is that the more glue you use the more likely for the cork to take on a slightly dark color of the wood glue (unless it’s a clear dry formula). The more cork you use in the paste the more likely the compound is to be somewhat mealy. Let the cork and glue mixture hydrate a little before applying it and you’ll have better results.
Using fine cork dust allows for finesse work that can seal up holes and smooth out other imperfections as you begin to wrap up your project. Another cure and some more sanding and these handles will be done and ready for the field.
More Power!
Don’t like hand sanding? Is it taking too long or perhaps you put way too much material on? I like where your head’s at. You can shape the handle with a Dremel rotary tool and a sanding drum. Be careful about taking too much material off at one time. Apply a light and constant pressure while using the tool and you’ll be done lickety split. Do the final work with a fine grain sandpaper or it will look “stripey”. Even on the lowest usable setting on a Dremel with a sanding drum it takes a lot of material off by comparison to hand sanding. Use the rotary tool only for large chunky shaping.
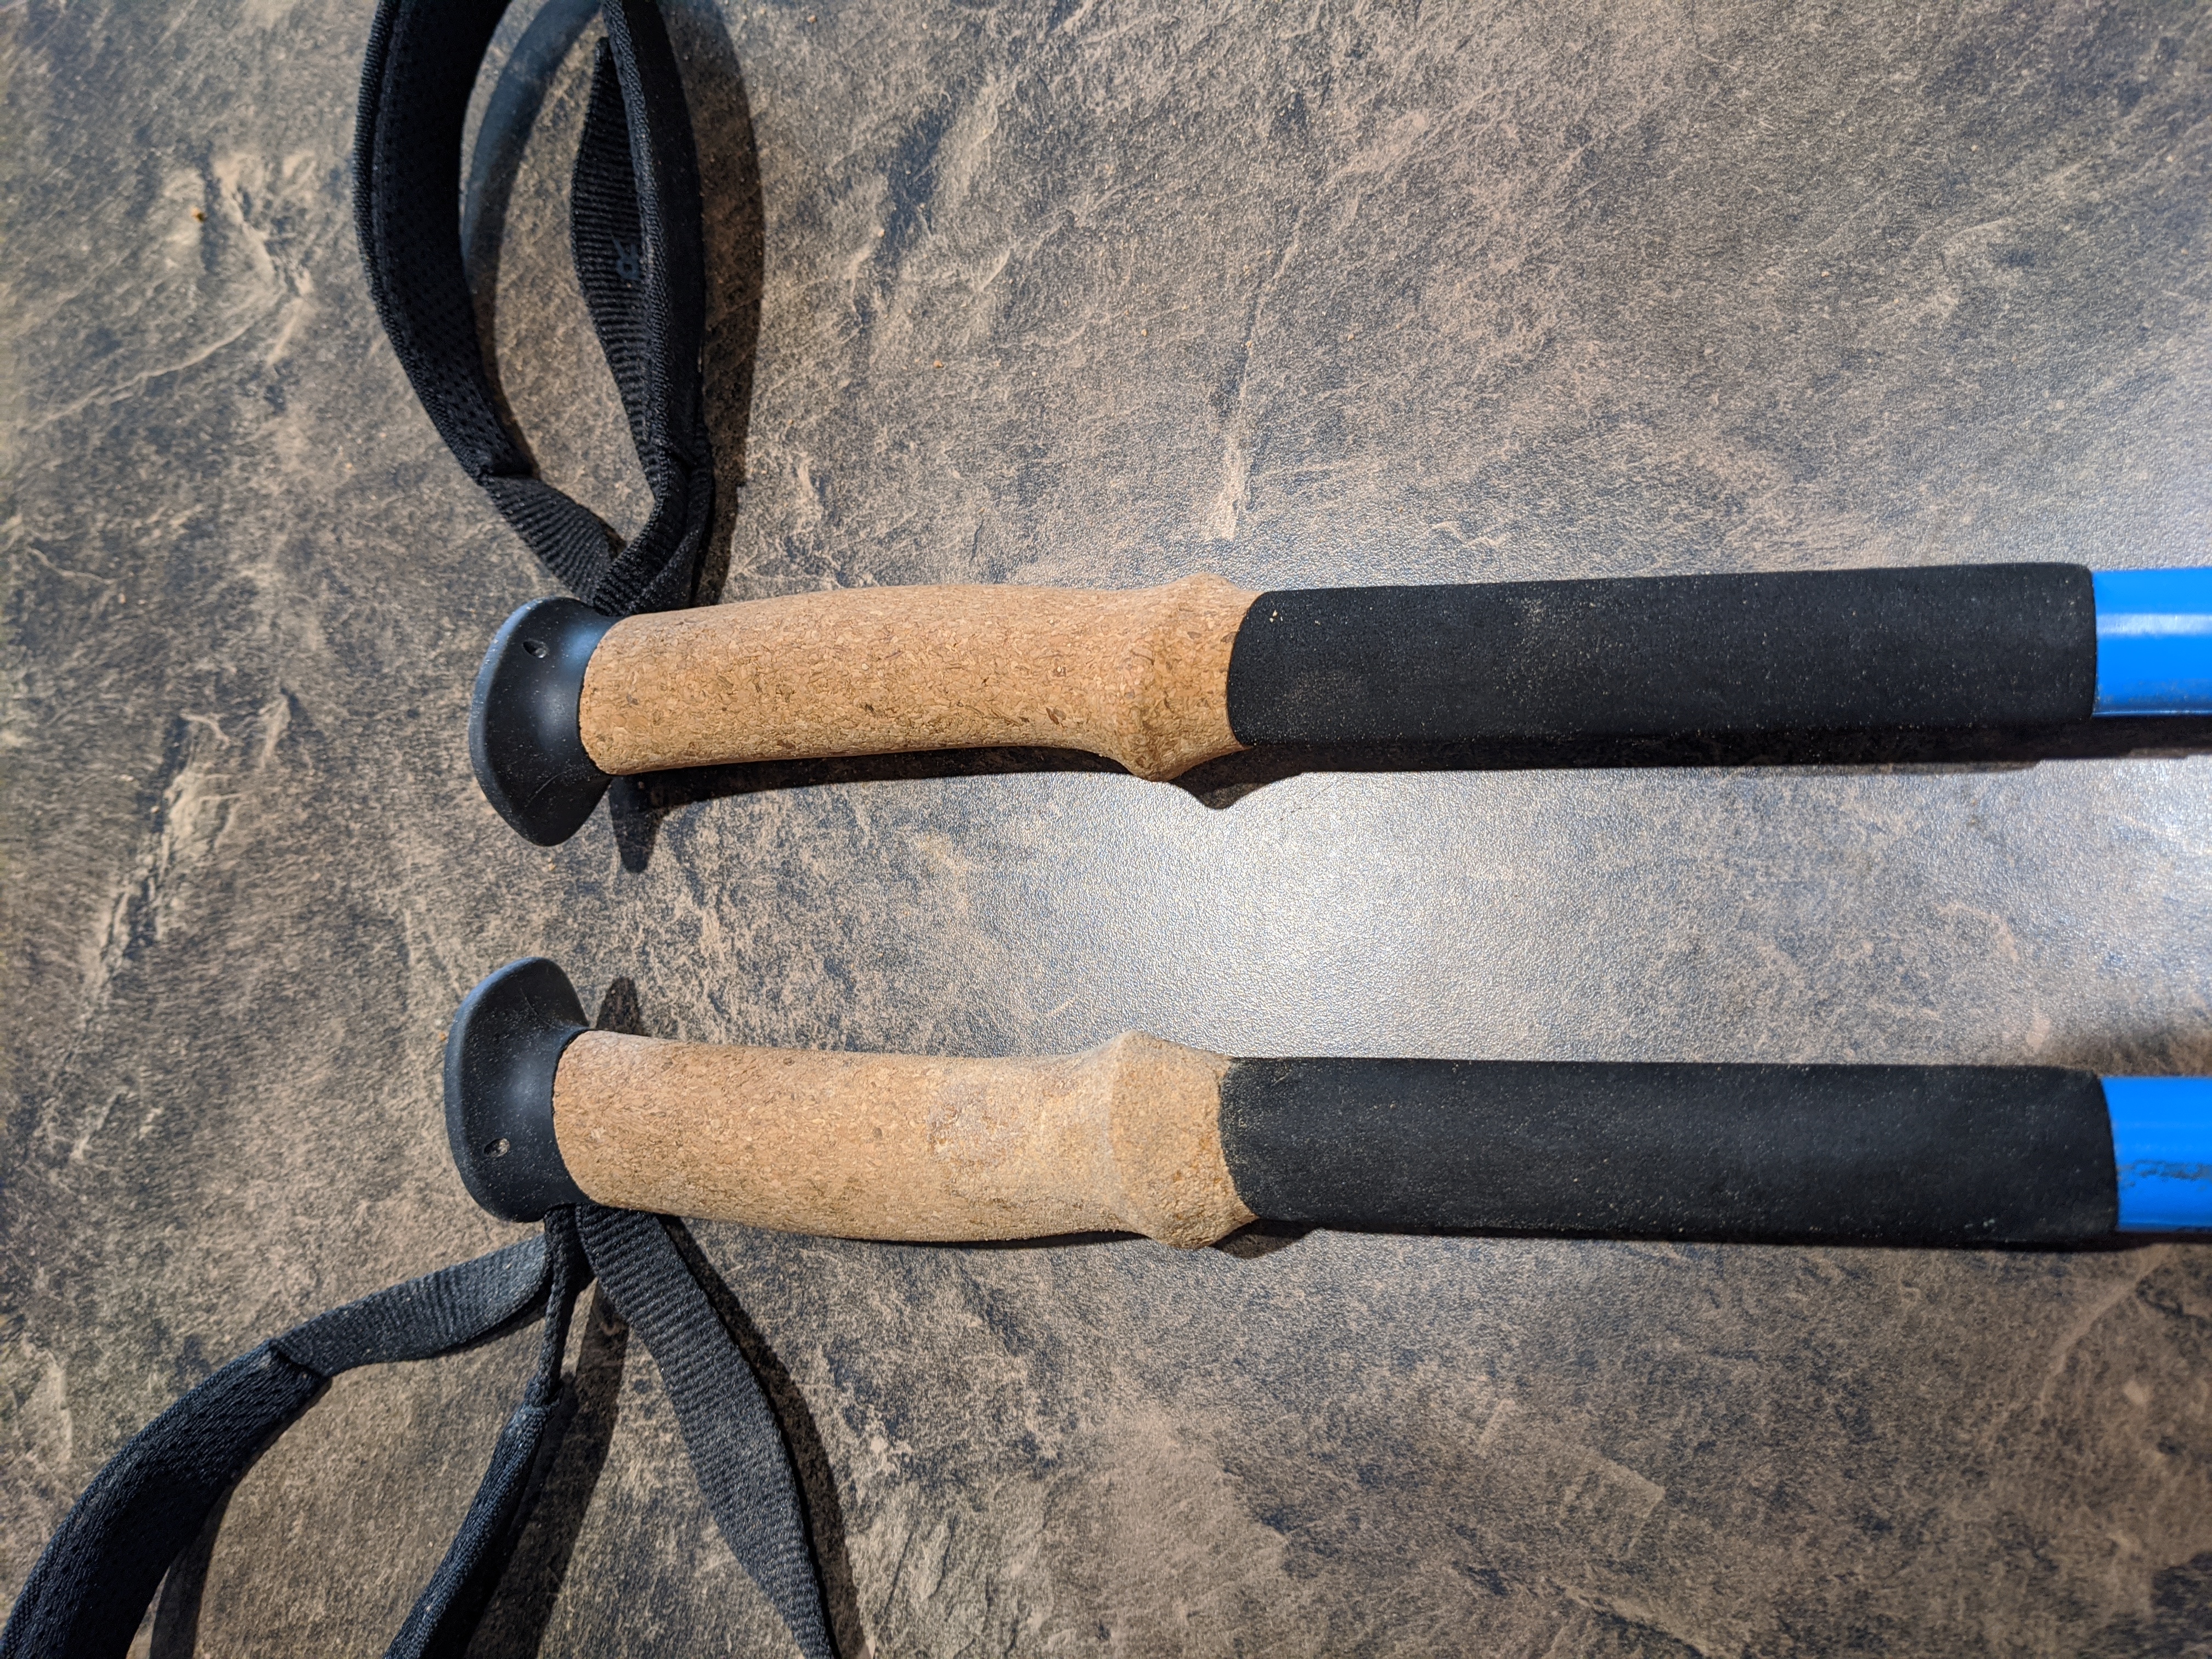
Final Product
The Final product, if you took enough care during the process and were patient in letting glue dry and cure should be just about perfect. I made this more about trying to get everything just right and less about “just functional”. In the end I spent a bunch of time working on this, but it was time I couldn’t be outside in the woods anyway — and in my opinion it was worth it for not having to spend an additional $150 for another pair of these.
Highly Optional
Some people like to seal their cork handles with a commercial cork sealer after they’re done doing something like this. I suppose it would be better for old cork duck decoys but fishing rod and trekking pole handles are traditionally not sealed in any way. The cork and wood glue putty should give you a very similar feel to the natural cork composite used for this style of handle in the first place. Trekking poles are meant to wick moisture away from your palms, and cork does that naturally.