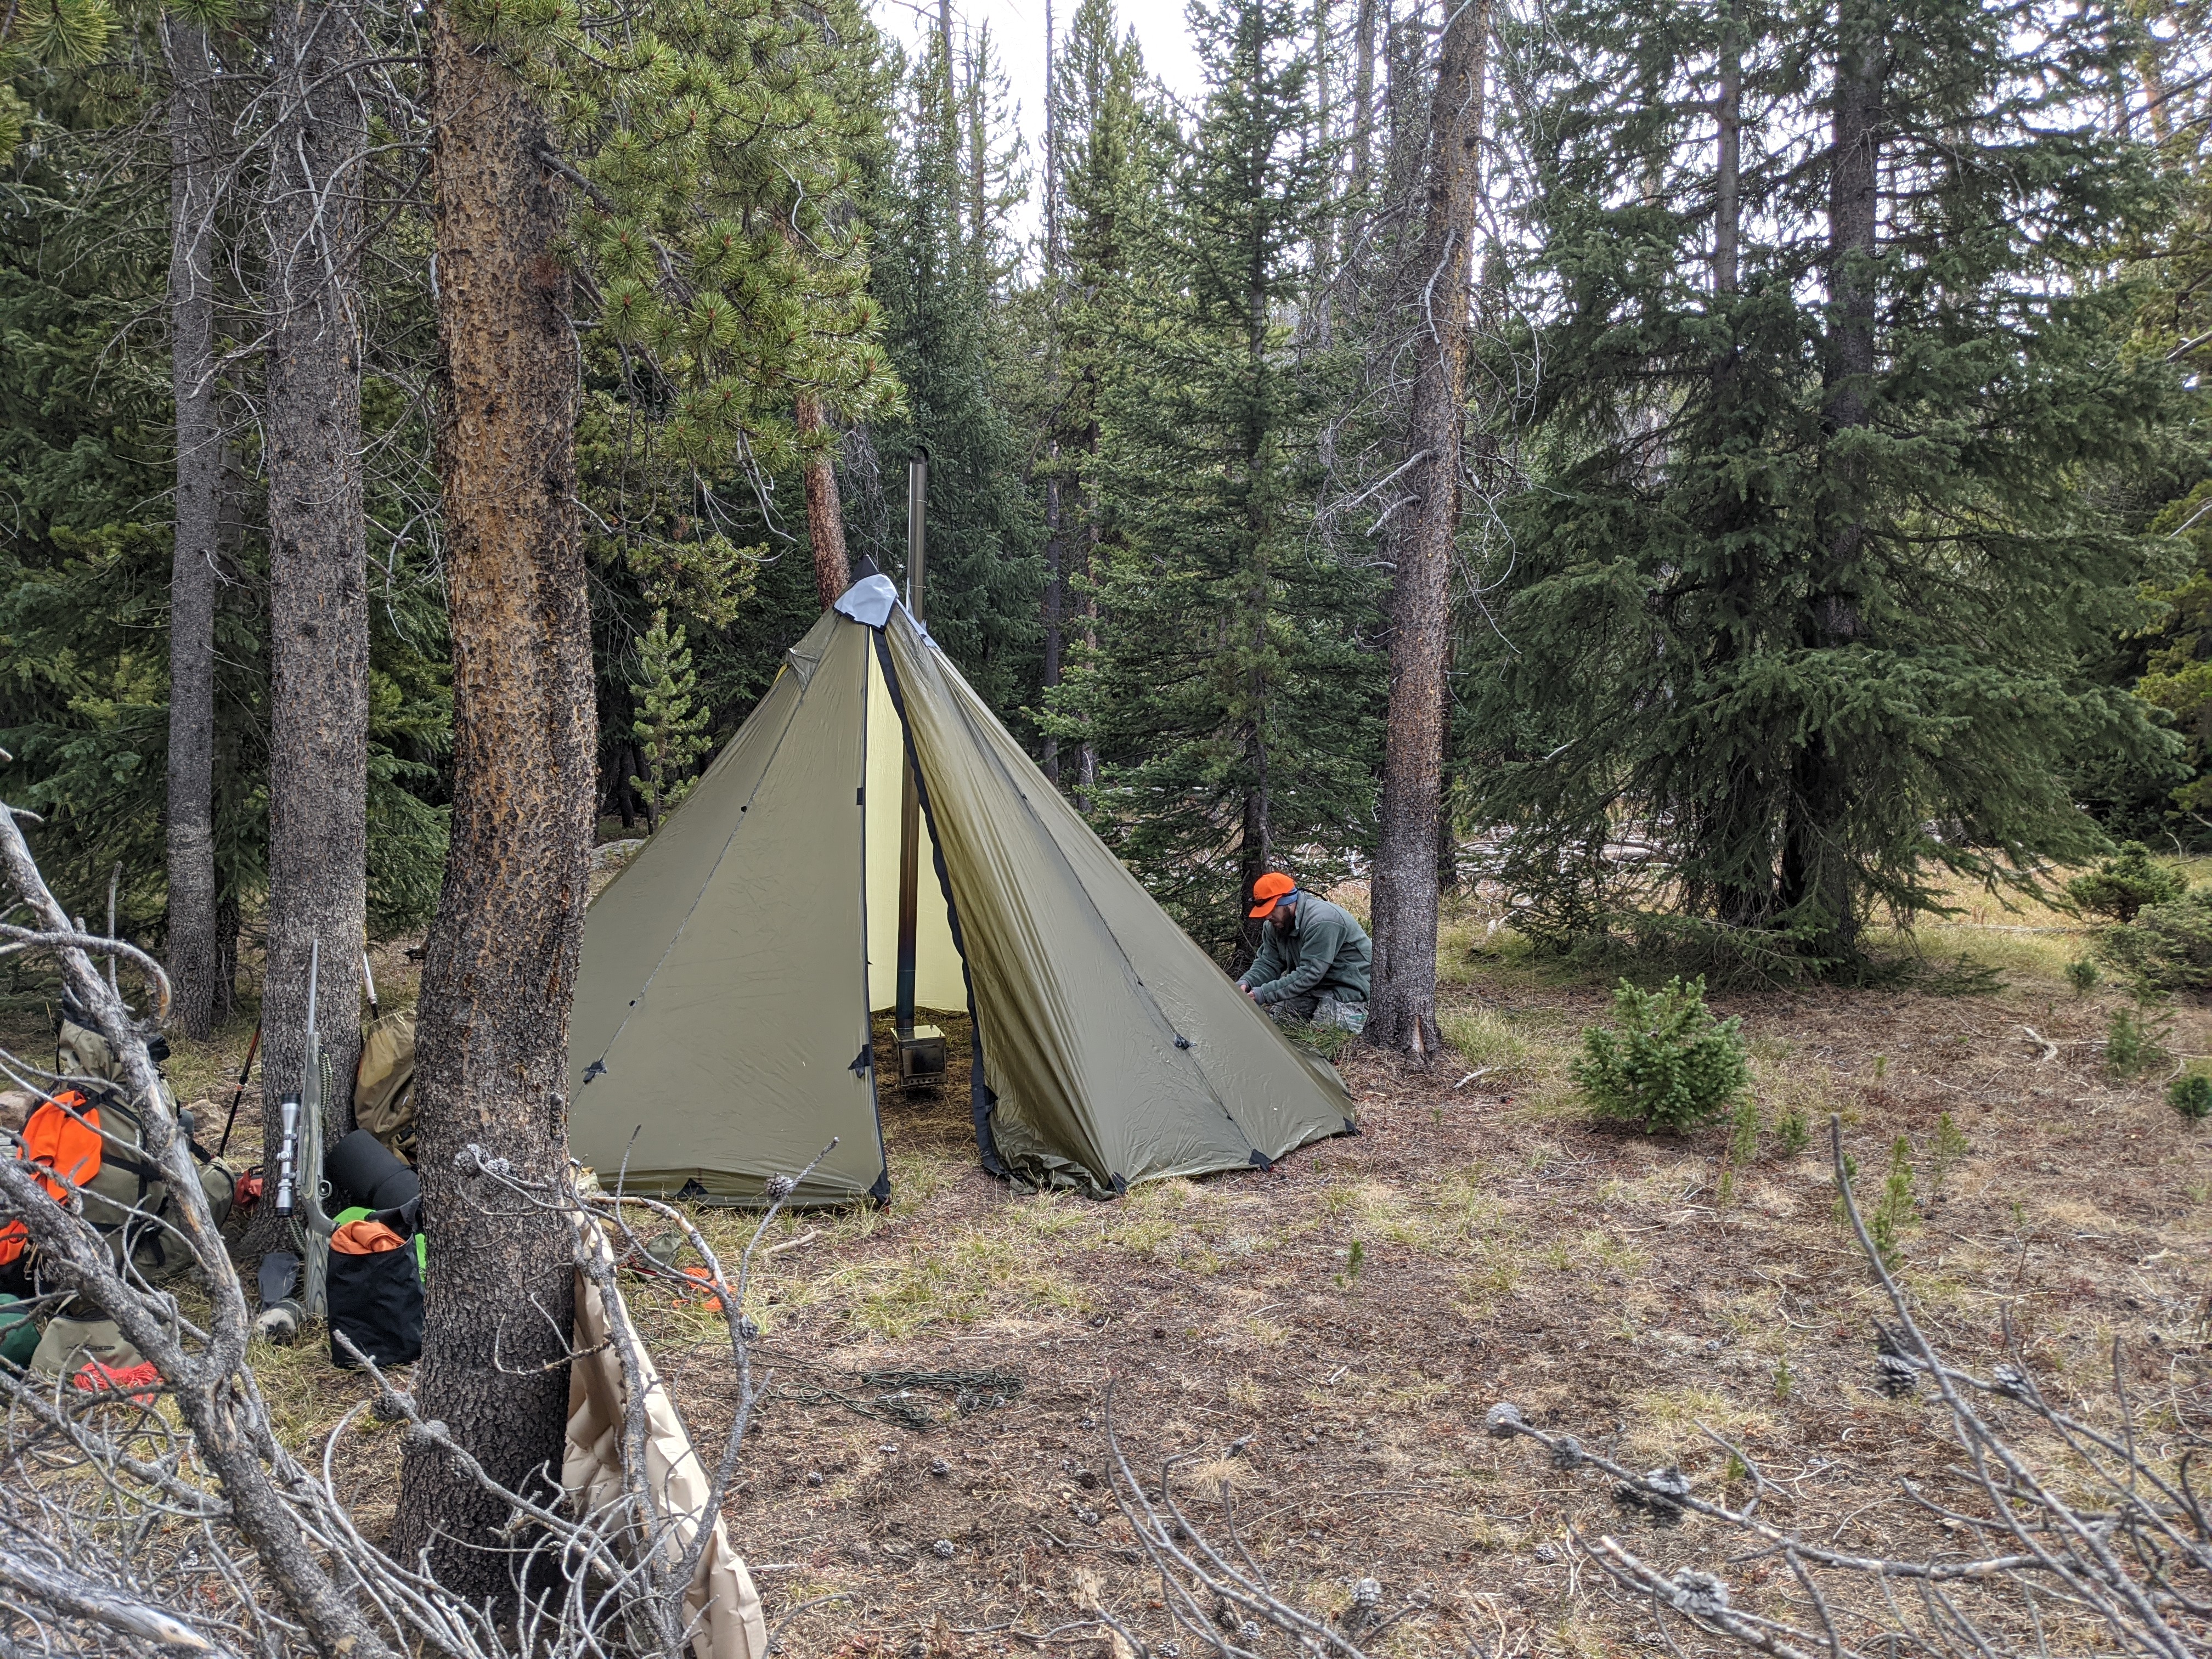
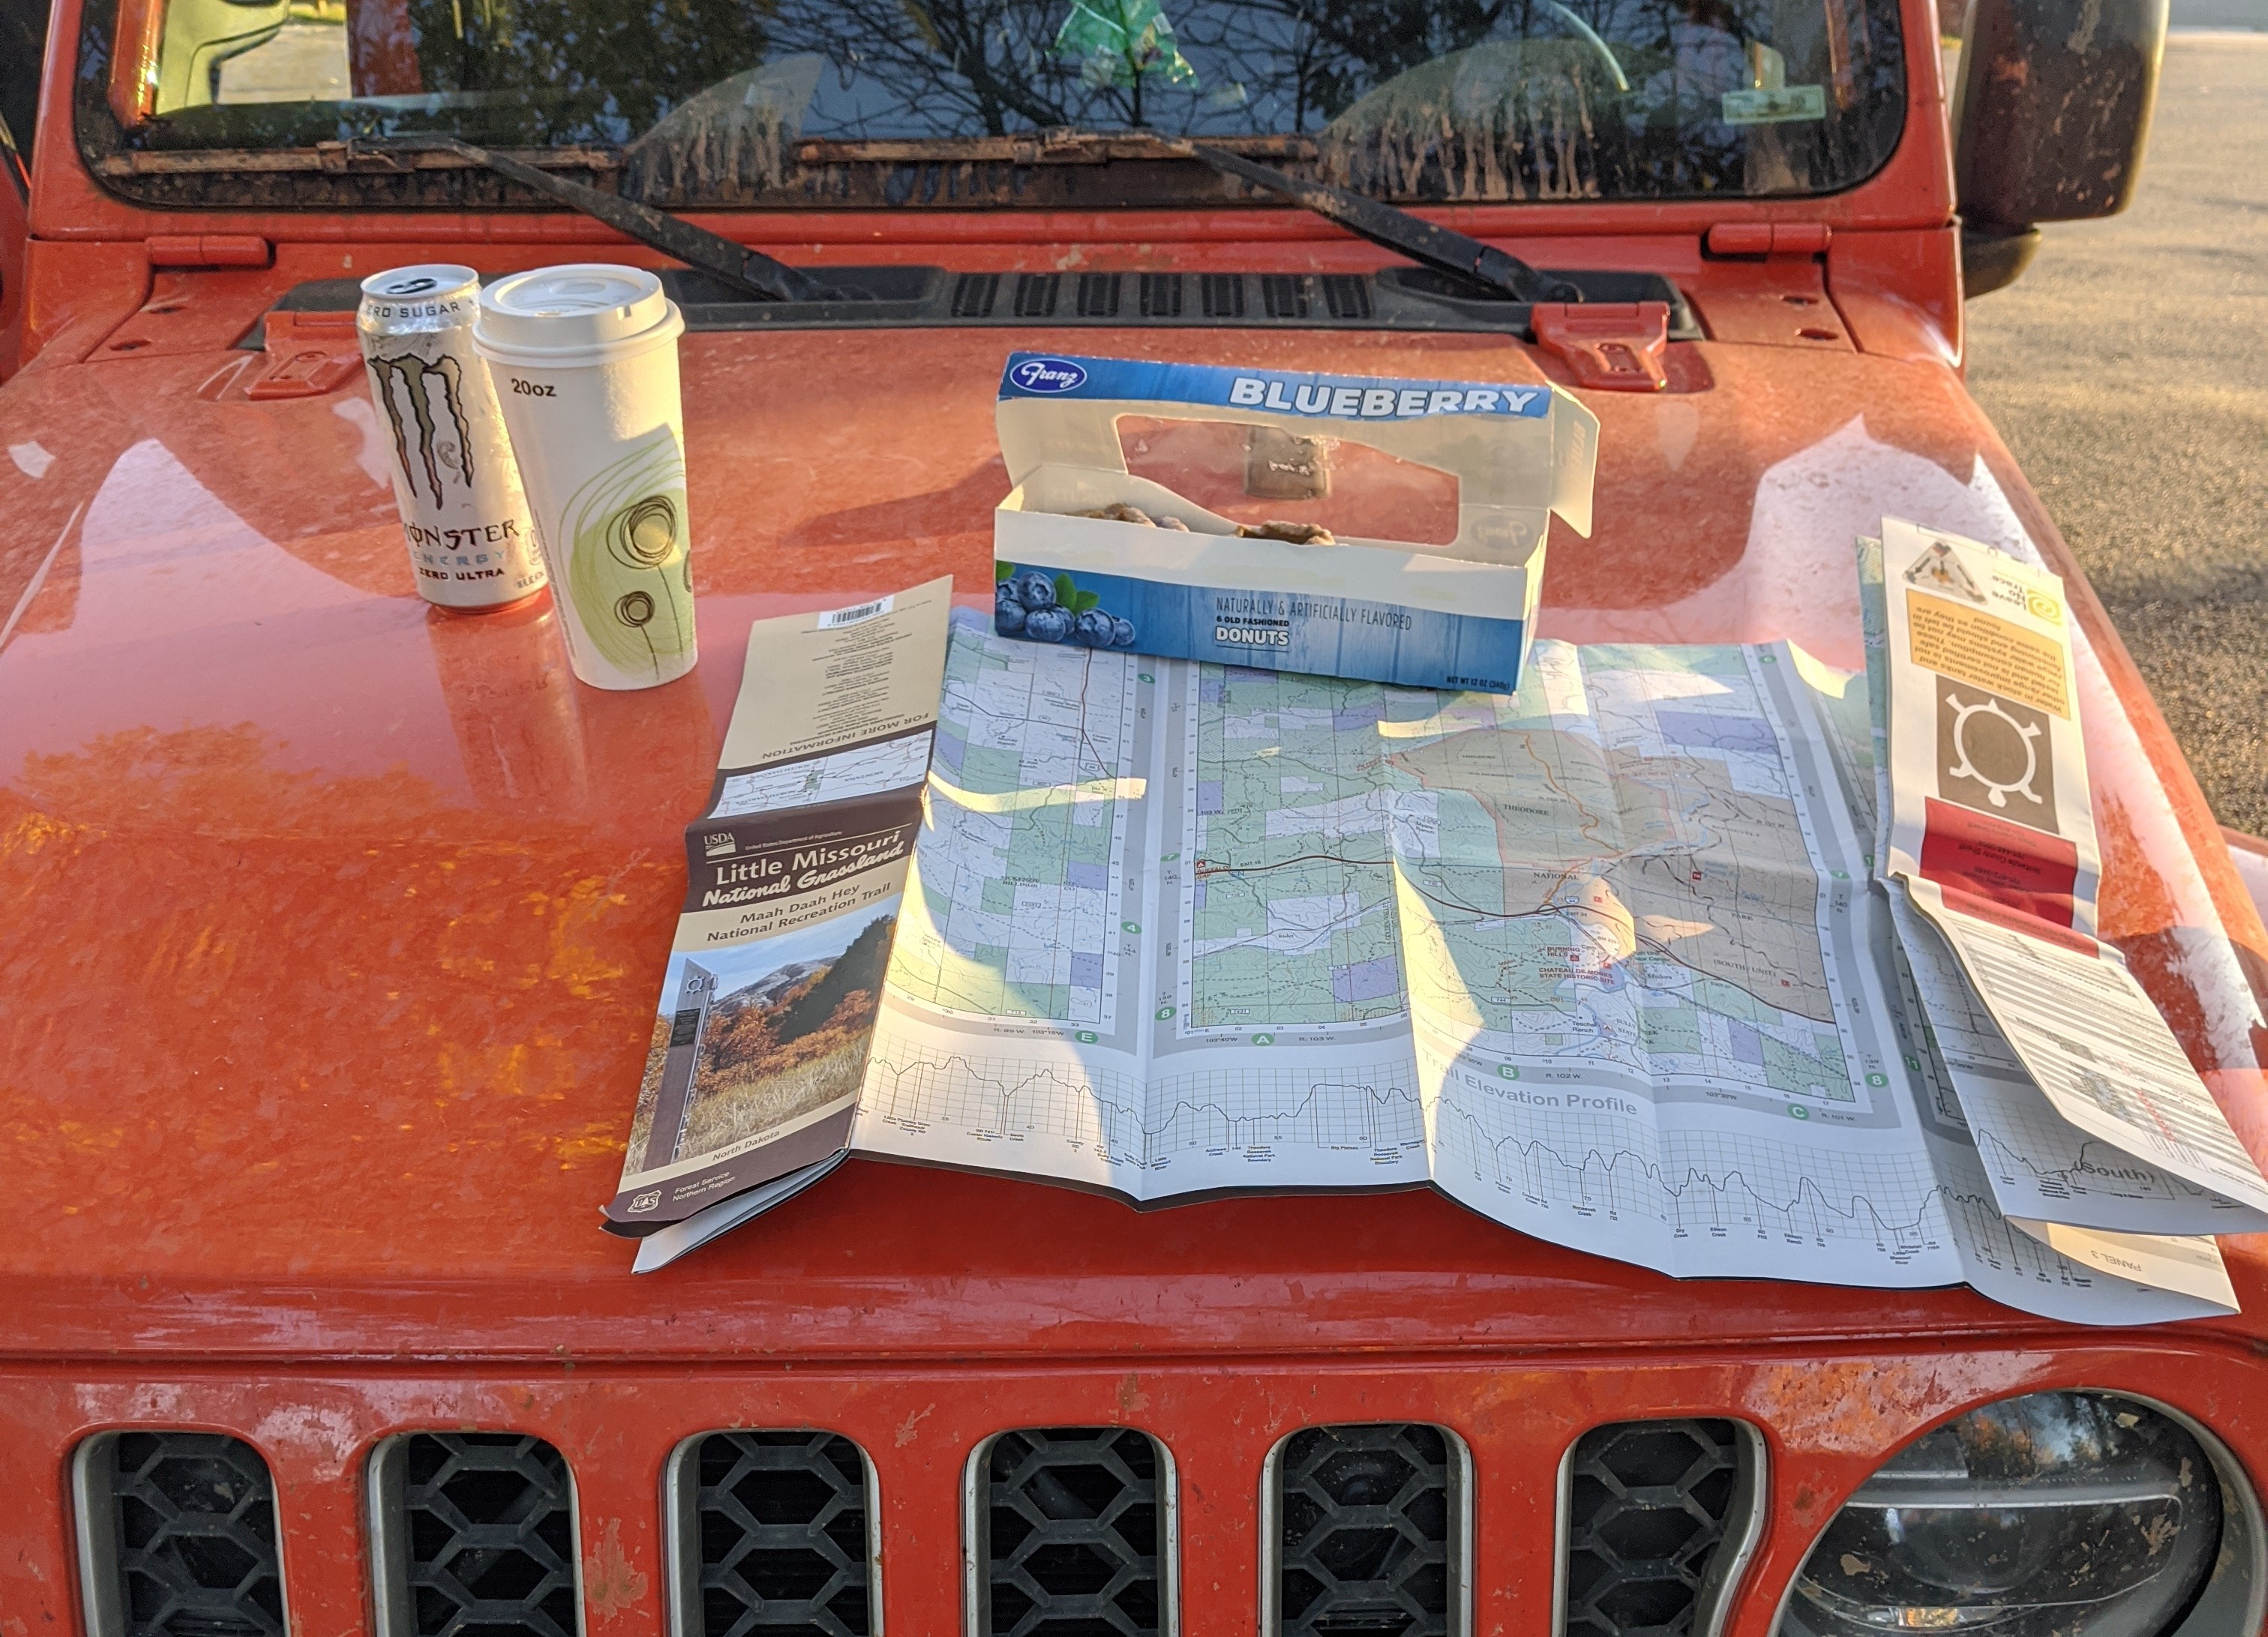
I agonized over it for months waiting for some sort of sale and doing research. How big was the biggest tent my buddy and I could pack into the backcountry and keep our gear from being snowed on? Using my standard formula of dudes times 2 I started looking for a 4 man backcountry tent. Then, during a visit to Scheel’s in Johnstown Colorado I saw finally in person a SeekOutside Cimmaron. The four man tent was loaded out for one backpack hunter. All the gear was laid out on the floor and in the center, a medium stove. That’s when I realized I should go a hair bigger to the 6 man. The SeekOutside Tipi was likely going to be the ticket for my backcountry camping needs. It just needed some getting used to.
The Tipi Basics
Spec-ing Out a SeekOutside Tipi
One thing about ordering from SeekOutside, everything is custom. They don’t have tipi tents just laying around in a warehouse. That’s because you can specify things like zip-in bug mesh, factory seam sealing, and the presence of a stove jack. All of these optional items increase the cost — but many, like the mesh doors, can only be added when the tent is made in SeekOutside’s Grand Junction, Colorado based shop.
First you need to pick a model to suit your needs, in our case the SeekOutside 6 man tipi had a good ground space to weight ratio for my hunting desires with a buddy in tow and possibly another person. Choosing a hot tent bundle saves a little bit of money as a package deal along with a stove.
When configuring the tent you’ll want to keep in mind your use case. Are you always going to be packing the tent in? Are you packing the tent in with a pack string or on your back? Does weight not matter to you since you’ll be camping at the truck? SeekOutside offers weight reduction options like using a carbon fiber center pole instead of an aluminum one. If you choose now to not have a stove jack you’ll have to send back the tent to have one added later if you decide you want a hot tent.
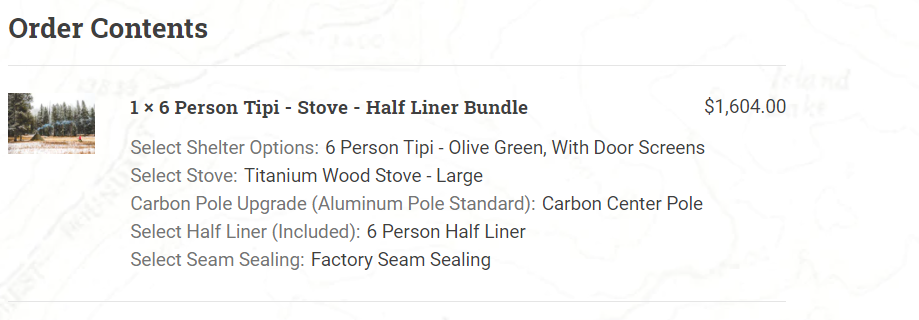
In putting together the specs of my tent I wanted to balance weight reduction with comfort. Factory seam sealing was a good up front investment, and the mesh doors ensured that my wife and kiddo would enjoy it even if it got buggy. The carbon fiber pole upgrade was a good idea for weight reduction, and I opted for the smaller of the two stoves for saved ounces. Those options added up to a little over $1600 in total cost, but I’d have a complete setup ready for cold weather and 3 people.
Pitching
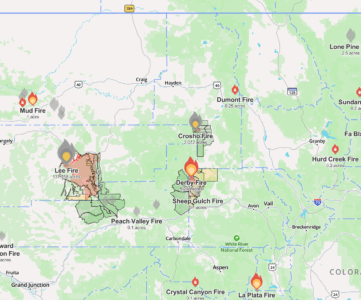
The tent made it to me in pretty short order all told. I ordered in June for an October hunt but wanted to make sure that I could test pitch it in my backyard and burn in the stove before we left. I had the tent in hand by early August. Unfortunately I had to dodge fire bans with the state of Colorado mostly on fire. However by Labor Day I was able to get the tent pitched for a small BBQ. There are two methods to pitching the tipi that SeekOutside details, the radius method and the set back method.
Using the radius method you position something (like a tent stake) in the center and stake a few of the guy outs from a known radius. The radius of the 6 man tipi is exactly 7 foot, with a 14 foot bell in total. So what I did to make life easier was to affix two washers to a length of paracord I already keep in my backpack for hanging food in bear country. With a slip knot I trapped two washers 7 feet apart on the paracord. This allows me to slip the washer over a tent stake and walk out the distance for a tent setup.
You can set the tent up solo but there’s often a lot of walking back and forth to ensure you’re staked and getting tension. Yet more walking in circles as you raise the center pole. If you’re setting up the tent as a hot tent with the stove I’ll advise opening one of the two doors, putting the center pole a few notches down from it’s proper height, and straddling the entrance while feeding the stove pipe through the stove jack. It’s helpful to have another set of hands but it works just fine solo.
You would think a tent this pricey would come with enough tent stakes to fully stake it out but you’d be wrong. At roughly a dollar apiece at REI these red aluminum stakes are cheap and underrepresented in the kit that SeekOutside ships with the tipi.
Tipi Specs
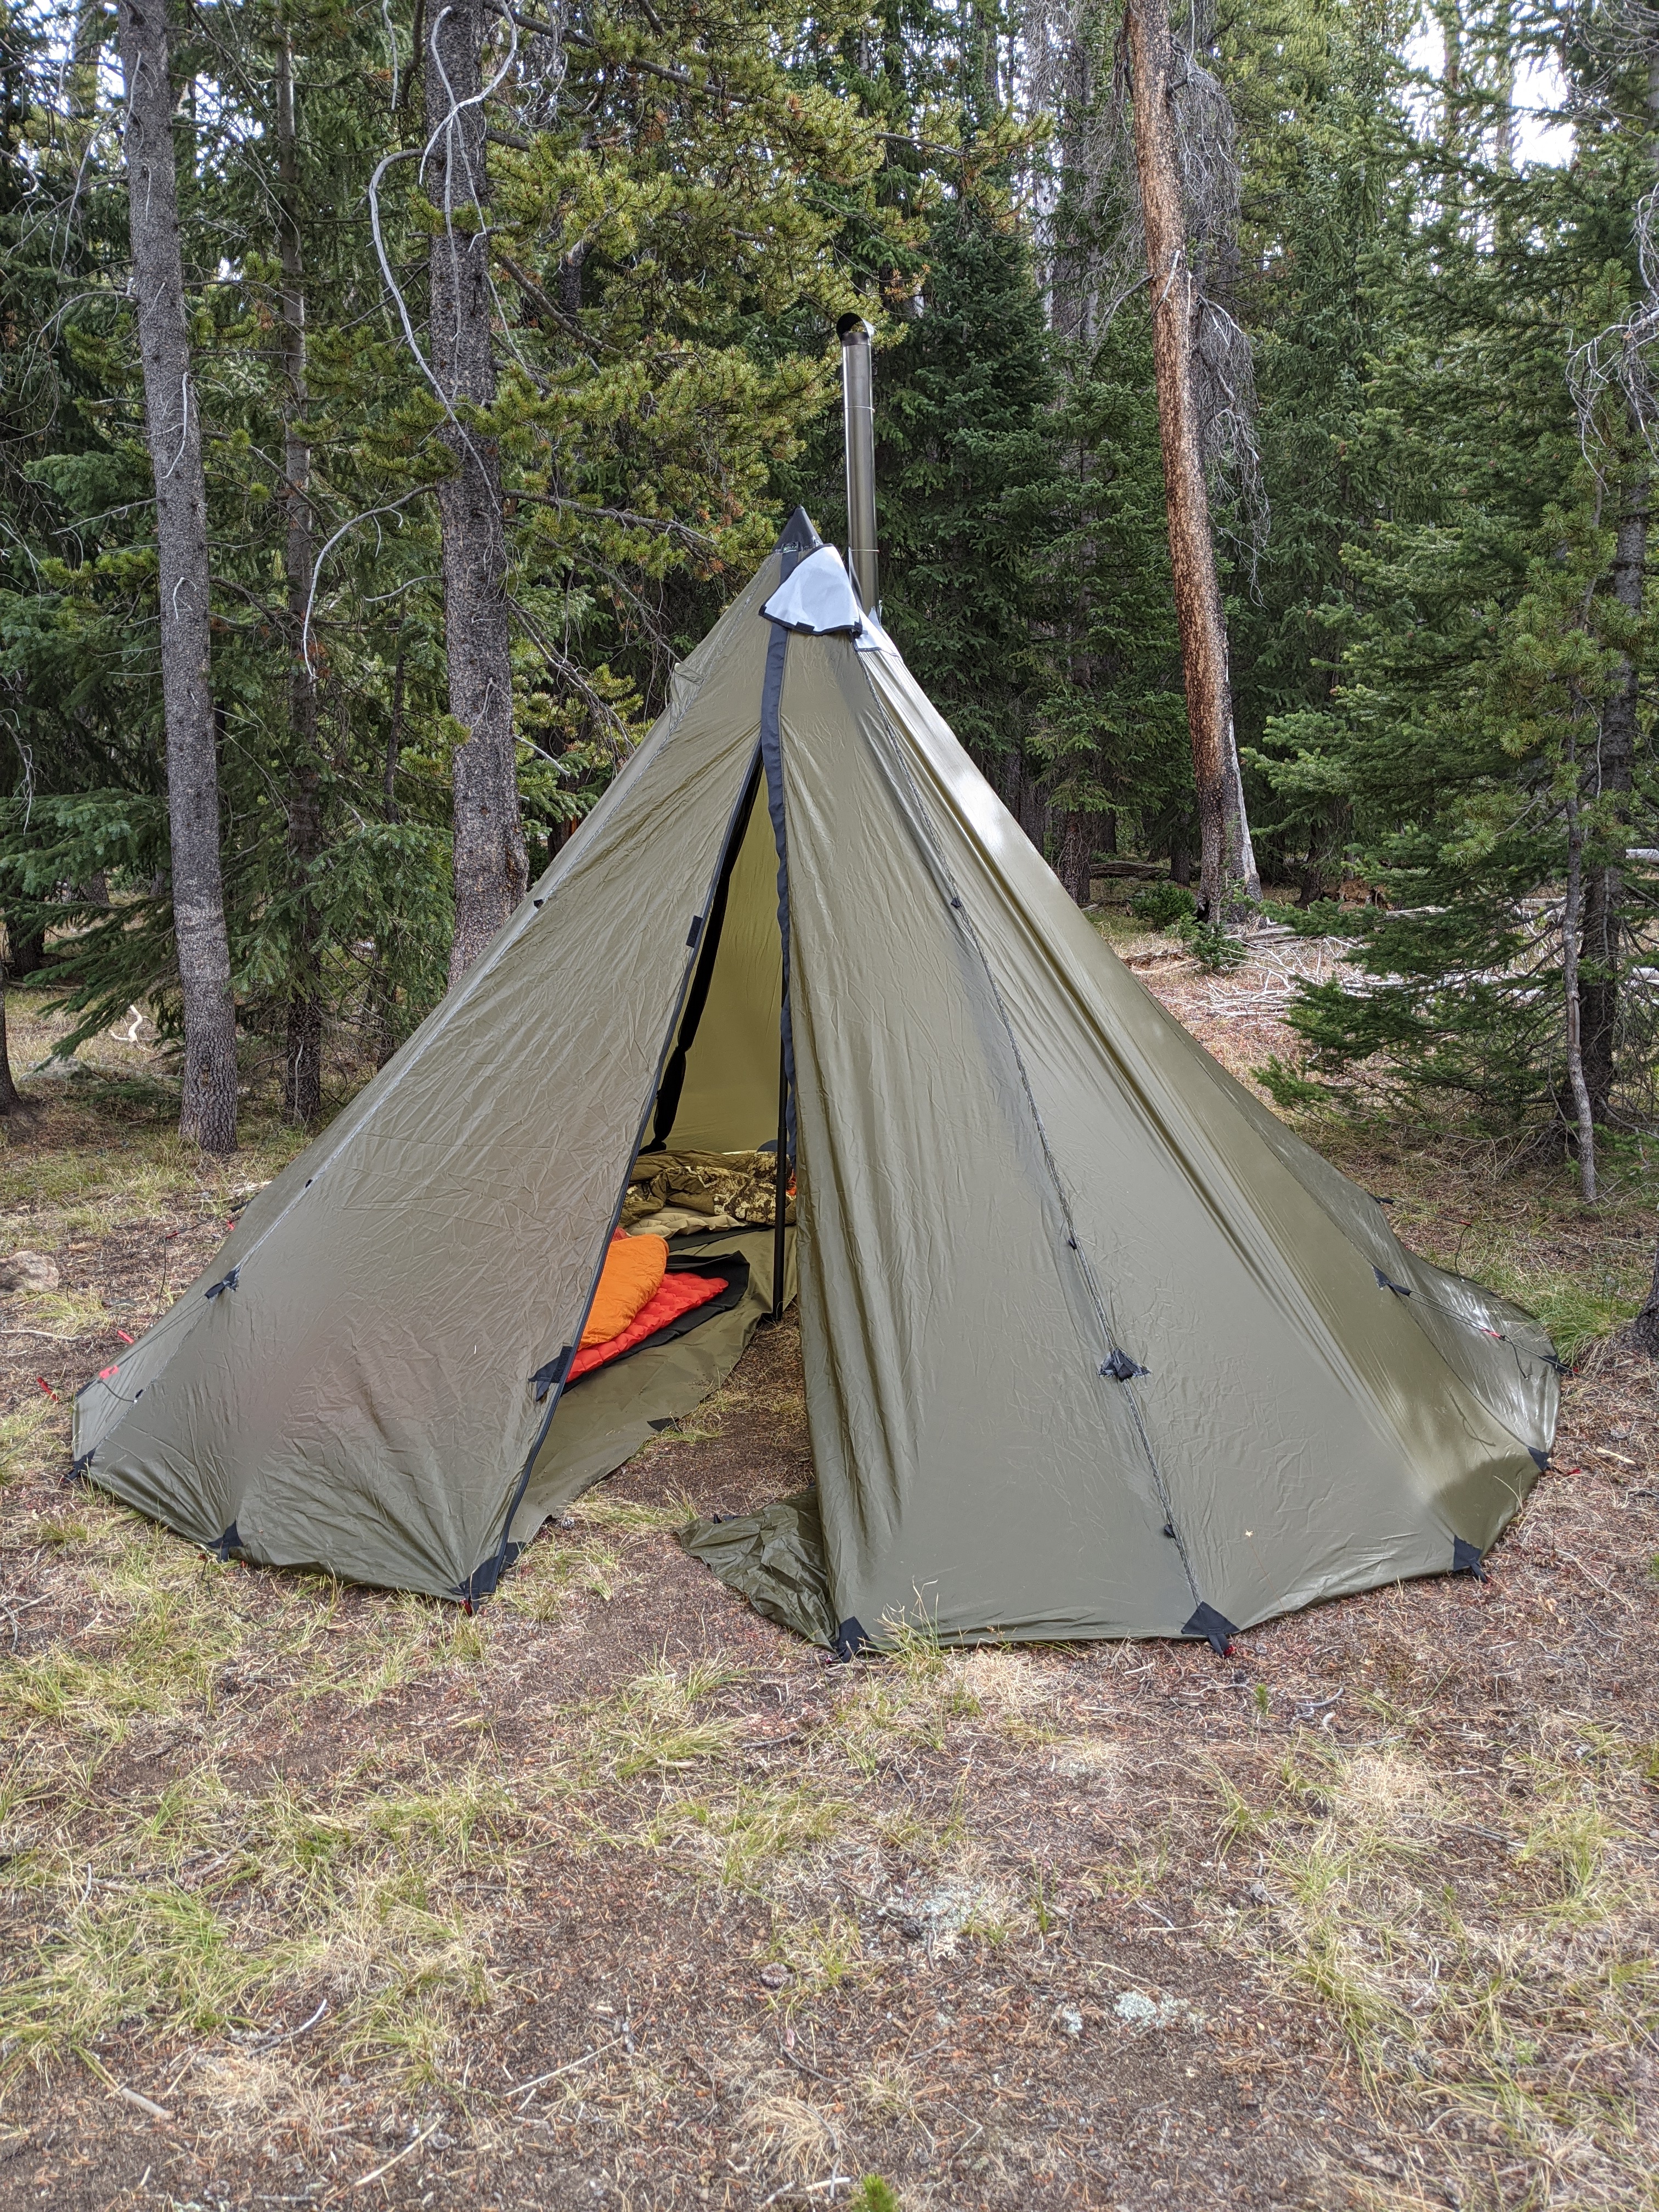
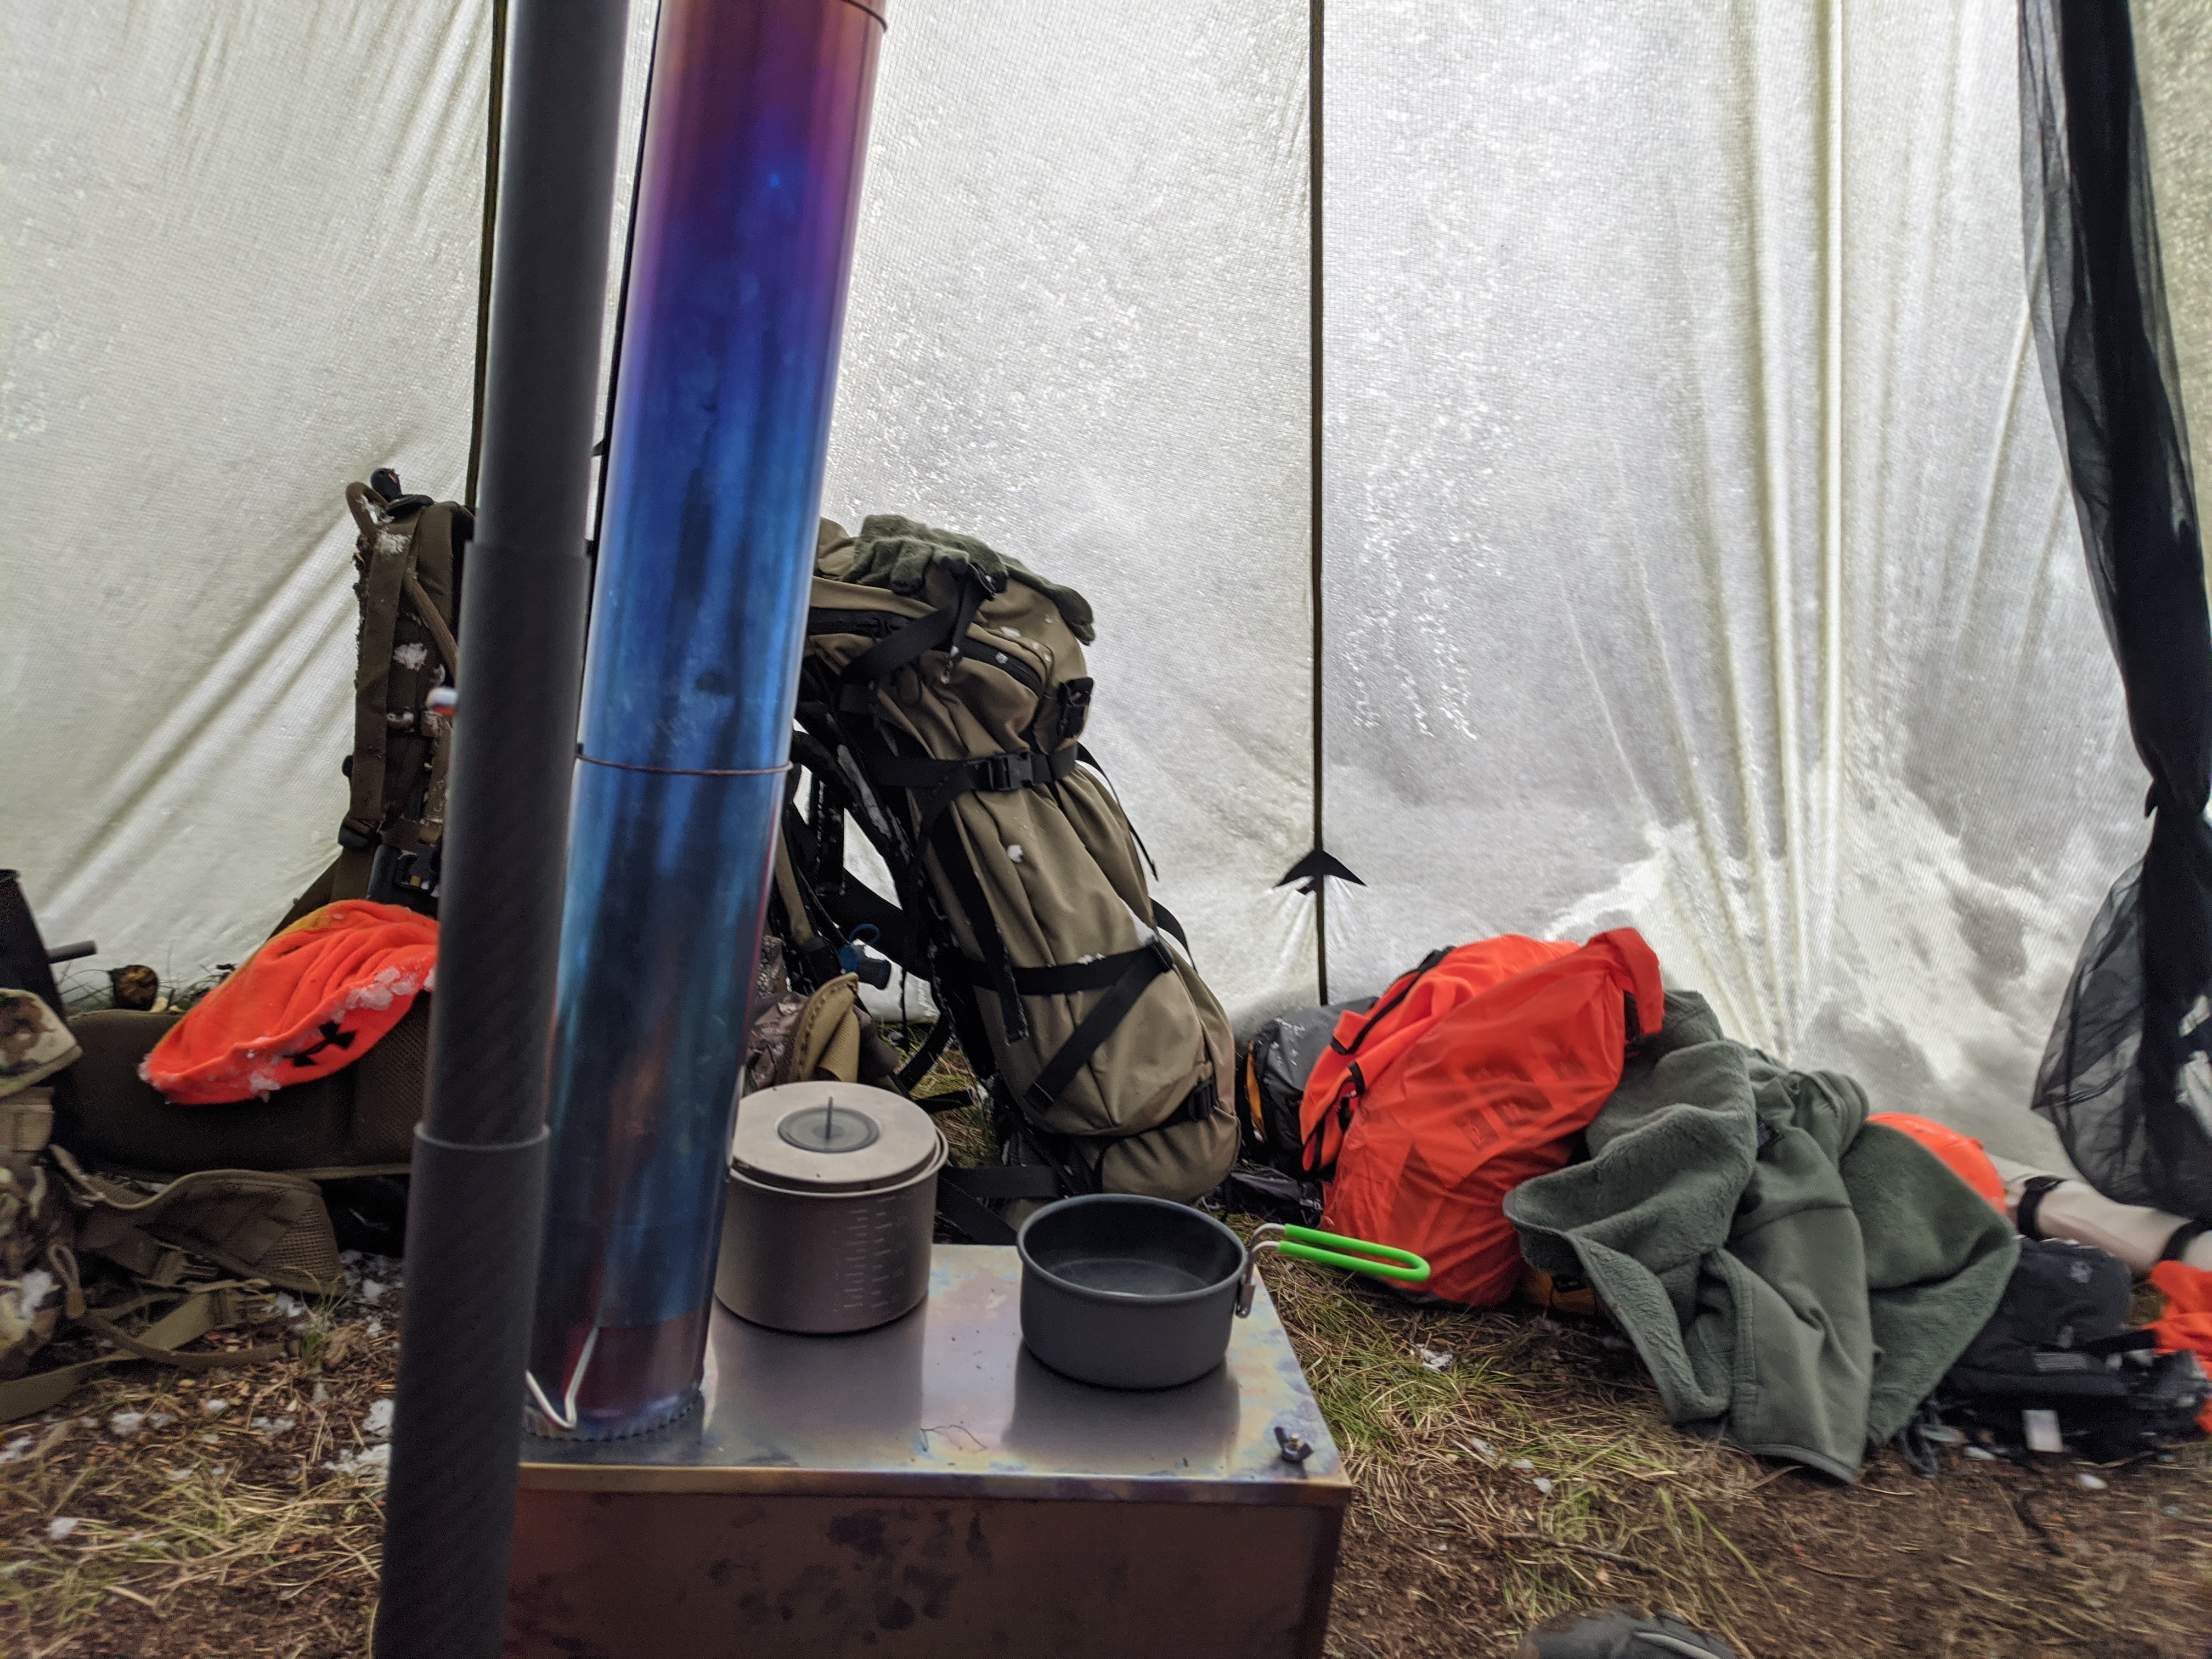
The tipi, if so configured, has a stove jack at the top that can be open and shut using velcro. Close the stove jack when not running a stove. With a 14′ diameter you can sleep 6 adults butt to butt. If you’re running a stove you can easily sleep three people, but we found two with a full compliment of backpacking gear and a small wood pile worked well.
The height at center is 7′ 10″ with a telescoping aluminum or carbon fiber pole which means you can comfortably stand in the center cone area. It gets a little trickier to navigate inside when you’re running a stove, but it is possible. We slept people on one side of the tent and piled gear on the opposite side. Having two doors is nice, but in cold weather only opening one at a time keeps the warm air in.
The SeekOutside 6 Man tipi is equipped with a sod skirt that helps it achieve a weather seal against uneven terrain. This is a bonus to pitching on terrain that isn’t perfectly level, but you’ll have to be careful while staking in your position. One careless hammer swing and you could puncture the lightweight material.
Packing Weights
| Combo weight with Large stove | 168 oz / 10 lbs 8 oz |
| Combo weight with SXL Stove | 173 oz / 10 lbs 13 oz |
| Tipi canopy, stakes, aluminum pole (no stove) | 104 oz / 6 lbs 8 oz |
| Dual Screens on your Tipi (sewn in) | add 14 oz |
| Carbon Fiber Pole instead of Aluminum | save 11 oz |
| Tipi bare weight | 59 oz / 3 lb 11 oz |
| Large stove complete with damper, legs, hardware, storage bag | 35oz / 2 lb 3 oz |
| SXL stove complete with damper, legs, hardware, storage bag | 40 oz / 2 lb 8 oz |
| Stove Pipe | 2 oz / foot – 8 ft = 16 oz |
Adding Creature Comforts
The tipi itself is quite comfortable even before adding any creature comfort items. Whether you opt for brown or green fabric the tent will trap sunlight making the inside several degrees warmer than the outside. In the summer, open one of the doors and zip the mesh door closed for extra ventilation.
Stove
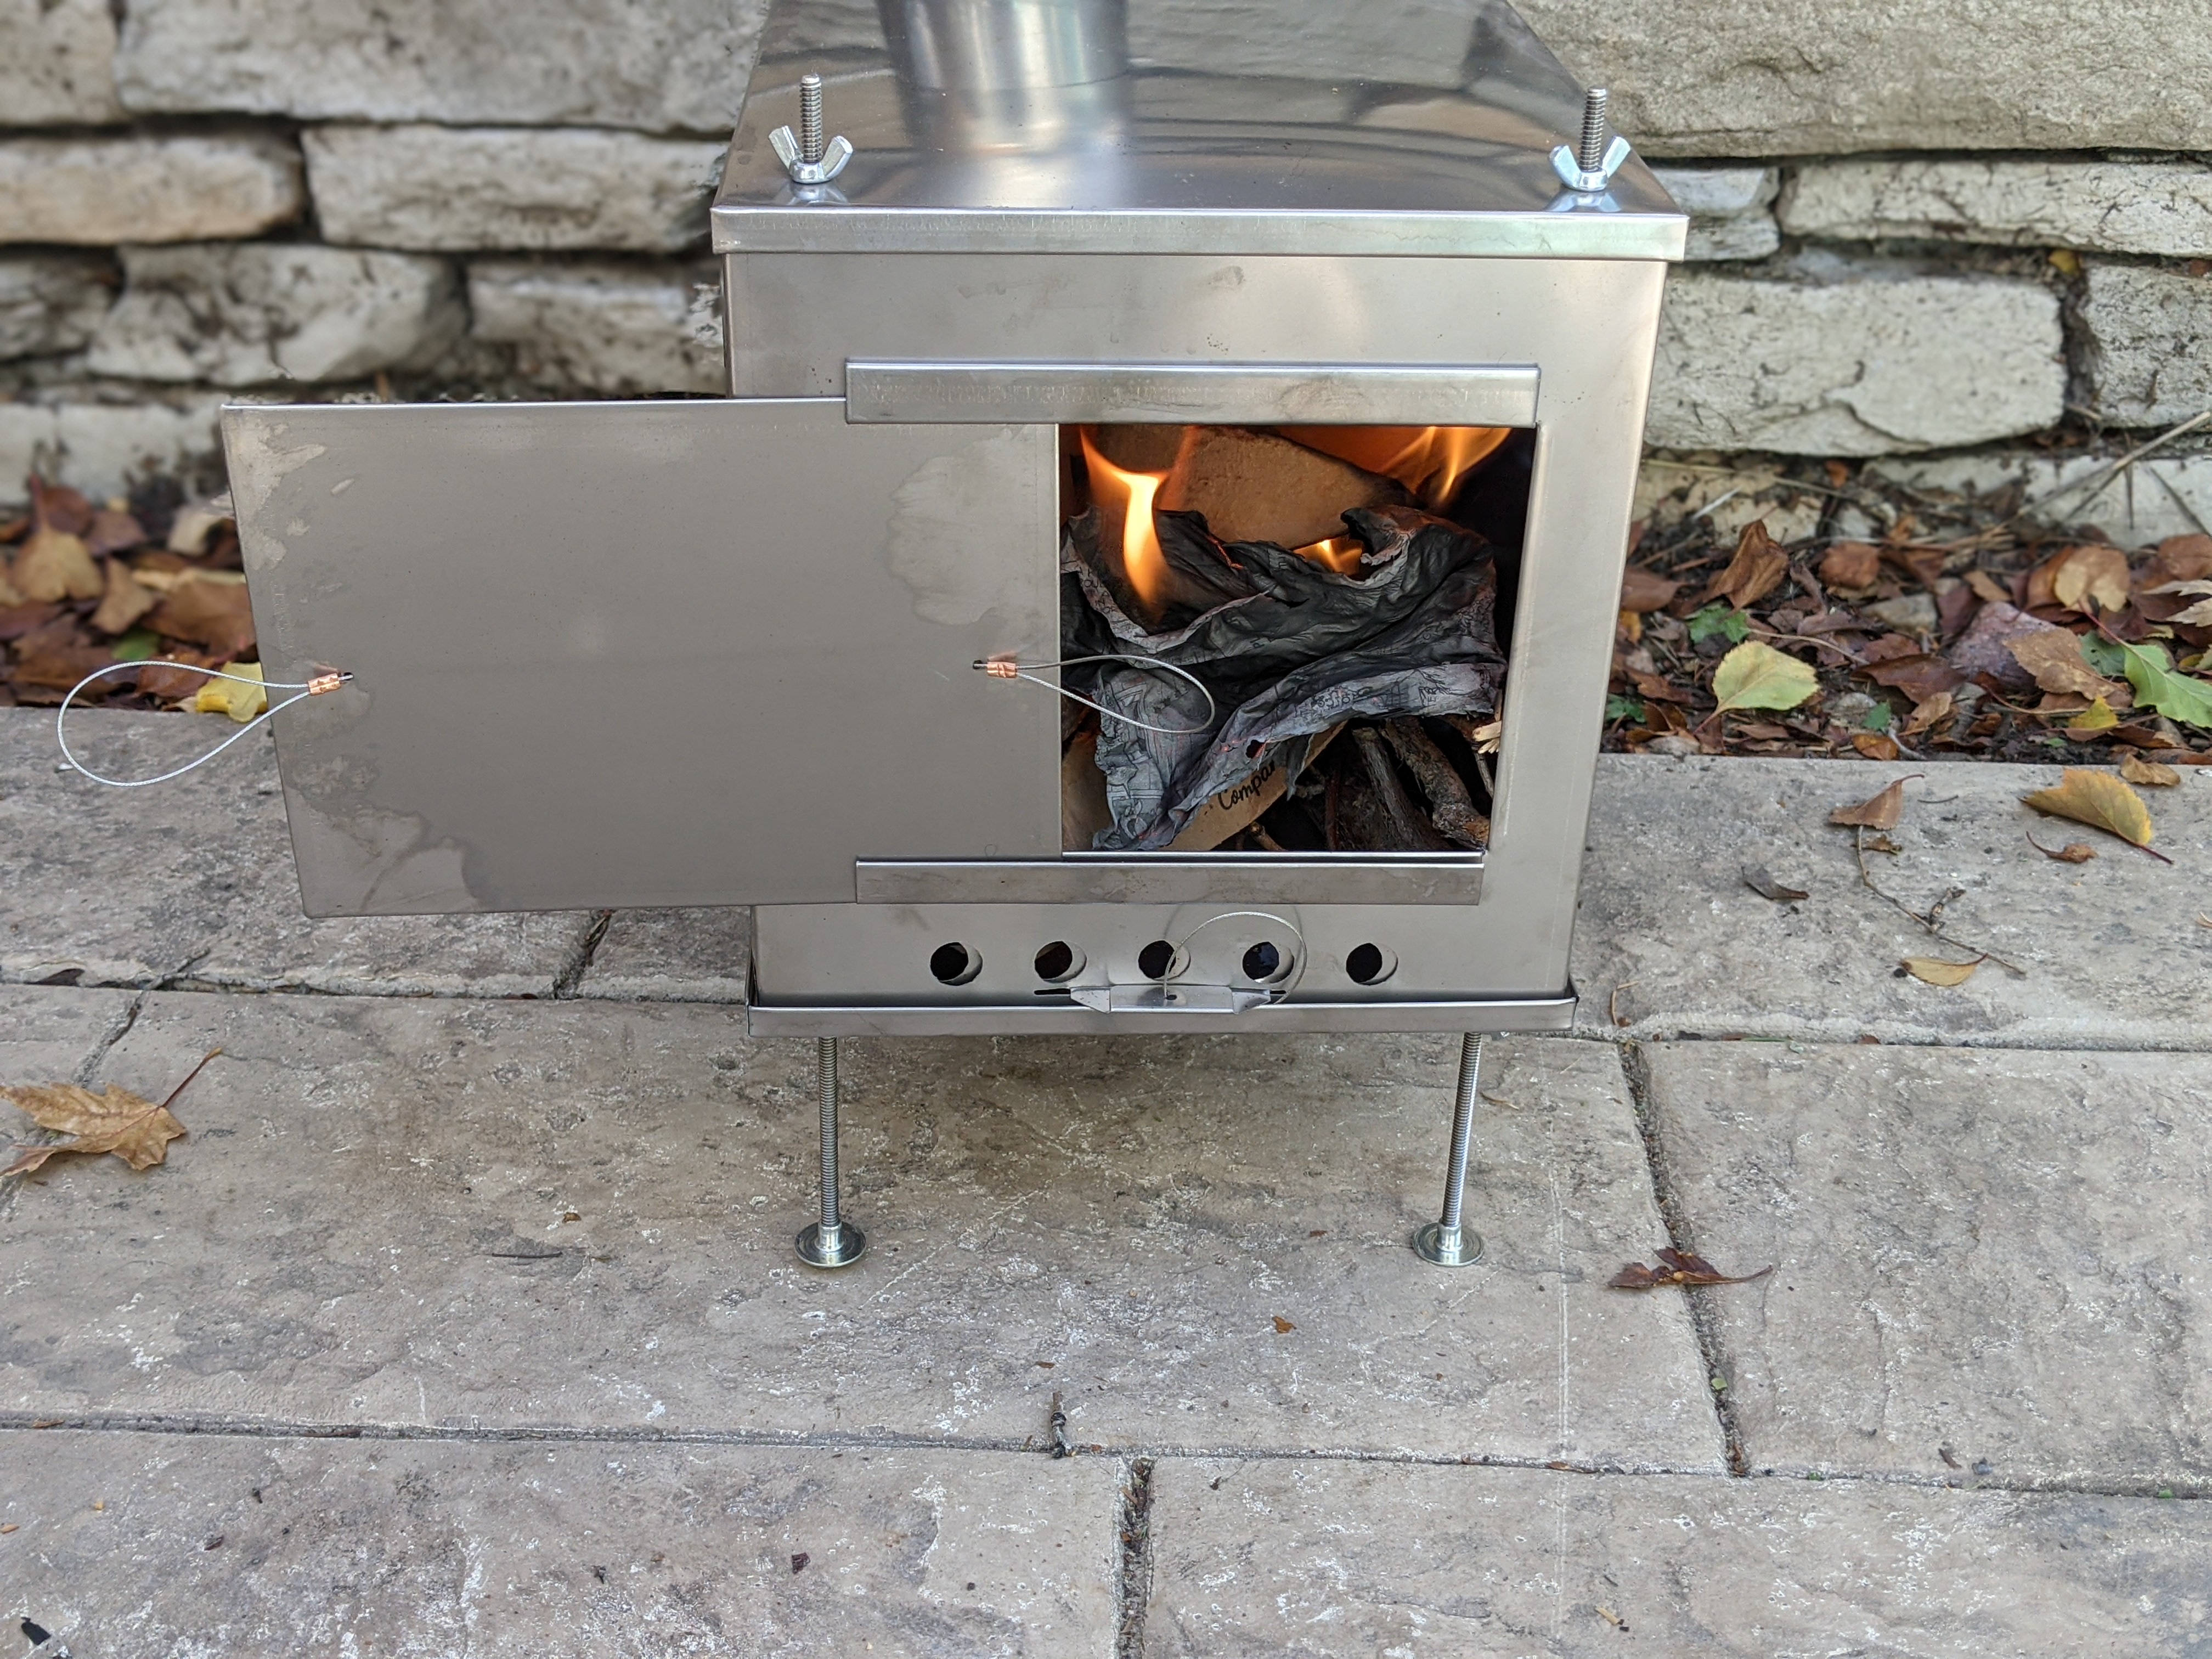
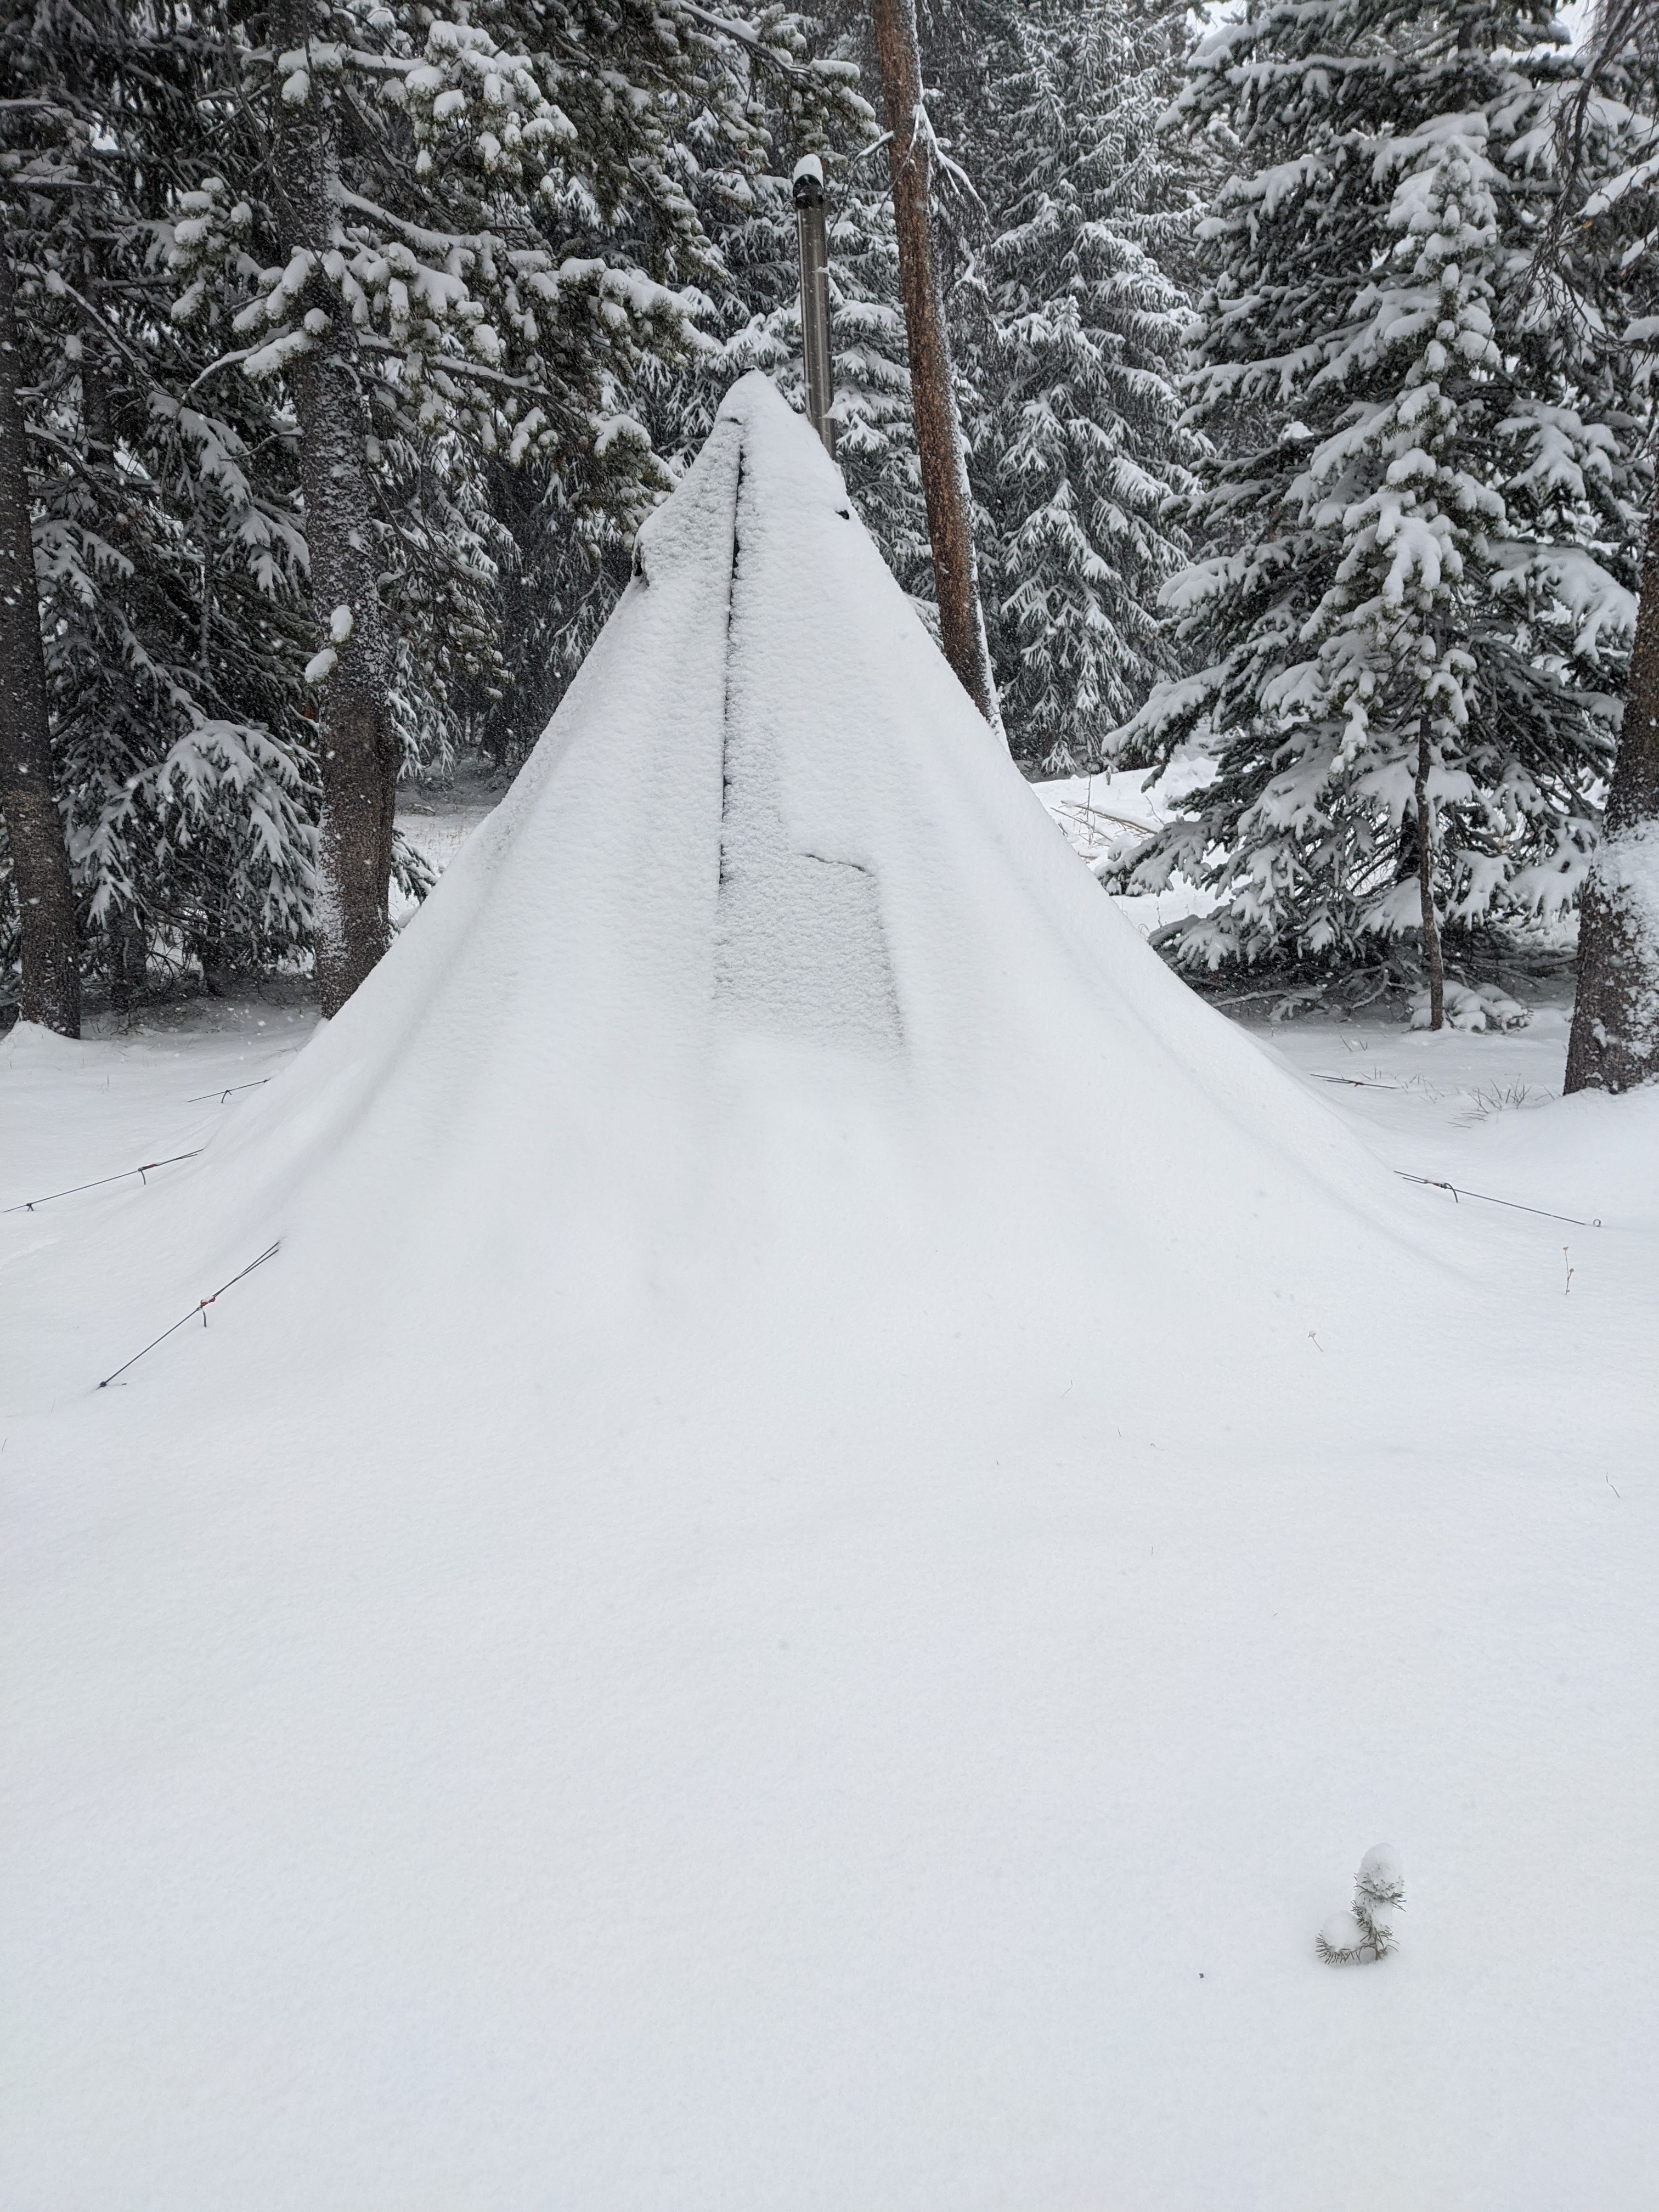
During the 2019 season snow made us retreat from the mountains. This year we wanted something that would shed snow and keep us warm. I opted to outfit my tent with a stove jack and a large SeekOutside titanium backpacking stove. The stove folds flat into a black Codura zippered bag to keep everything tidy and soot out of your pack. If you’re careful you can pack the stove in between your pack and frame of using a frame backpack.
In addition to the stove itself I purchased a weather bonnet for the stovepipe and a plastic container to store the rolled stovepipe in. Yes, I could have made one, but I wanted to not screw around and the season was approaching.
Once you get the hang of it, the stove assembles quickly. Using your thighs to keep the sides from falling down while putting the top on, or having a third hand helps assembly. You’ll need to burn in the stove itself at home before going afield. This allows the stove pipe itself to create a heat memory that makes rolling the pipe out in the future much easier. Having another set of hands is helpful in order to get the retainer rings around the stove pipe but it’s not required.
Floor
This was my first experience with a floorless tent. Conceptually I like it. I think I’d like to take it truck camping where I can bring cots and all the creature comforts of home. However in the backcountry I like having a floor for my tent so as not to get dirt everywhere. I usually take my shoes off in the vestibule of my smaller tent, but that’s not an option here. Using the white tyvek mats ($12) helps keep dirt down so long as you remove your shoes or you use camp shoes.
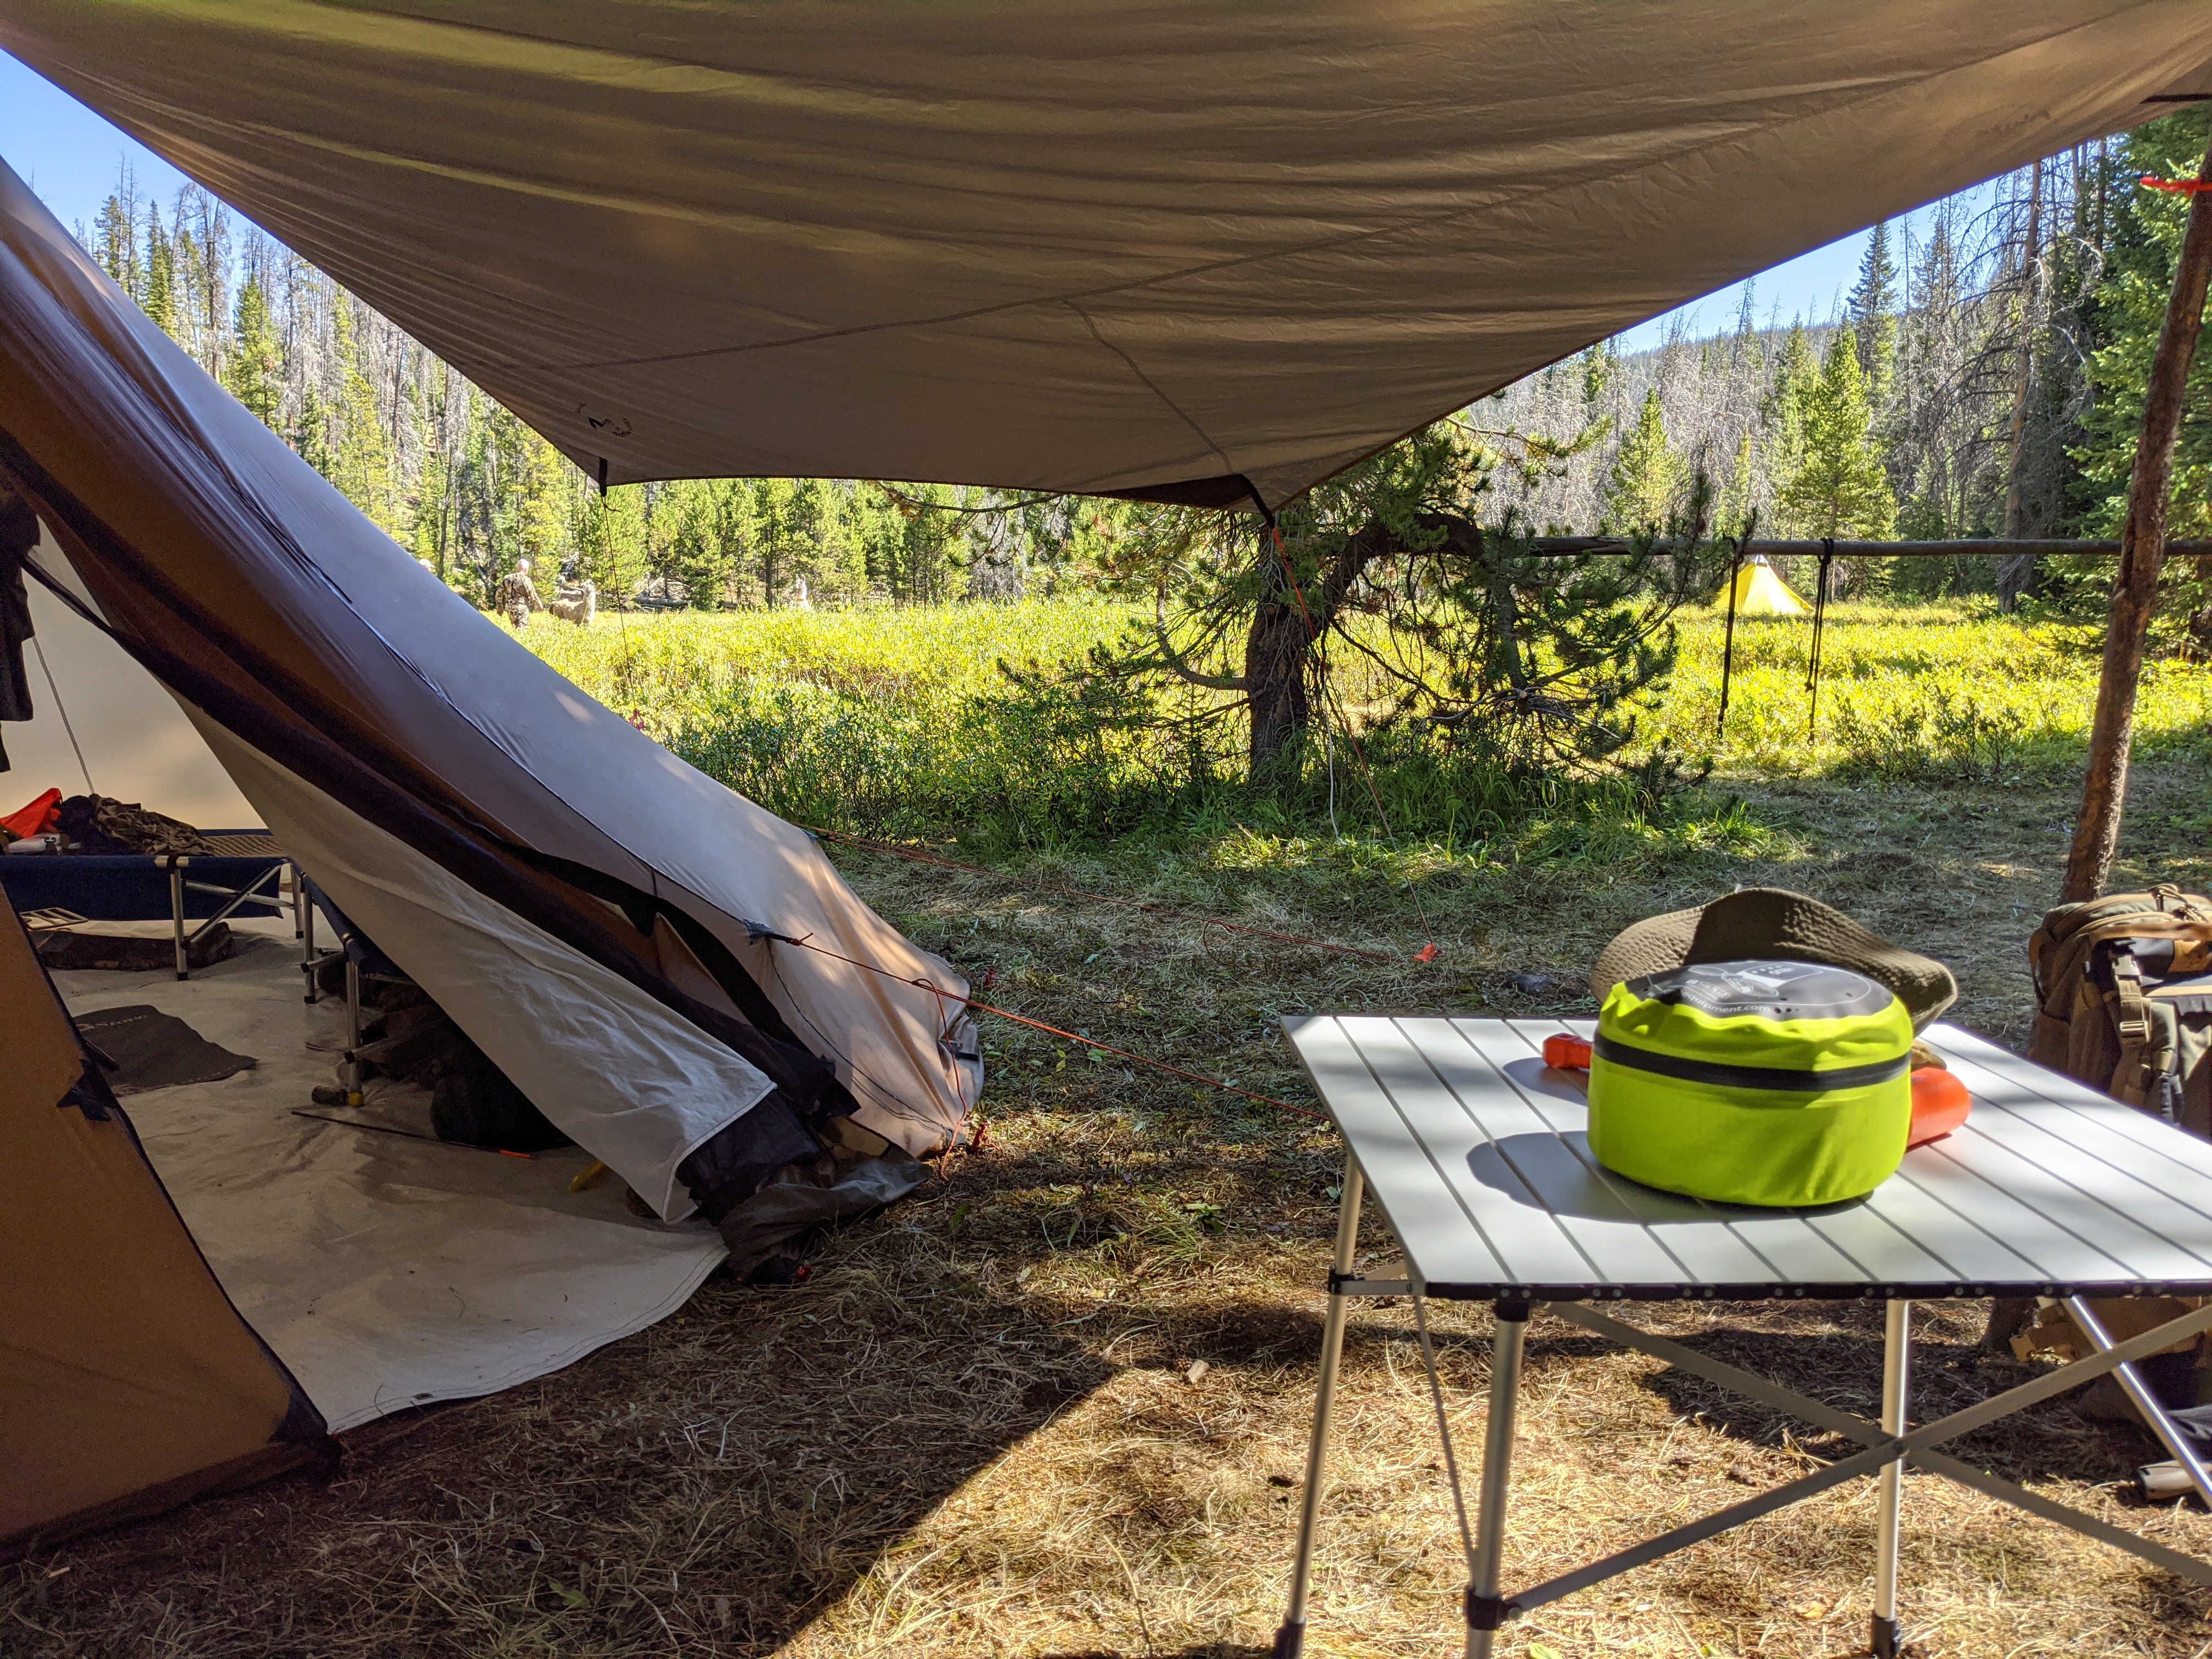
During archery season I wandered into a camp with two tipis, curious as to how they were outfitted. I spent some time in camp discussing the elk in the area, but I really wanted to know more about his setup. He suggested that if you want a floor for your SeekOutside tipi that to look no further than the cover for a pitcher’s mound! A novel idea for sure. He had the added benefit of using a string of pack llamas to carry in his gear. But using my jeep for truck camping and sticking to roadside spots is no different. I think if the family joins me in the tipi that’s cheap insurance against icky toes.
Stakes, Oh Come On!
Okay, one actual gripe here, the specs say it ships with 20 stakes, and it might well ship with them. However during our setup we had difficulty coming up with enough stakes to stake out the tent, and guy it out. If you have a half floor you need even more stakes. The stakes themselves are straight red aluminum stakes that may well be unbranded MSR Groundhogs. They go into the ground easily but are difficult to get to catch the nylon webbing loops. I would suggest shopping around and looking for shepherds crook style stakes for the base of the tent.
Also, no guy lines ship with the tent, but they’re just paracord. I ordered some paracord and cut it to length, and bought some aluminum sliders to help with quickly adjusting my guy lines for the snow load.
Liners
If you’re looking to do some cold weather camping it’s advised to get half wall liners, since otherwise it’s a single wall tent. Two half walls provide coverage to fully insulate the inside of your tipi. While you lose some space inside the tipi you gain an air barrier that provides insulation during the inclement weather. During our elk trip we knew we were going to be dropping to subzero temperatures, so we had to take precautions. Given the combo I’d purchased, we decided to pack the half wall.
The half wall attaches with toggles at the top and a line and loop system at the bottom. This allows the liners to maintain a close fit to the tent wall regardless of how tightly you have the tent itself guyed out. Consider watching the video as to how the system works. Unfortunately I had to figure out how to use it in the field, which confused me.
Wishful Thinking
Everything weighs something in the backcountry. Nothing comes in weightless. But after the 2020 elk season I feel like there are some kinks I need to work out. I’d like to figure out the best way to make a drying rack for the stove. I figure maybe the Asian Grocery might have a foldable lightweight metal thing I could use to dry socks. Buuuut there’s always sticks and paracord. A floor is nice, but the pitcher’s mound cover I mentioned above weighs about 3 pounds for an unweighted model.
Overall
The tent is a expensive at $1600 for this combo, they don’t discount the product much but there’s a reason for it. When you’re researching hot tents built for the rigors of hunting the backcountry your selection is small. Looking for tents made in the United States your field is miniscule. Time and time again SeekOutside is the absolute cream of the crop. Their sales peak out at 10% off on Black Friday with the occasional blemish sale. Their users are rabid about the quality of the kit and I see why.
SeekOutside holds themselves to very high standards and the tents show that in terms of quality. They’re strong and innovative with material selection while maintaining a relatively light weight. In a pinch I could pack in the entire 6 man hot tent setup solo with hunting gear, but it’s better split among two hunters.
I would not hesitate to recommended the SeekOutside 6 man tipi to anyone. I’m a firm believer in buy once cry once, and this tent is no exception. With a hefty price tag there are cheaper tents available on the market. However they’re not anywhere close to the same quality or lightweight design. I’m a believer, and when I look to upgrade my solo backpacking tent for the 2021-22 season I’ll likely be browsing SeekOutside again.
