I’ve wanted to do a series on cyber-scouting when I launched the blog, and have been interested in it for a really long time. In this article we cover how to find some new public land nearby, that should produce the critters you’re looking to target. In this case, let’s stick with the wily whitetail deer. In a later article I’ll cover some scouting for pheasant territory in PA.
So a couple years back I made a move to a new area, and with that move went all of my regional knowledge of the areas that I’d been hunting and fishing nearby and after work. Now I have a considerably longer commute which means that I can normally fish after work in the spring and summer, but the lack of daylight plays havoc on my ability to hunt after work most days. So that means I need to work with a travel radius or hunt only on the weekends. How comfortable you are getting up at the crack of dawn and driving to your spot that you then have to walk to is up to you. For me, I’m comfortable driving almost 3 hours after work to somewhere I’m going to spend the weekend, which is how we started looking for a hunting property of our own. For a weekend hunt where I wake up in my own bed, I’m comfortable driving say, an hour or so. What I’ve started doing is compiling a list of tools that helps me make the decisions on where to hunt, use the Free Map Tools Radius around Point tool to get an idea as to what is inside your radius. If there’s no public land, you have the option to either knock on doors, or increase your radius.
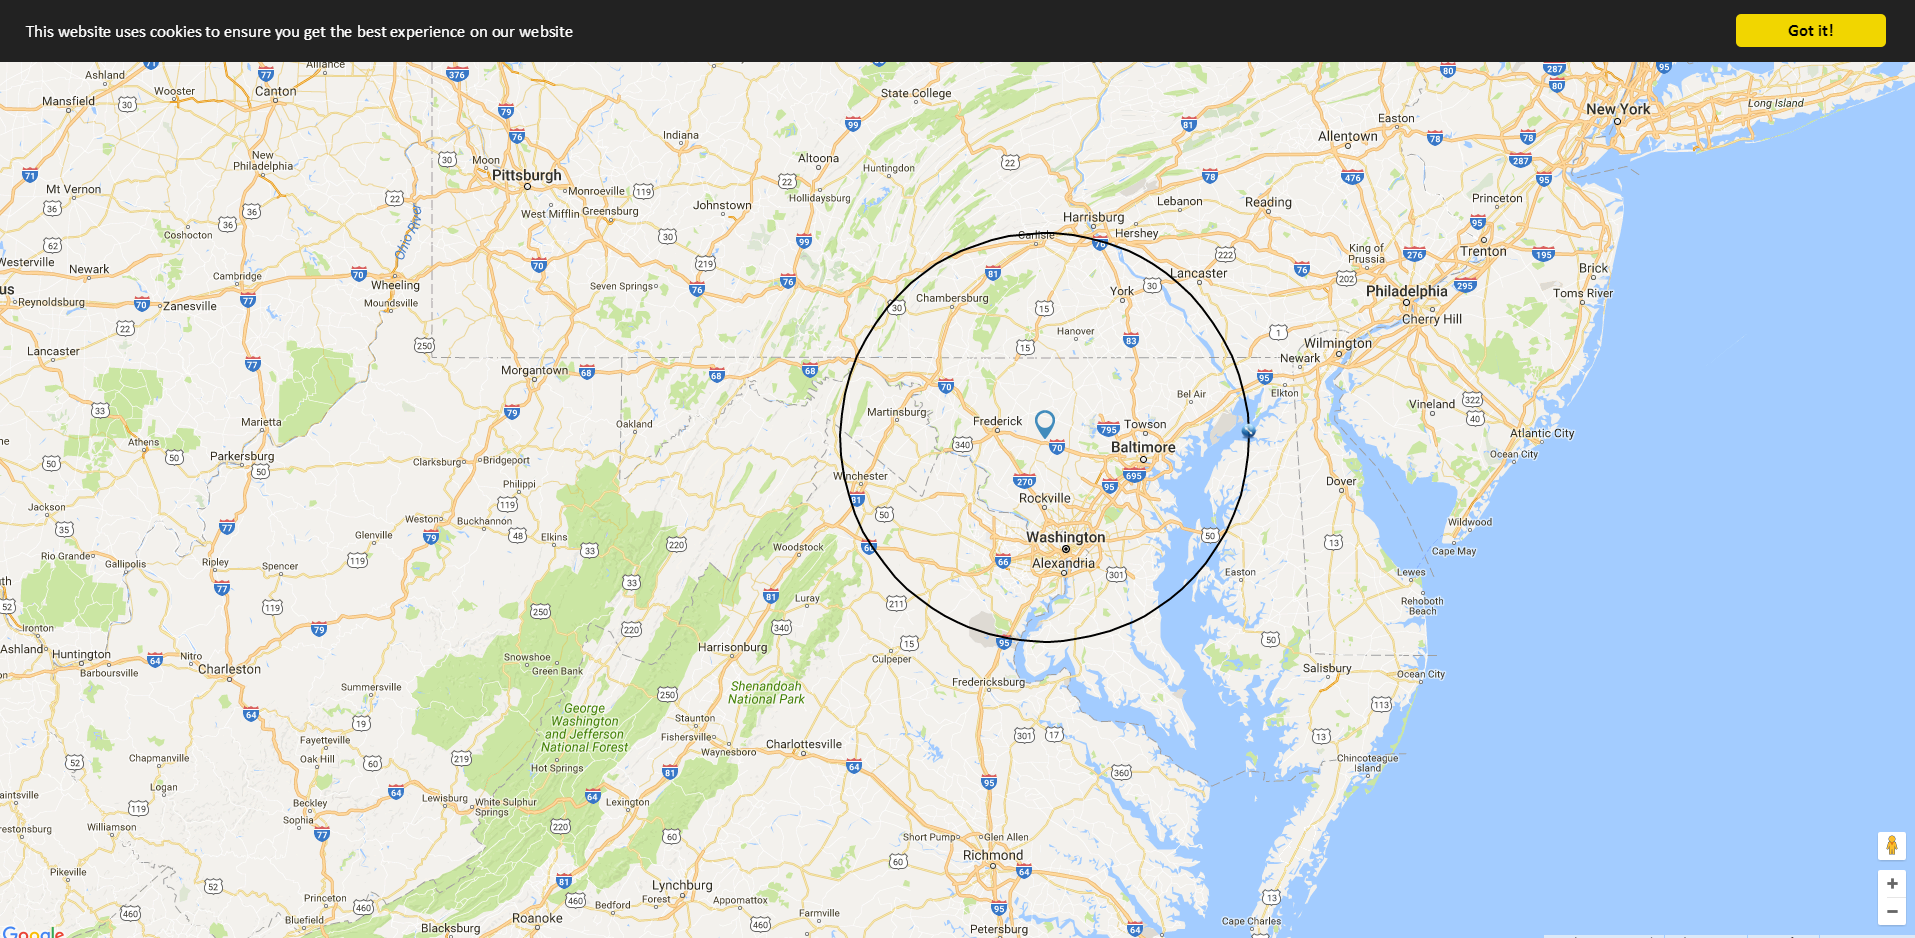
So in the tool under Options, delete the Radius Distance in KM (or use it, Canadians and scientists) which will zero out all fields and put in something like 70 miles, click on the map where you’d like to center your search, and it’ll draw your radius. Under Colours and Line Thickness you can edit the circle that was drawn. Grab the URL to last radius under Output, click the checkbox next to URL Loads full screen and URL loads un-clickable map. That should ensure that you get your radius without using JavaScript to “helpfully” make you a new one when you inevitably click and drag the map around. You can set the color of the circle to be clear so you can zoom in and see the various park names on the map. It doesn’t appear that you can change the opacity, which would be super helpful. Additionally, if you’re working on some scouting maps inside of Google Earth, the tool can also output a KML file that you can add into custom maps. I find this useful for planning day trips from our cabin.
For my example I set a 70 mile radius around Mt. Airy, MD. A place that’s kind of out there by it’s own right. Looking at the radius I have Baltimore, Fredrick, Gettysburg PA, Shrewsberry PA, Aberdeen, and points south all within striking distance. Now let’s check some of the green bits. I’m usually looking for some food plots and a water source nearby. Southern Maryland has a lot of public land on the Patuxent river, some of it is inside my radius but might be difficult to deal with given the routes all involve getting pretty close to Washington, DC. That’s something I could probably do without even super early on a weekend.
Here’s some of what I found inside my radius close by the center. Some things can be struck off the list with a quick Google search.
- Sleepy Creek Wildlife Management Area – Actually in WV, need another tag
- South Mountain State
- Cunningham Falls State Park
Seymour B Cooper Memorial Wildlife– No hunting informationEmmitsburg Watershed– apparently only for Emmitsburg residents- Morgan Run Environmental Area – Requires a Managed Hunt permit from the state.
Piney Run Park– No HuntingGills Falls Park– Horse trails and equestrian center- Hugg Thomas WMA
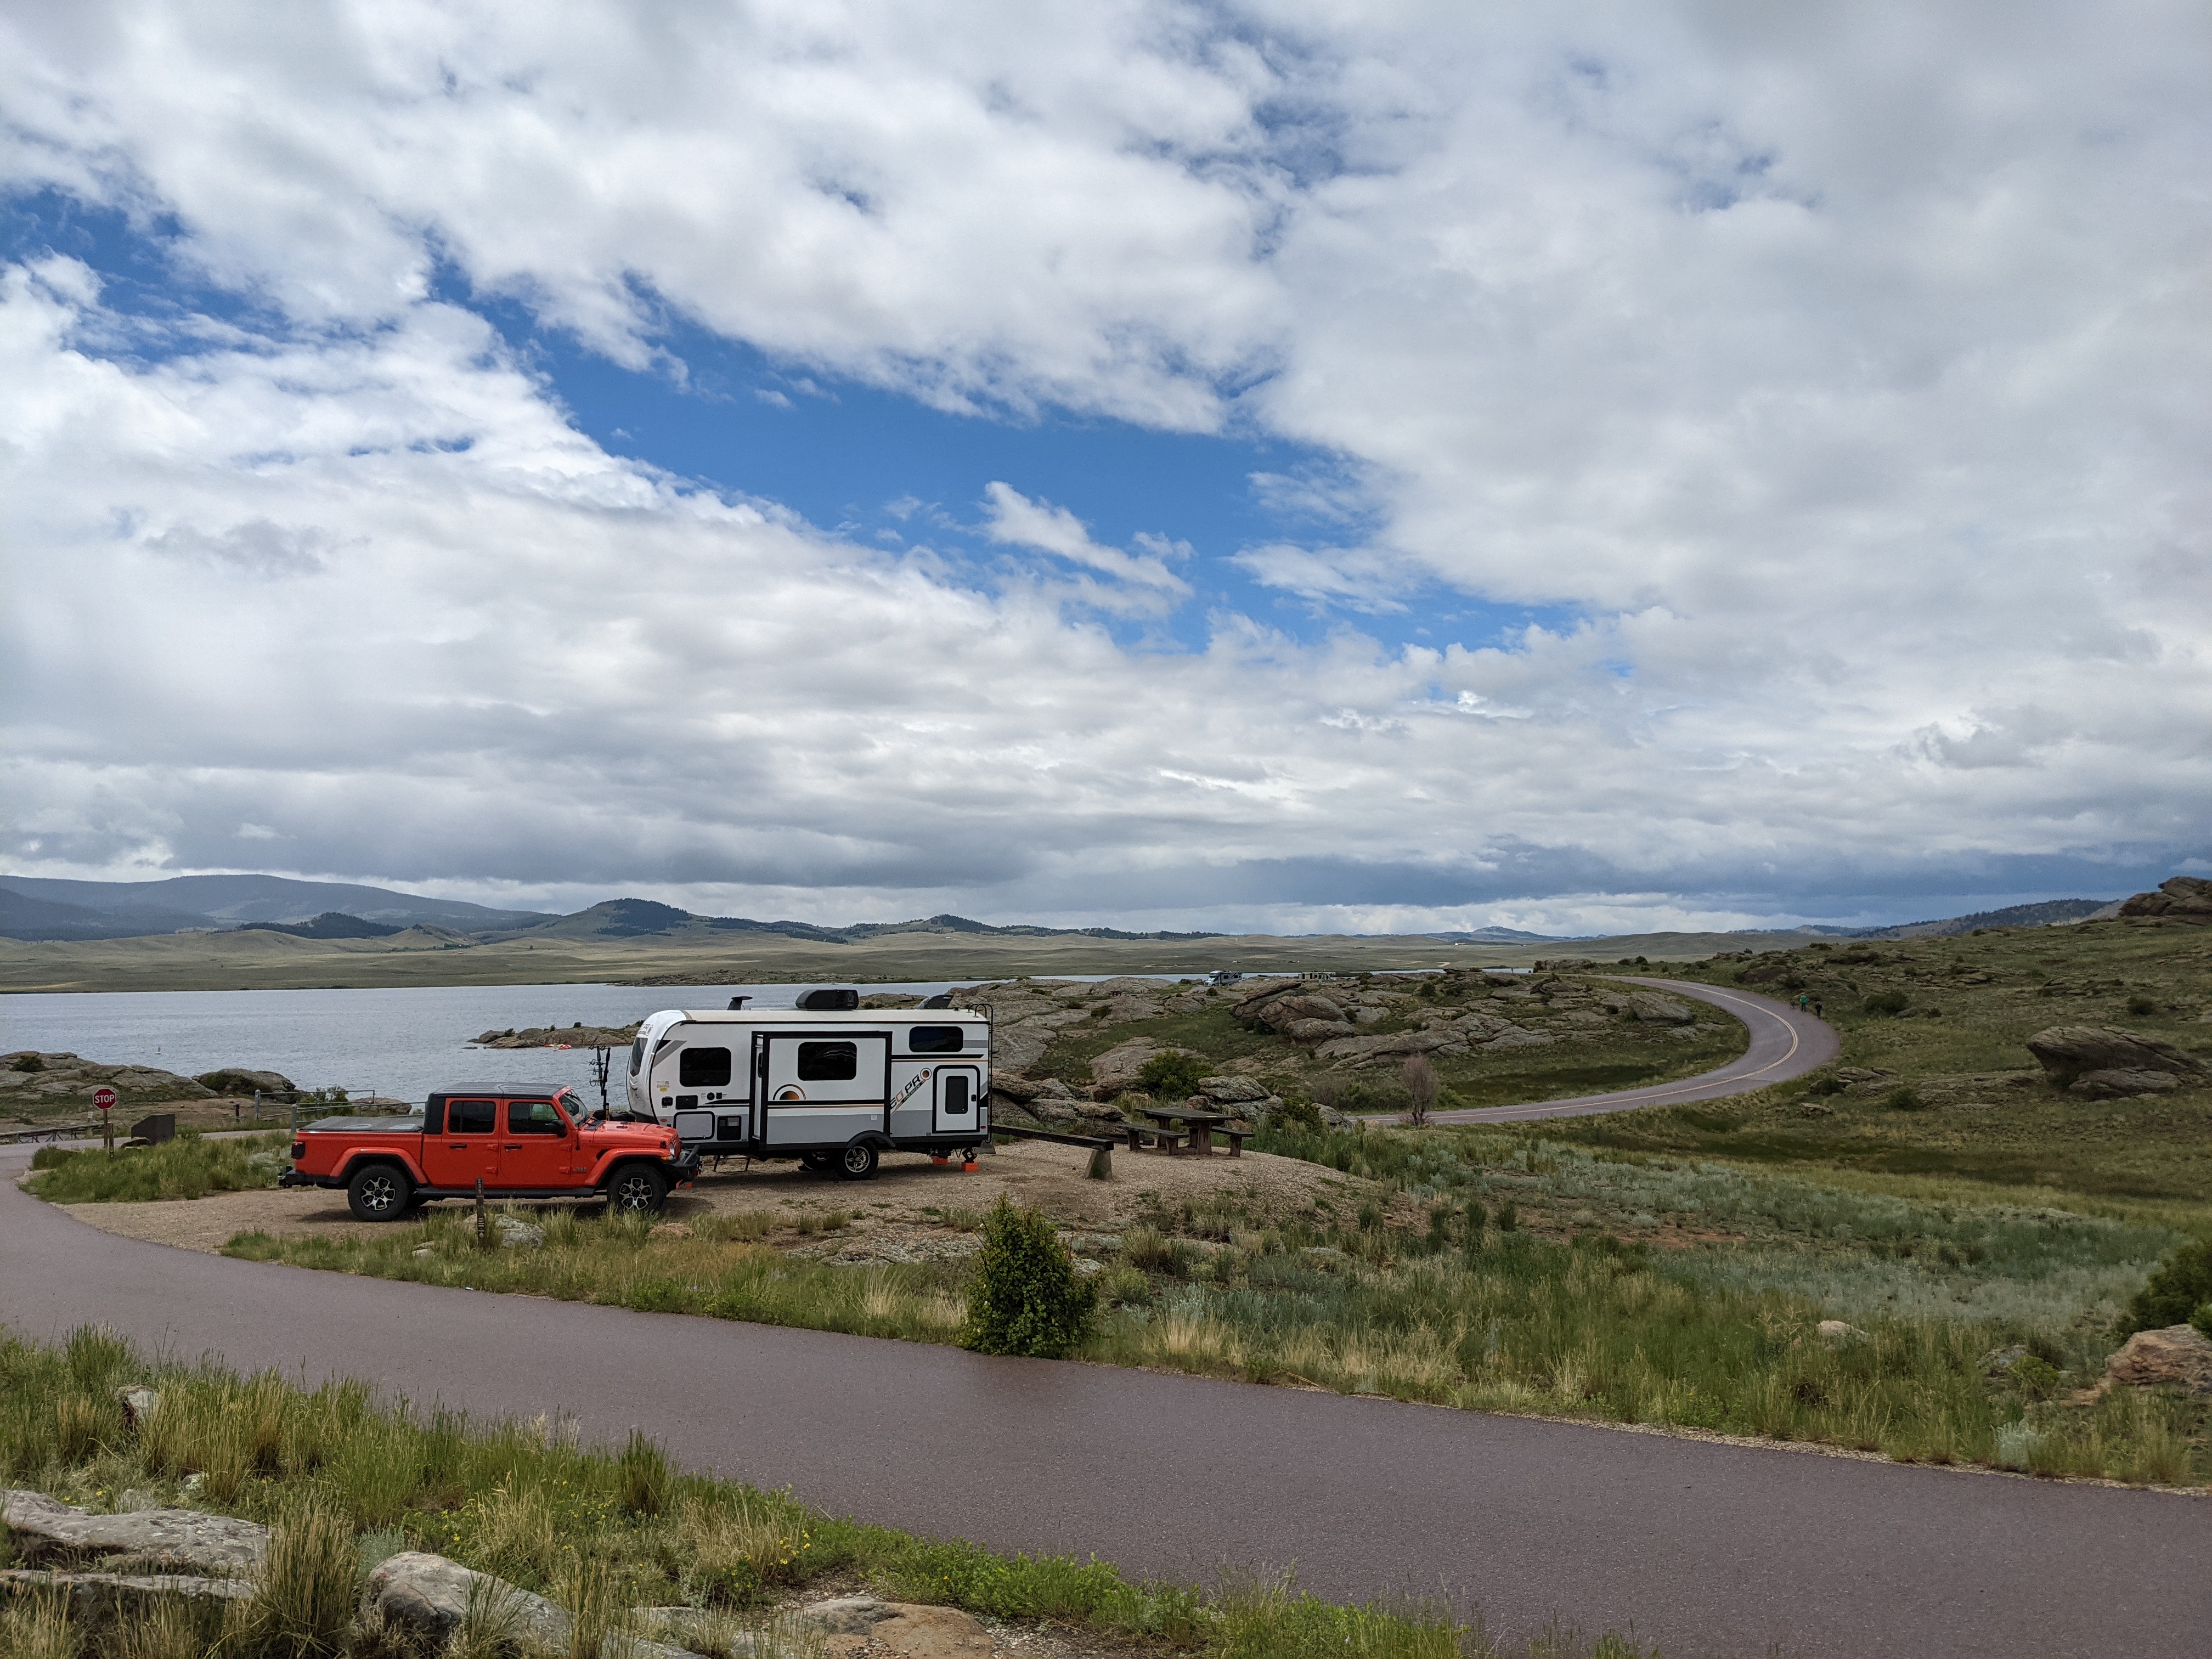
It looks like at least one of the properties has some redeemable features. Let’s take a look at the Hugg-Thomas WMA and see what we see. This is the point where I normally pop into Google Earth. Let’s do that.
This particular property doesn’t seem to have its boundaries listed inside Google Earth, but there is a picture on the main road indicating the entrance is there, so let’s take a closer look. There is a central field with wind breaks all around it, resulting in three thin sections of trees concentric around the large field. There are multiple food plots, and off to the southwest there is a pond in what appears to be the back yard of a rather large McMansion. Looking at the PDF map above it looks like there are several streams nearing the property and one cutting through the western part of the property. One of the benefits of using Google Earth for your scouting is that you can view historical imagery by going to View -> Historical Imagery, and now a slider pops up at the top left allowing you to navigate through the imagery available where you currently have your view parked. Each pass is somewhat different from 1992 to 2014, the early images are normally black and white, with higher res imagery with color coming in sometime in the early 2000’s. I use this feature to look for old trails cut by bulldozers during select cut timber harvests. More often than not these will not appear on the official trail maps, but will be faint enough to see with the naked eye on Google Earth. Those trails often become deer travel corridors over the years until they become impenetrable.
The 2007 imagery makes it clear where the second pool of water is on the property, south of Forsythe road. The 2010 images clearly show the field planted with a patchwork of passes by a tractor. It’s unclear from the angle and the pictures whether it’s corn or soybeans. The DNR rotates their crops nearly every year.
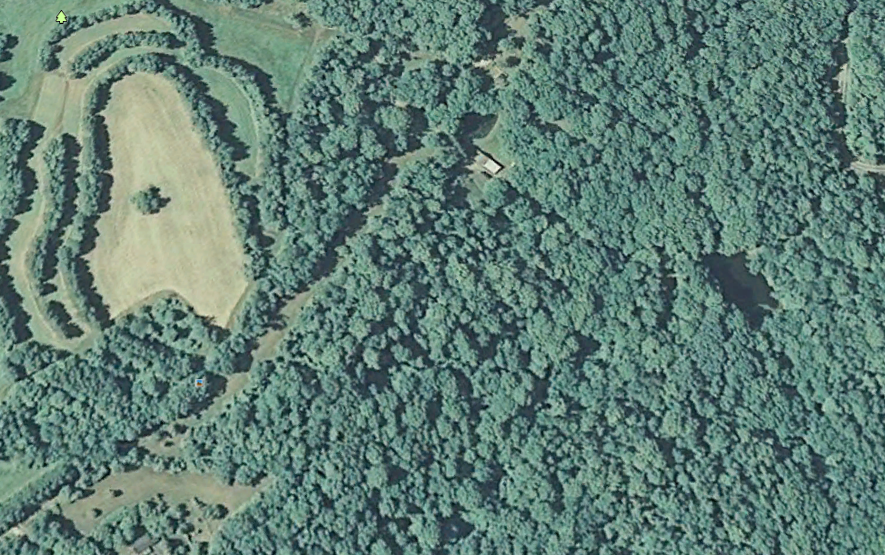
Pond shown more clearly by using historical images.
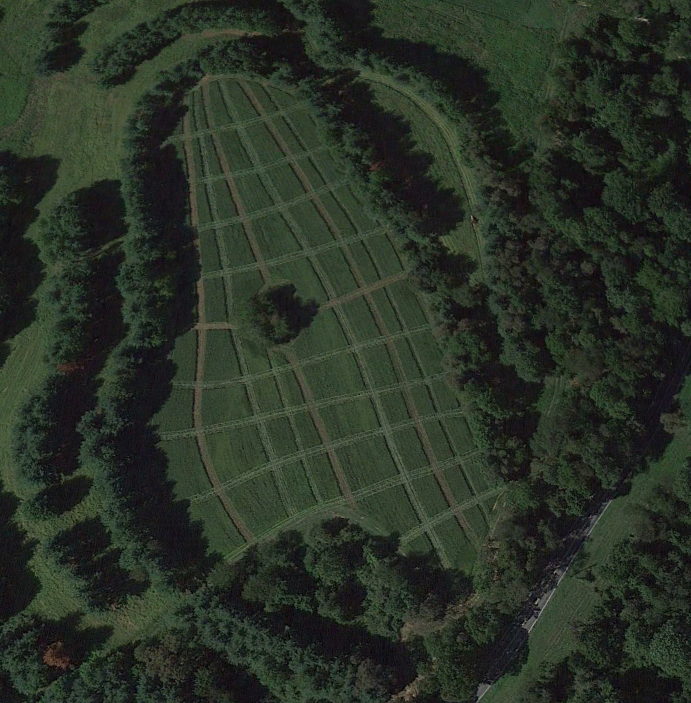
Crops shown clearly planted in 2010 imagery that doesn’t exist in other shots.
Something I use in territory with a little more topography is the Sunlight button (View->Sun, or in the button right next to historical imagery). This allows you to visualize how the sun will hit the landscape as you’re trekking into and out of your stand location. You don’t want to be sky lined, but you’d also probably rather your shooting lanes catch the light before you do. This honestly hasn’t made much difference for me in MD, but has paid the bills in the mountains of Pennsylvania when I’m trying to visualize a new stand or see when I should head out on a given month to check out the stand.
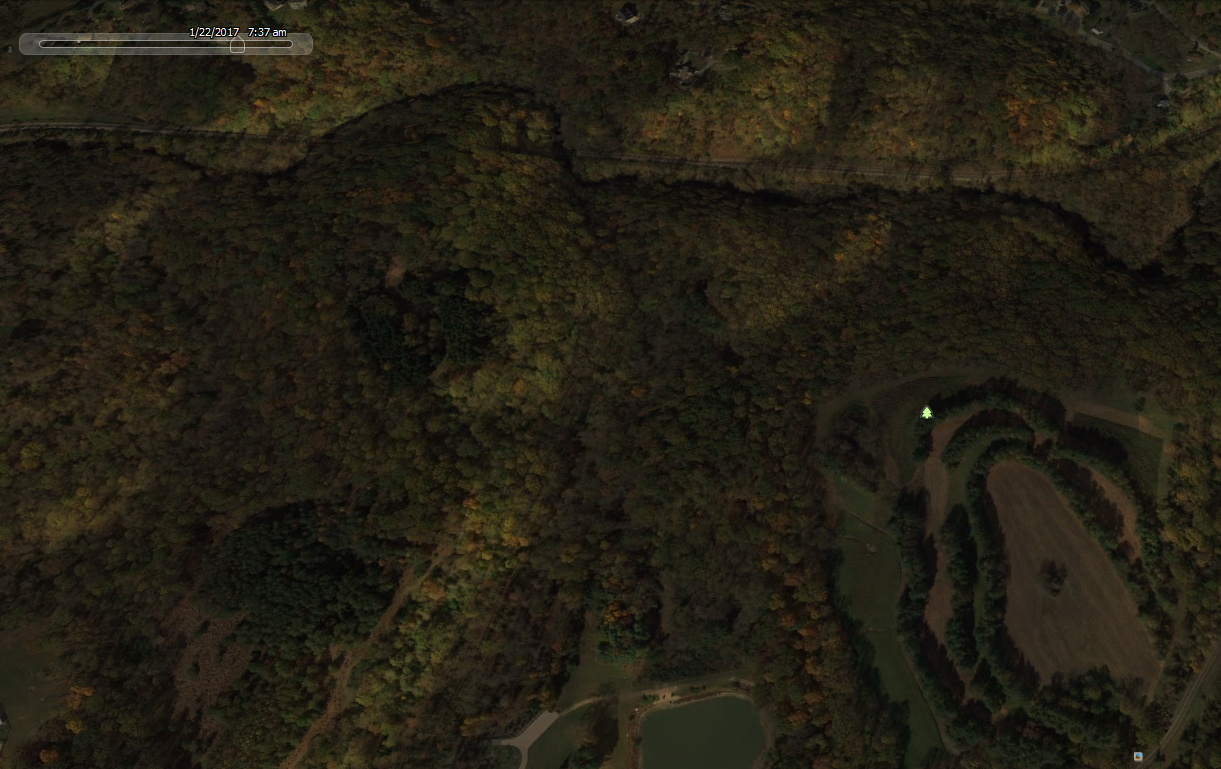
View from above at 7:37 AM this morning simulated with Google Earth.
Topography
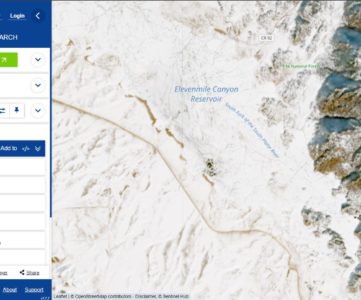
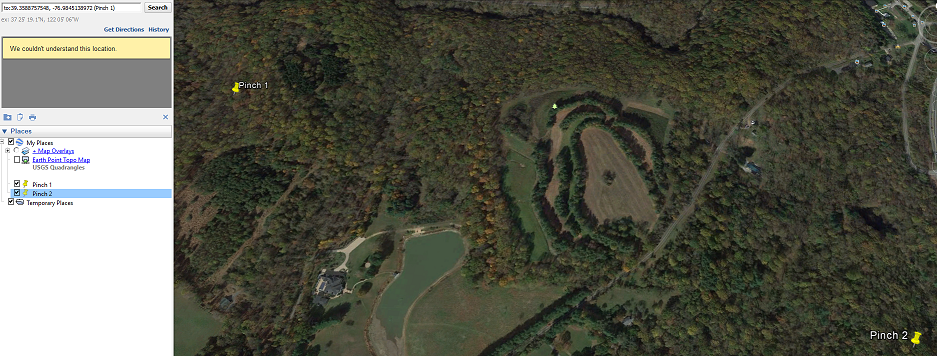
Now let’s see if this land has any rise and fall to it whatsoever. Earthpoint has an awesome KML that I’d recommend everyone download who is doing scouting inside of Google Earth. They host ESRI Topo maps at pretty high resolution and tile them on top of Google Earth. A savvy user can play with opacity to really get a feel for the imagery and the topography of a new place before ever setting foot there. So we’ll go here and download the KML and open it up inside Google Earth, and save the contents to My Places so that it’s synced.
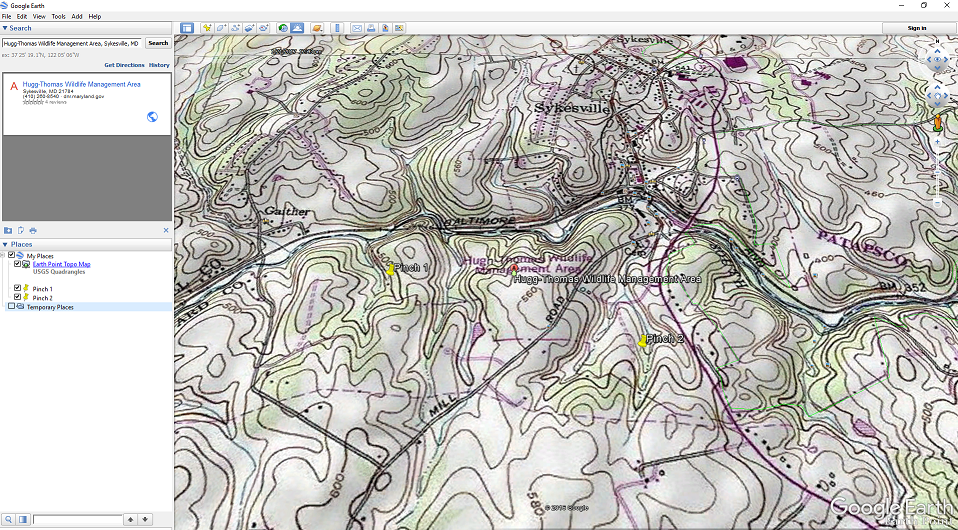
Earthpoint Topo KML added with pinpoints marked with terrain funnels.
It would appear as though the property has a few small hills, with the south side of the property being higher in elevation slightly than the northern. We can try and use that to our advantage by analysing the contours and trying to find funnels. There are a couple places I’d like to check out here. From here we can do a couple things, Google Earth makes it pretty simple to e-mail pins to yourself, and an Android phone makes it even easier. I’m a GPS user since I tend to keep my cell phone charged to make emergency phone calls in the woods. In my next article I’ll show you how to take these points and push them to your GPS.
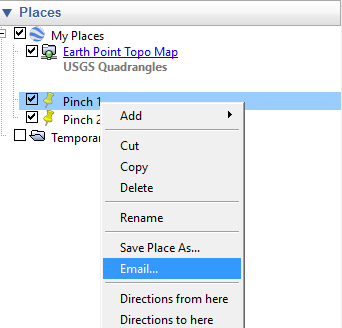
E-mail a pin to yourself by right clicking and choosing Email… from the context menu.
If you’re using Google Maps for this, you can simply drop a pin by clicking and holding, and then send the pin to your device with the click of a button. In the new iteration of Google Maps on PC it’s changed slightly, click the Lat/Lon that’s displayed in the bottom center of the screen and then you’ll see that you again have the ability to send the location to your device or star it for later. These stars are linked to your gmail account and are available later on any device once the data syncs.
Today I’ve gone over how to identify new properties and look at imagery from Google, and in later articles I’ll take them and do some analysis before we ever step foot on the land. In the end, you have to do some scouting on foot. So take all of your wisdom that you’ve gathered from off-season morning coffee sessions and put them to use.