When I got into an accident back in 2019 coming home from my annual Pennsylvania hunting trip it opened up opportunity. It also opened up part of my truck all over the road. A lot had changed in the Jeep lineup since I bought my Wrangler Unlimited in 2011. There were new engine options, new transmissions, and now the Gladiator had finally come back into production. One thing that stood out to me other than it’s propensity to break the tires loose when I mashed the skinny pedal was it’s towing capacity. Could this little Gladiator become my tow rig?
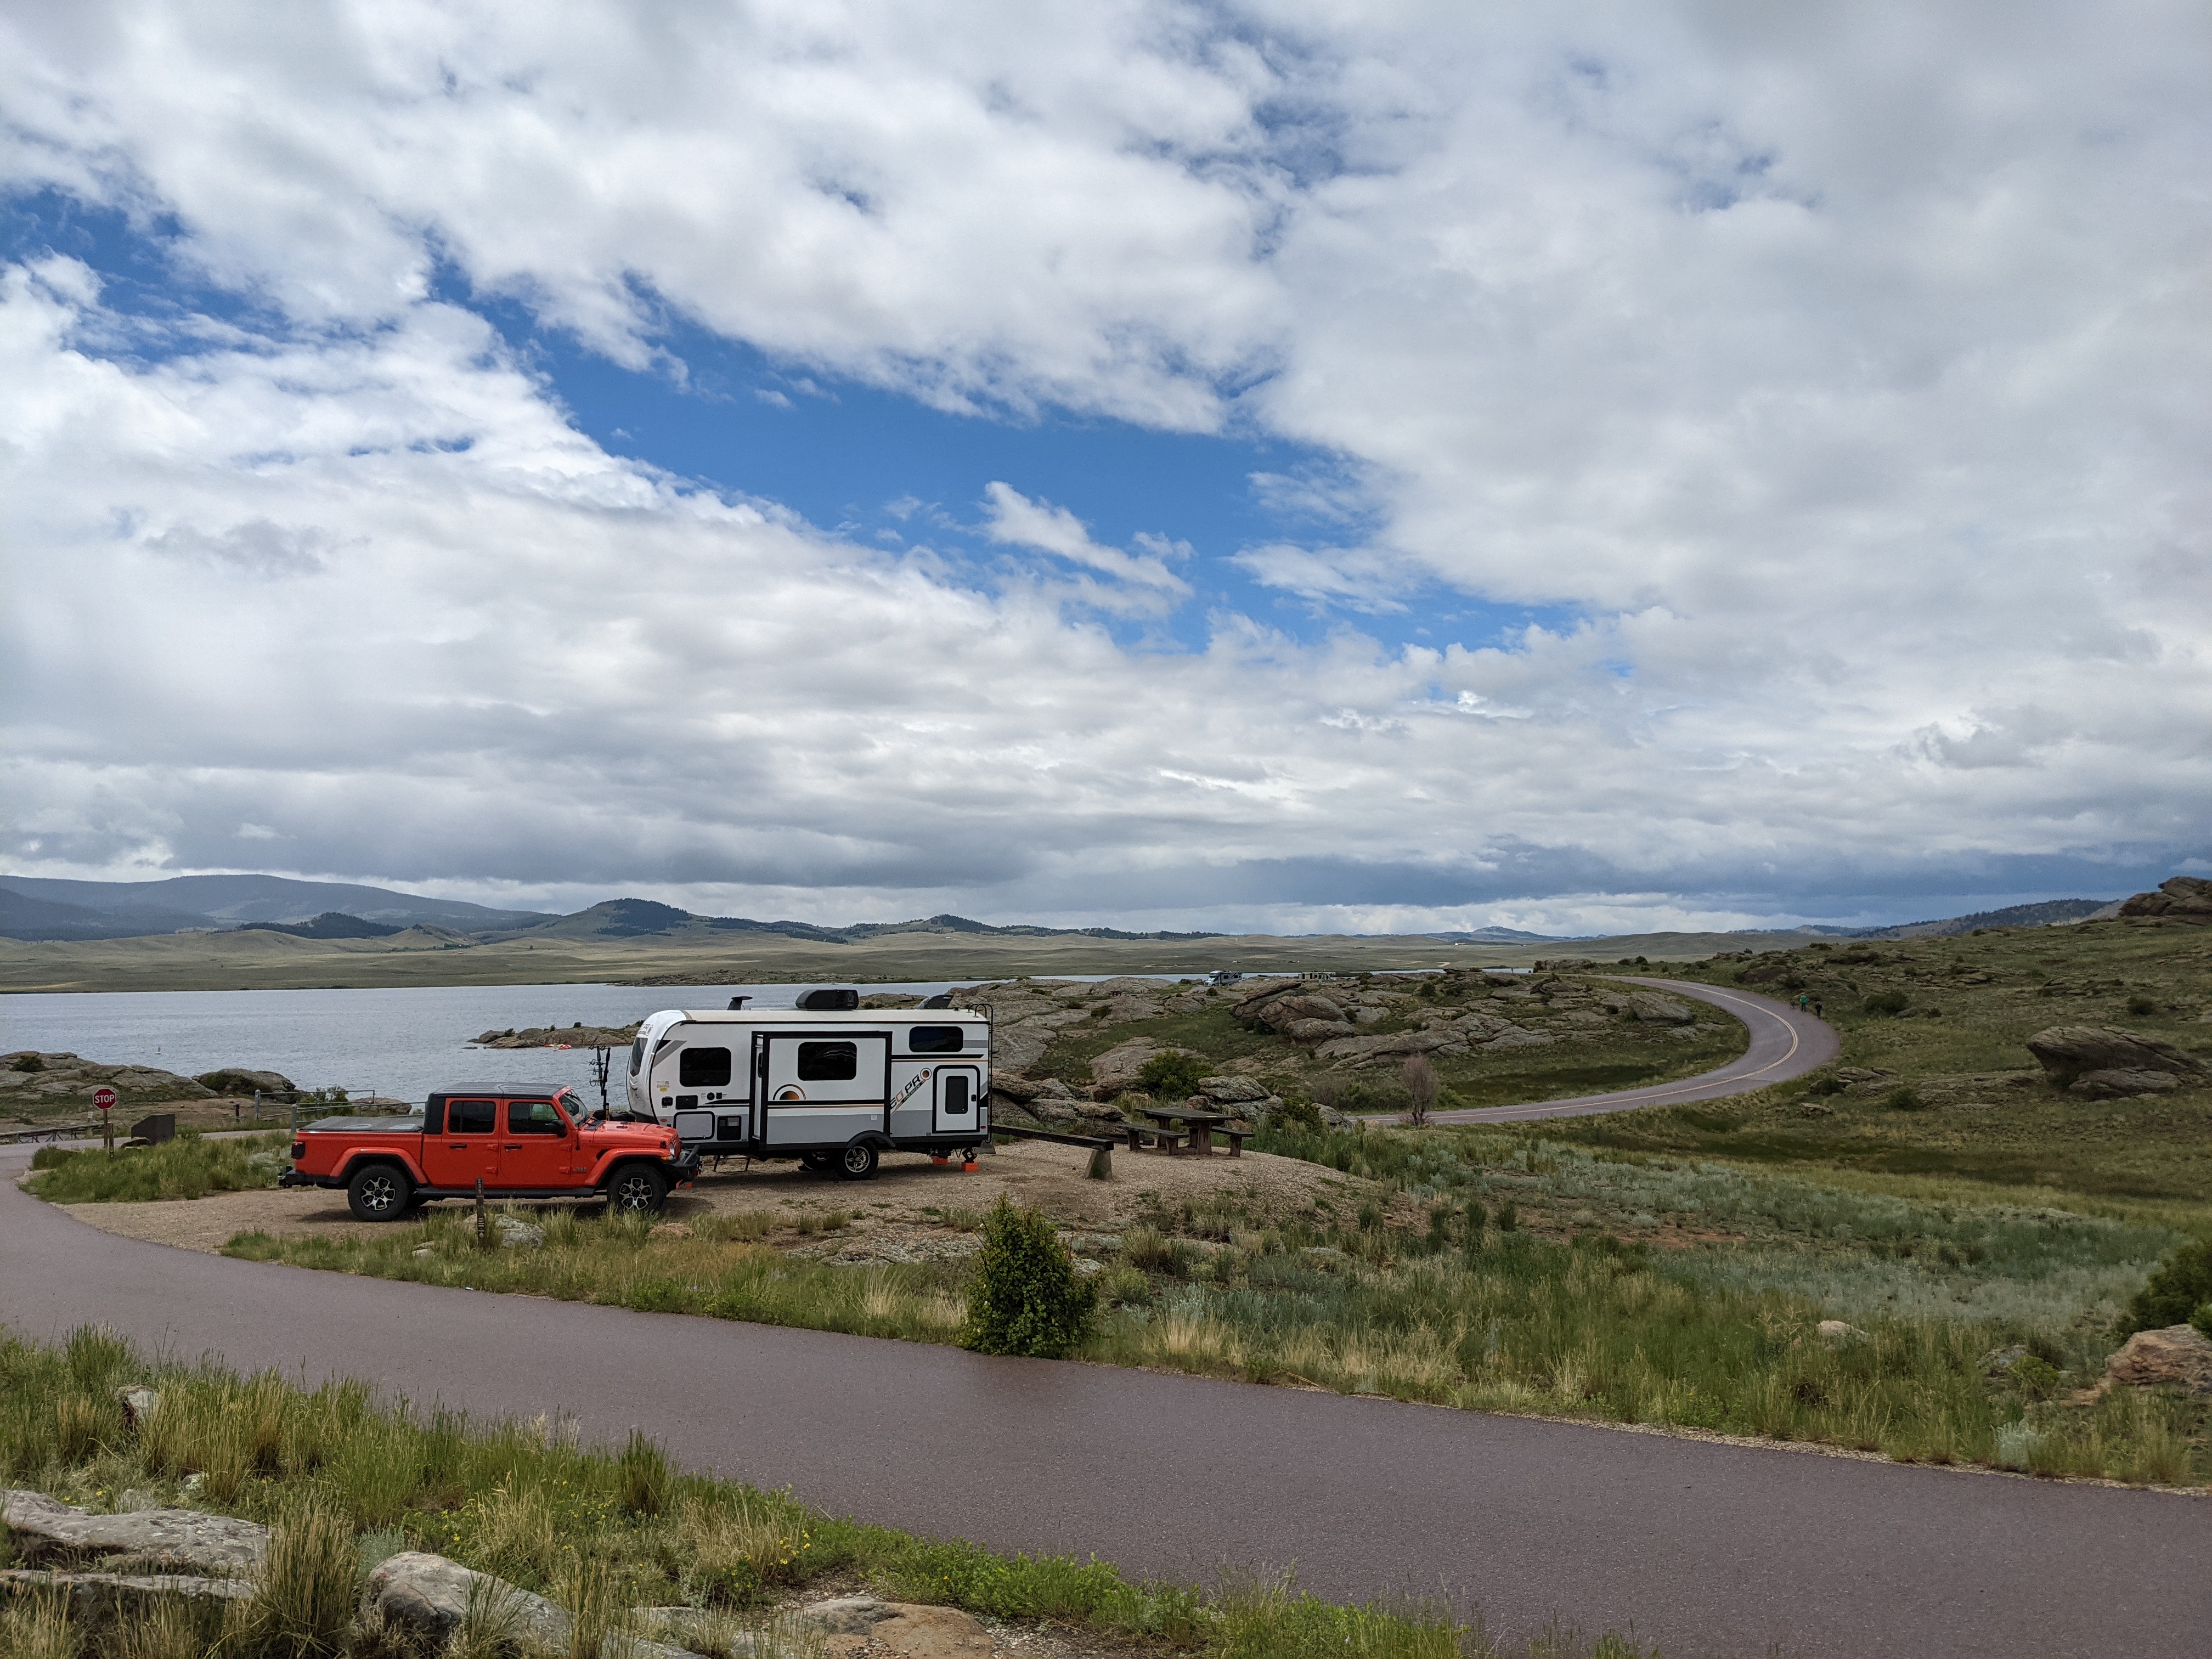
The Gladiator was a revived nameplate from the late 80’s where it was a full sized jeep. Now it was the spiritual successor to the Scrambler, a nameplate also discontinued in the 80’s, built on the then CJ frame. I was drawn to a Wrangler with a pickup bed like a moth to a flame. Fast forward to the summer of this year and we purchased a new-to-us 2021 GeoPro G20BHS camper. Now I had to see what the Gladiator could really do, but first it needed some work to make my Gladiator a tow rig.
Mirrors
When I started towing with the Jeep Gladiator towing mirrors simply didn’t exist for the rig. Jeep Wranglers were similar, but in Fiat Chrysler’s infinite wisdom they changed the mirrors slightly, and did not offer tow mirrors despite that being one of the Gladiator’s core selling points. So what do you do when you want to see your trailer edges when towing in the Gladiator? The new side view mirrors were contoured differently than the Wrangler mirrors, so existing products would need to be modified. It turns out that anyone with a 3D printer could make the wedge adapters necessary to fit JK mirrors on the JT. However, lacking the 3D printer and the CAD knowhow, I went off to the internet.
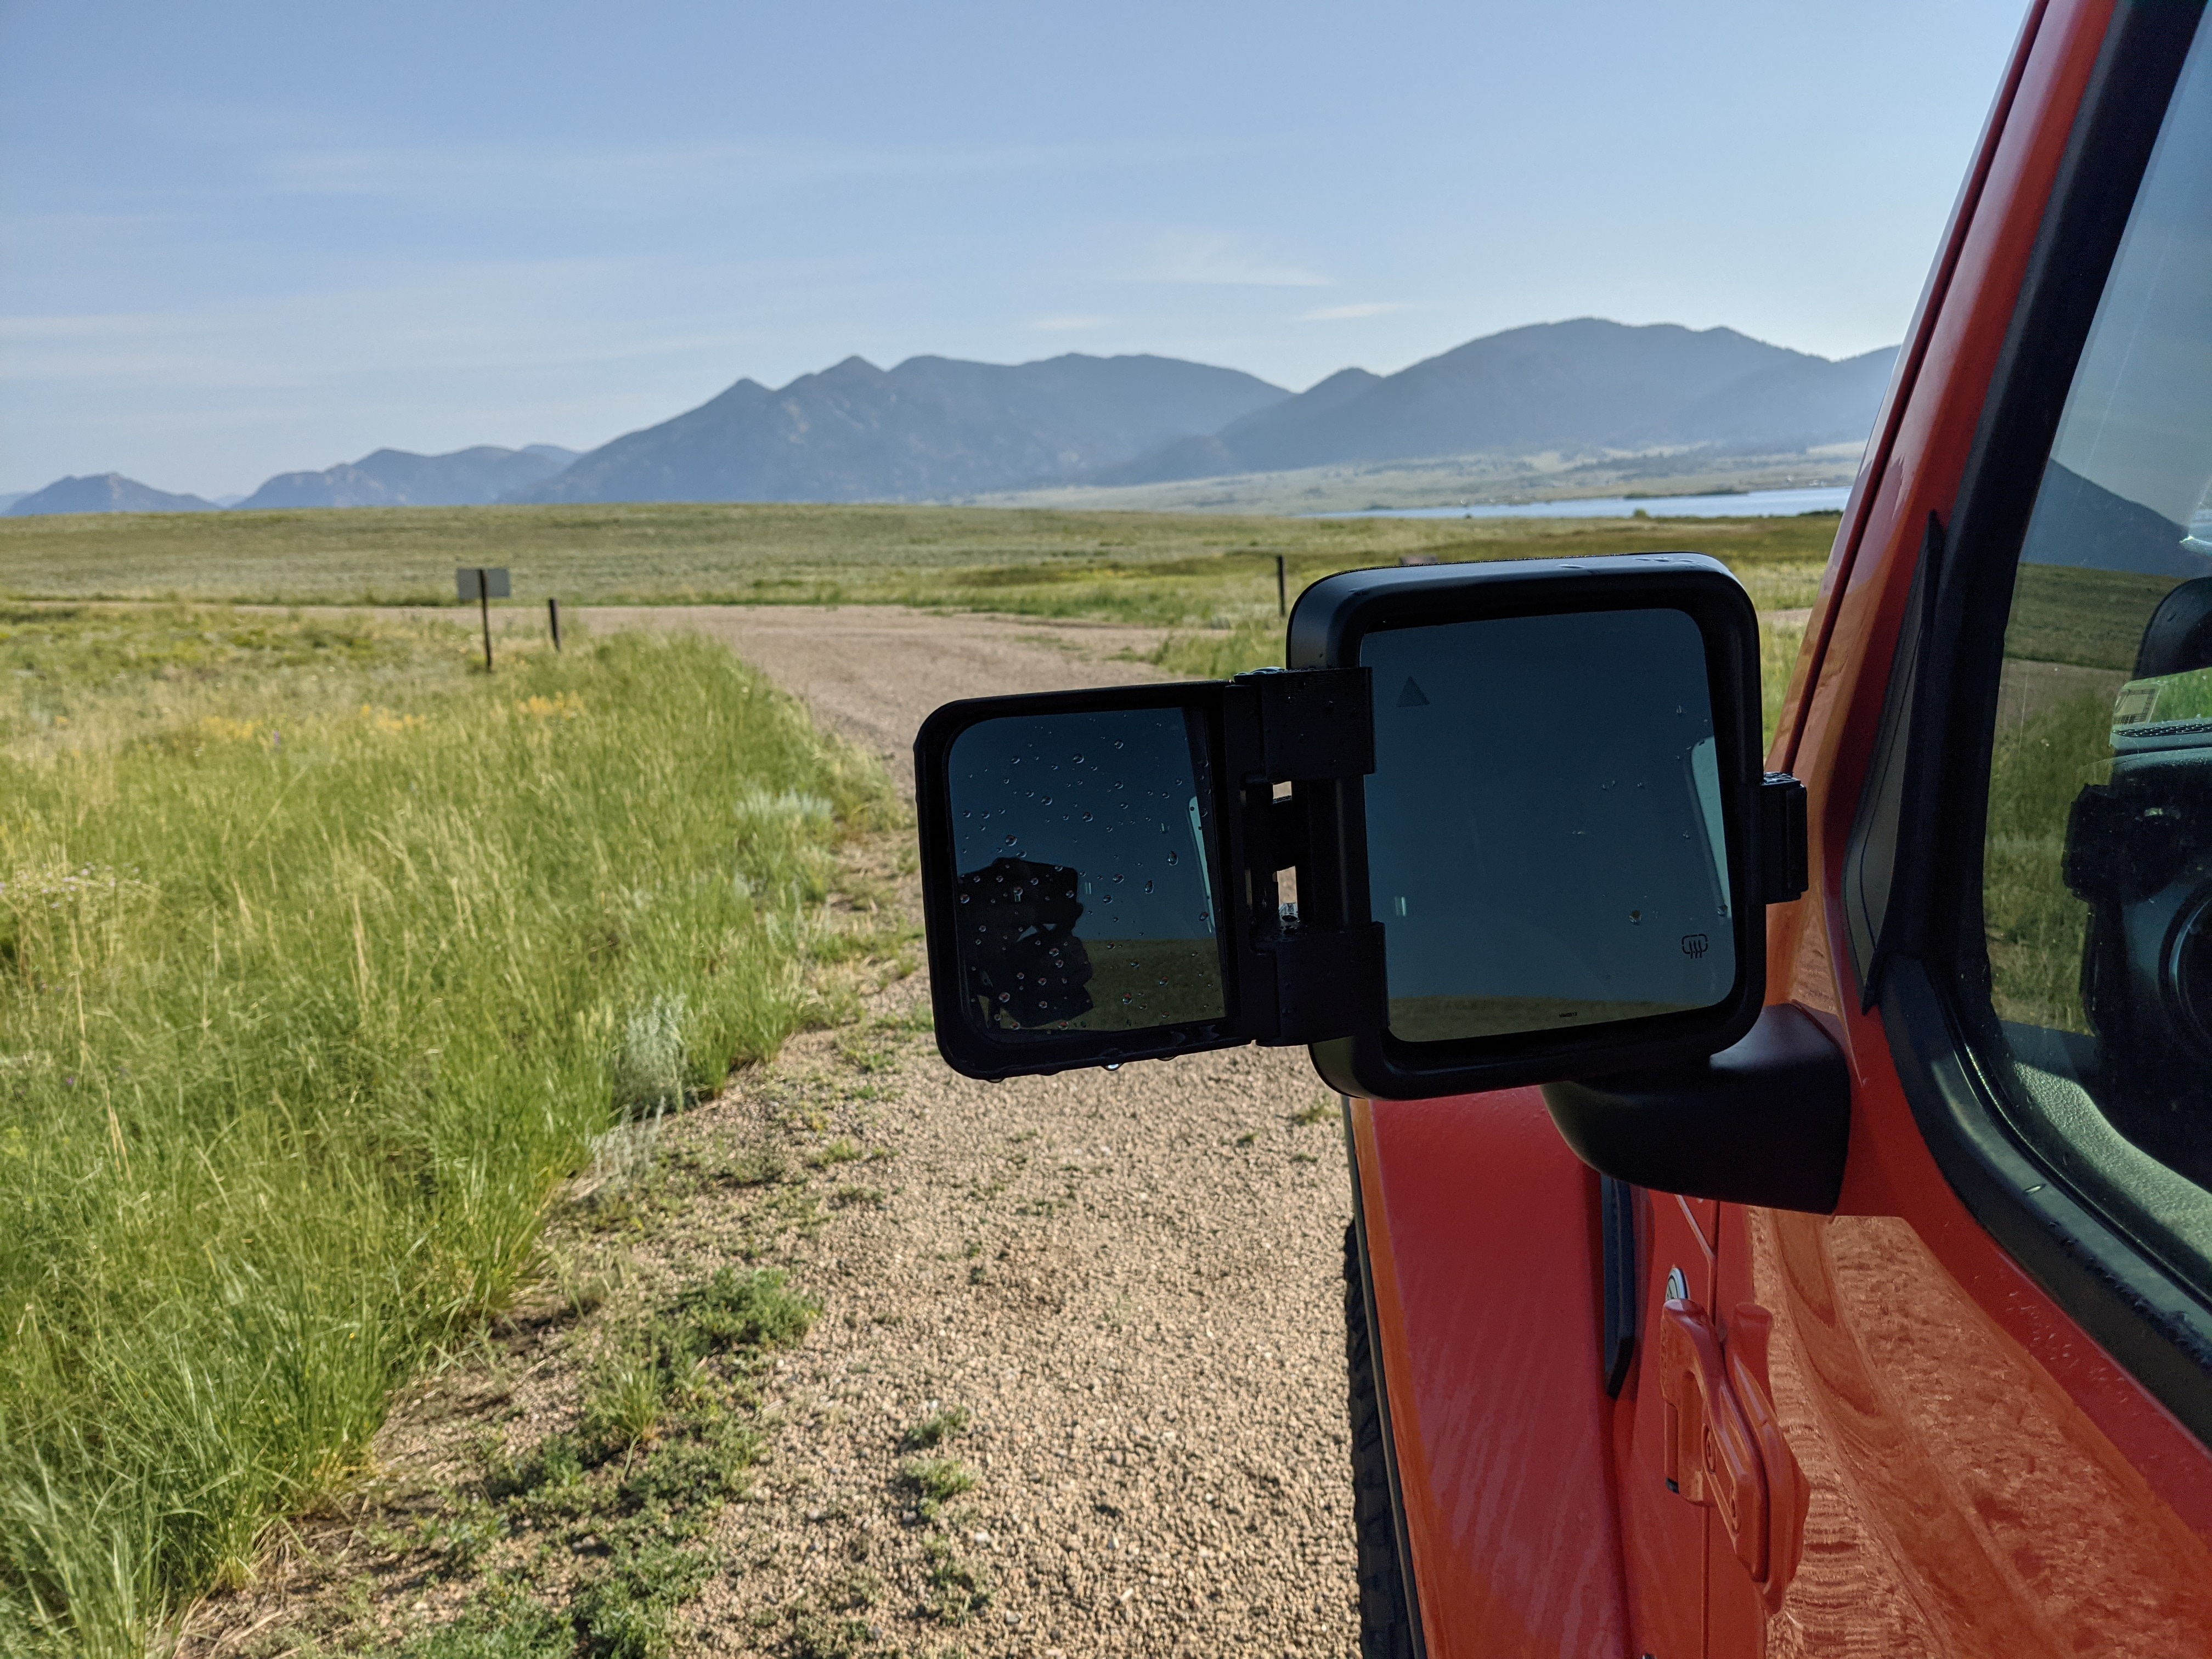
The best selling tow mirrors for the Jeep Wrangler are the Rampage Products 8605 mirrors which are velcro closure tension mirrors. They wrap around and hug your existing mirrors with tension and close with a large strip of velcro on nylon webbing. You still need adapters to fit the mirror contour, so I went off to the various Jeep forums where one gentlemen was selling the wedges required to properly seat the Rampage mirrors. For $36 you can get the adapters from Thorn Engineering on eBay. Steep, but they make the mirrors fit until the aftermarket catches up. The only downside to these is you’ll want some foam tape or electrical tape to coat the surfaces mate to your mirrors on your tow rig or it’ll scuff the plastic.
Brake Controller
There’s a bunch of options for brake controllers out there, so choose a brand that has good reviews. After all, this is the controller that’s keeping your trailer equipped with trailer brakes from running over your truck! For my unit I went with the Tekonsha P3 and the Tekonsha 3073-P Jeep Wiring Harness. This setup ensures you’re not cutting into your wiring harness and you’re plug and play. Just mount the brake controller, fish out the wiring harness from behind the dash, and plug it in. The hardest part is the pretzels you’ll need to fold your body into in order to get the wiring harness out.
Positioning
One of the key aspects of the trailer brake controller is positioning. Mopar offers a trailer brake controller for the Gladiator. Allegedly. It’s been on backorder with no ETA for 2+ years. But at the time that I was looking to install one I’d have had to tear apart my dashboard and delete a storage area for it. It looked sleek but was never in stock anywhere, not even to dealers. So I chose an under dash mounting option. You want the brake controller easily accessible to fire the emergency braking lever on the unit if you ever get into a sketchy situation, so under the steering wheel is best. However you don’t have a lot of plastic trim to work with there.
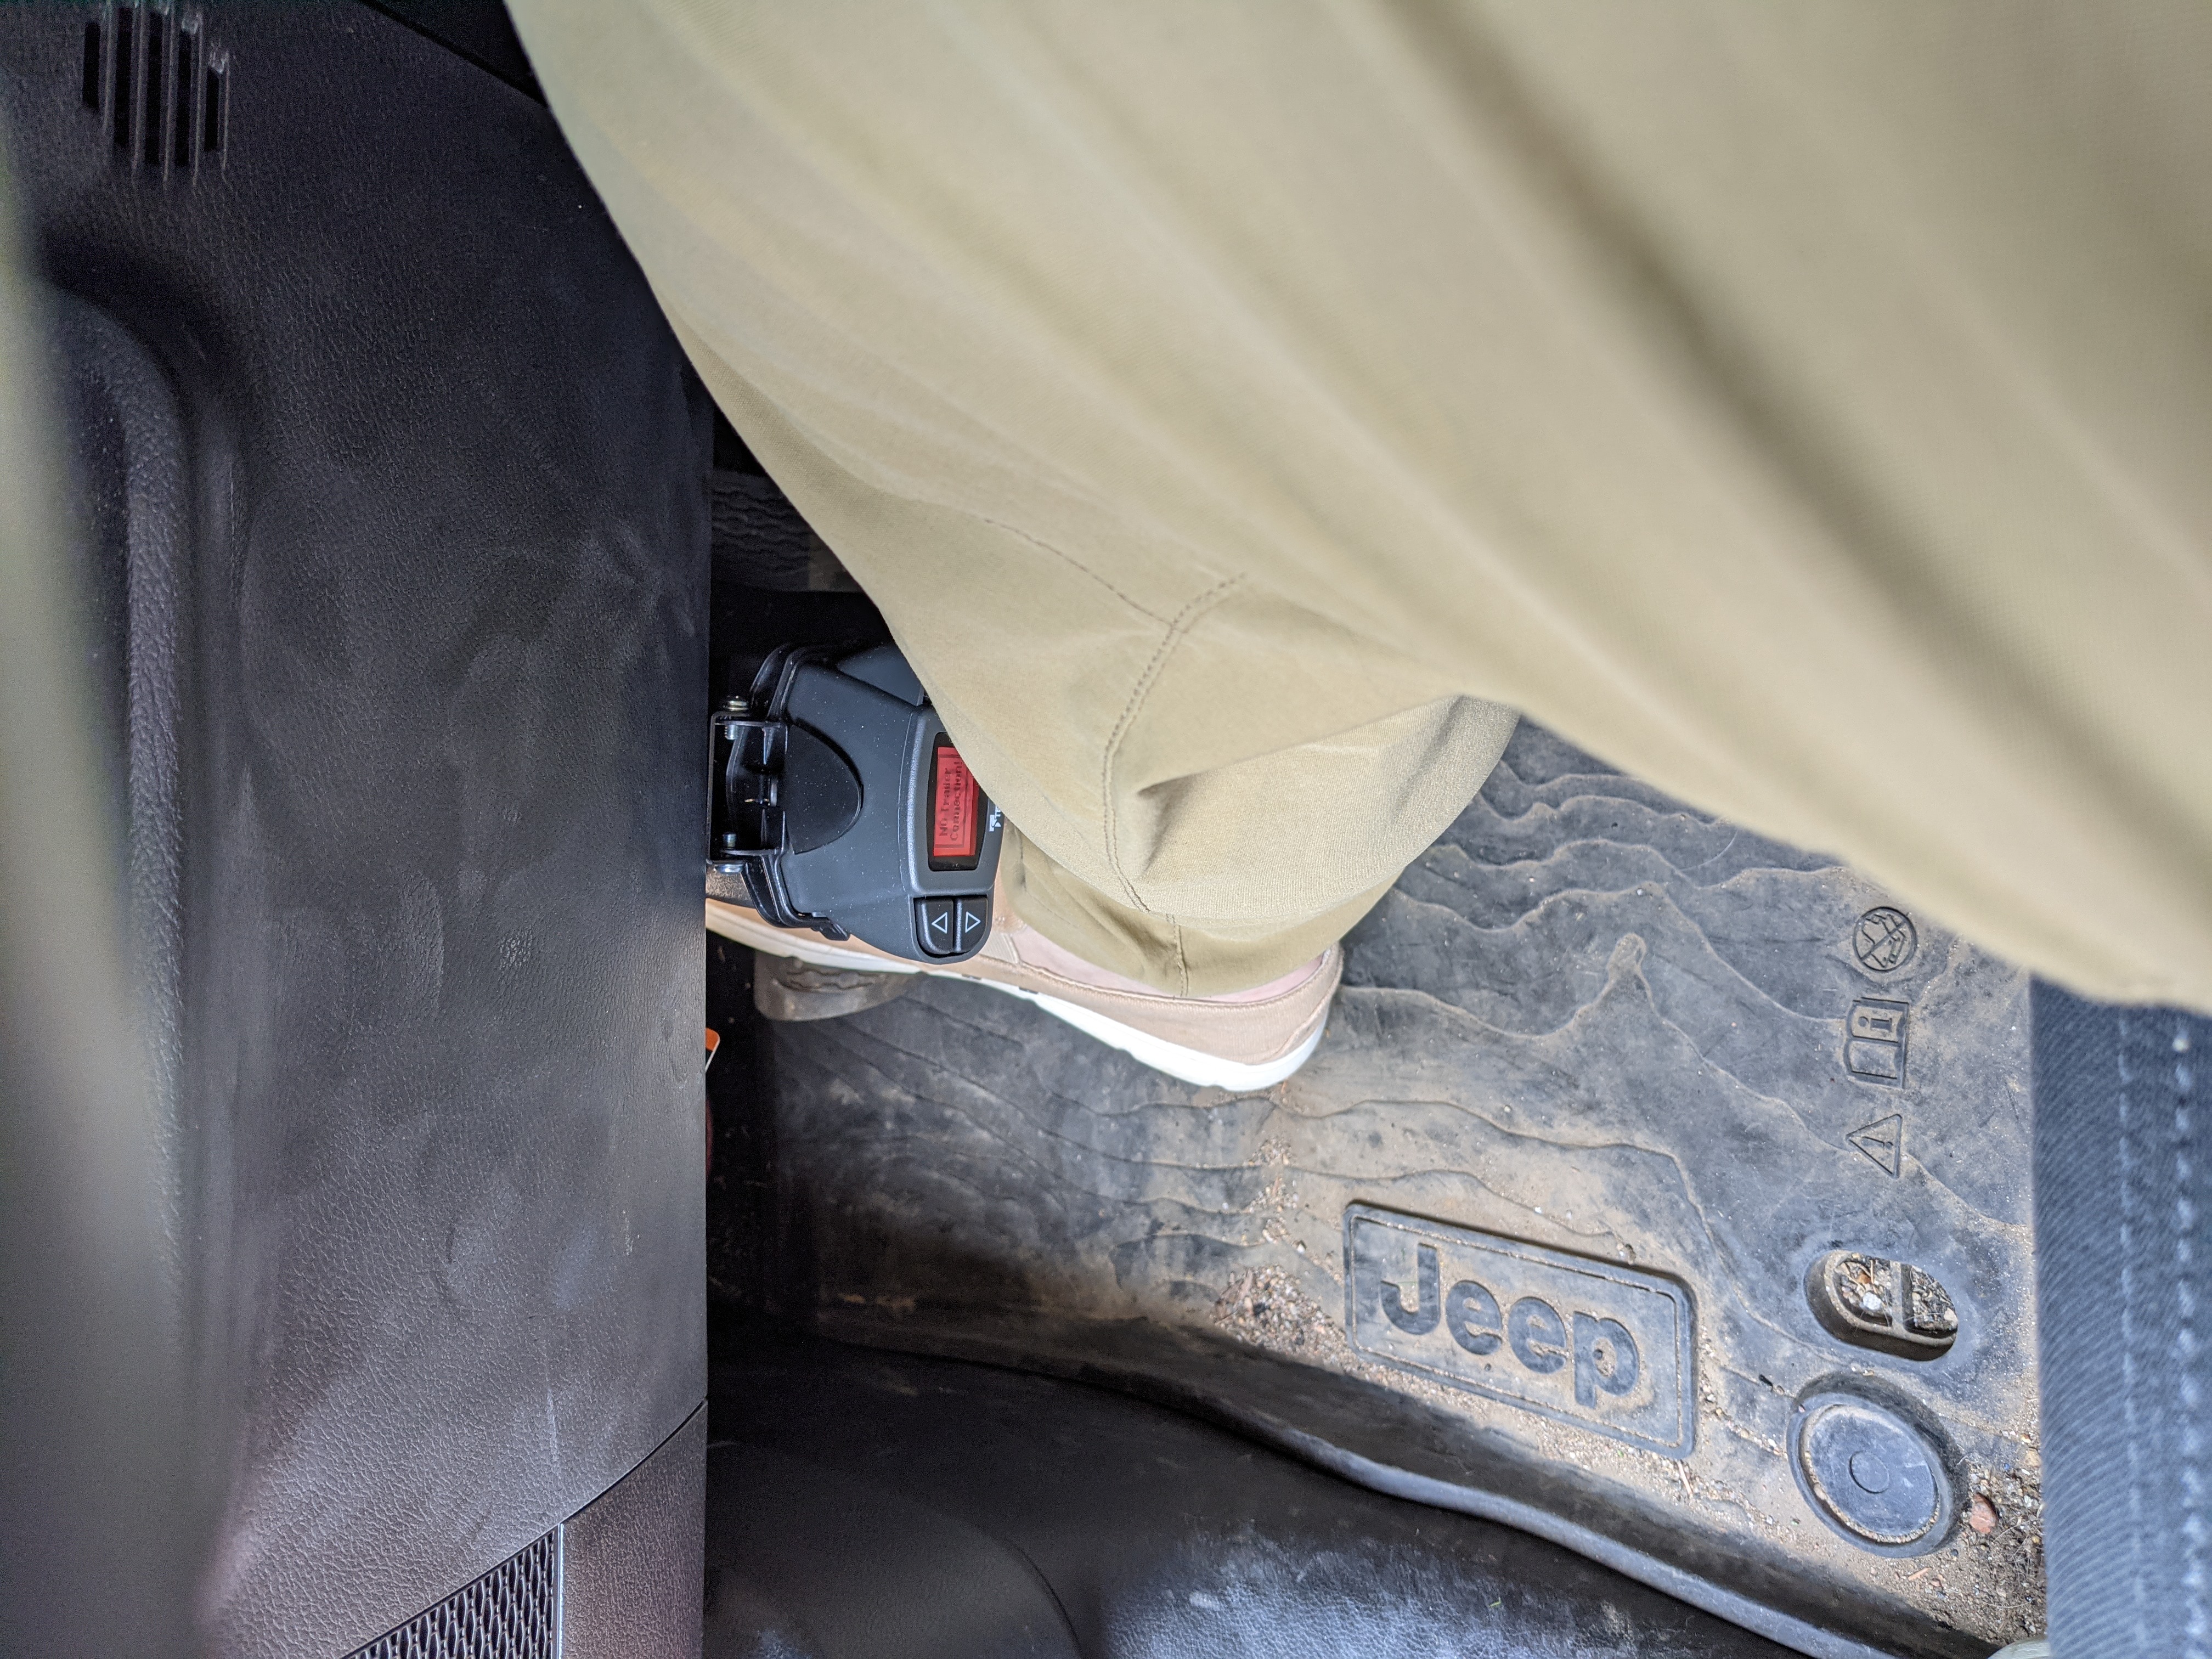
Cheat to the left of center under the steering wheel, the brake controller mentioned above has an inertial device that in addition to the braking signal will tell the trailer brakes how hard to apply them. This helps in the event of a quick or downhill braking situation. However in doing so you need to mount the unit as close to horizontal as possible.
What I did was find the flat spot closest to the firewall on the under-dash trim, mount the unit left of center, and route the wiring harness up and away from interfering with the pedals. Generally speaking this has been good to me. Alternatively you can mount it as far left as possible under the dash and it still doesn’t cramp leg room too much. This positioning has allowed me to change the braking pressure while going from mountain towing to in town so the trailer isn’t pulling me as I attempt to slow at a red light.
Back Up Camera
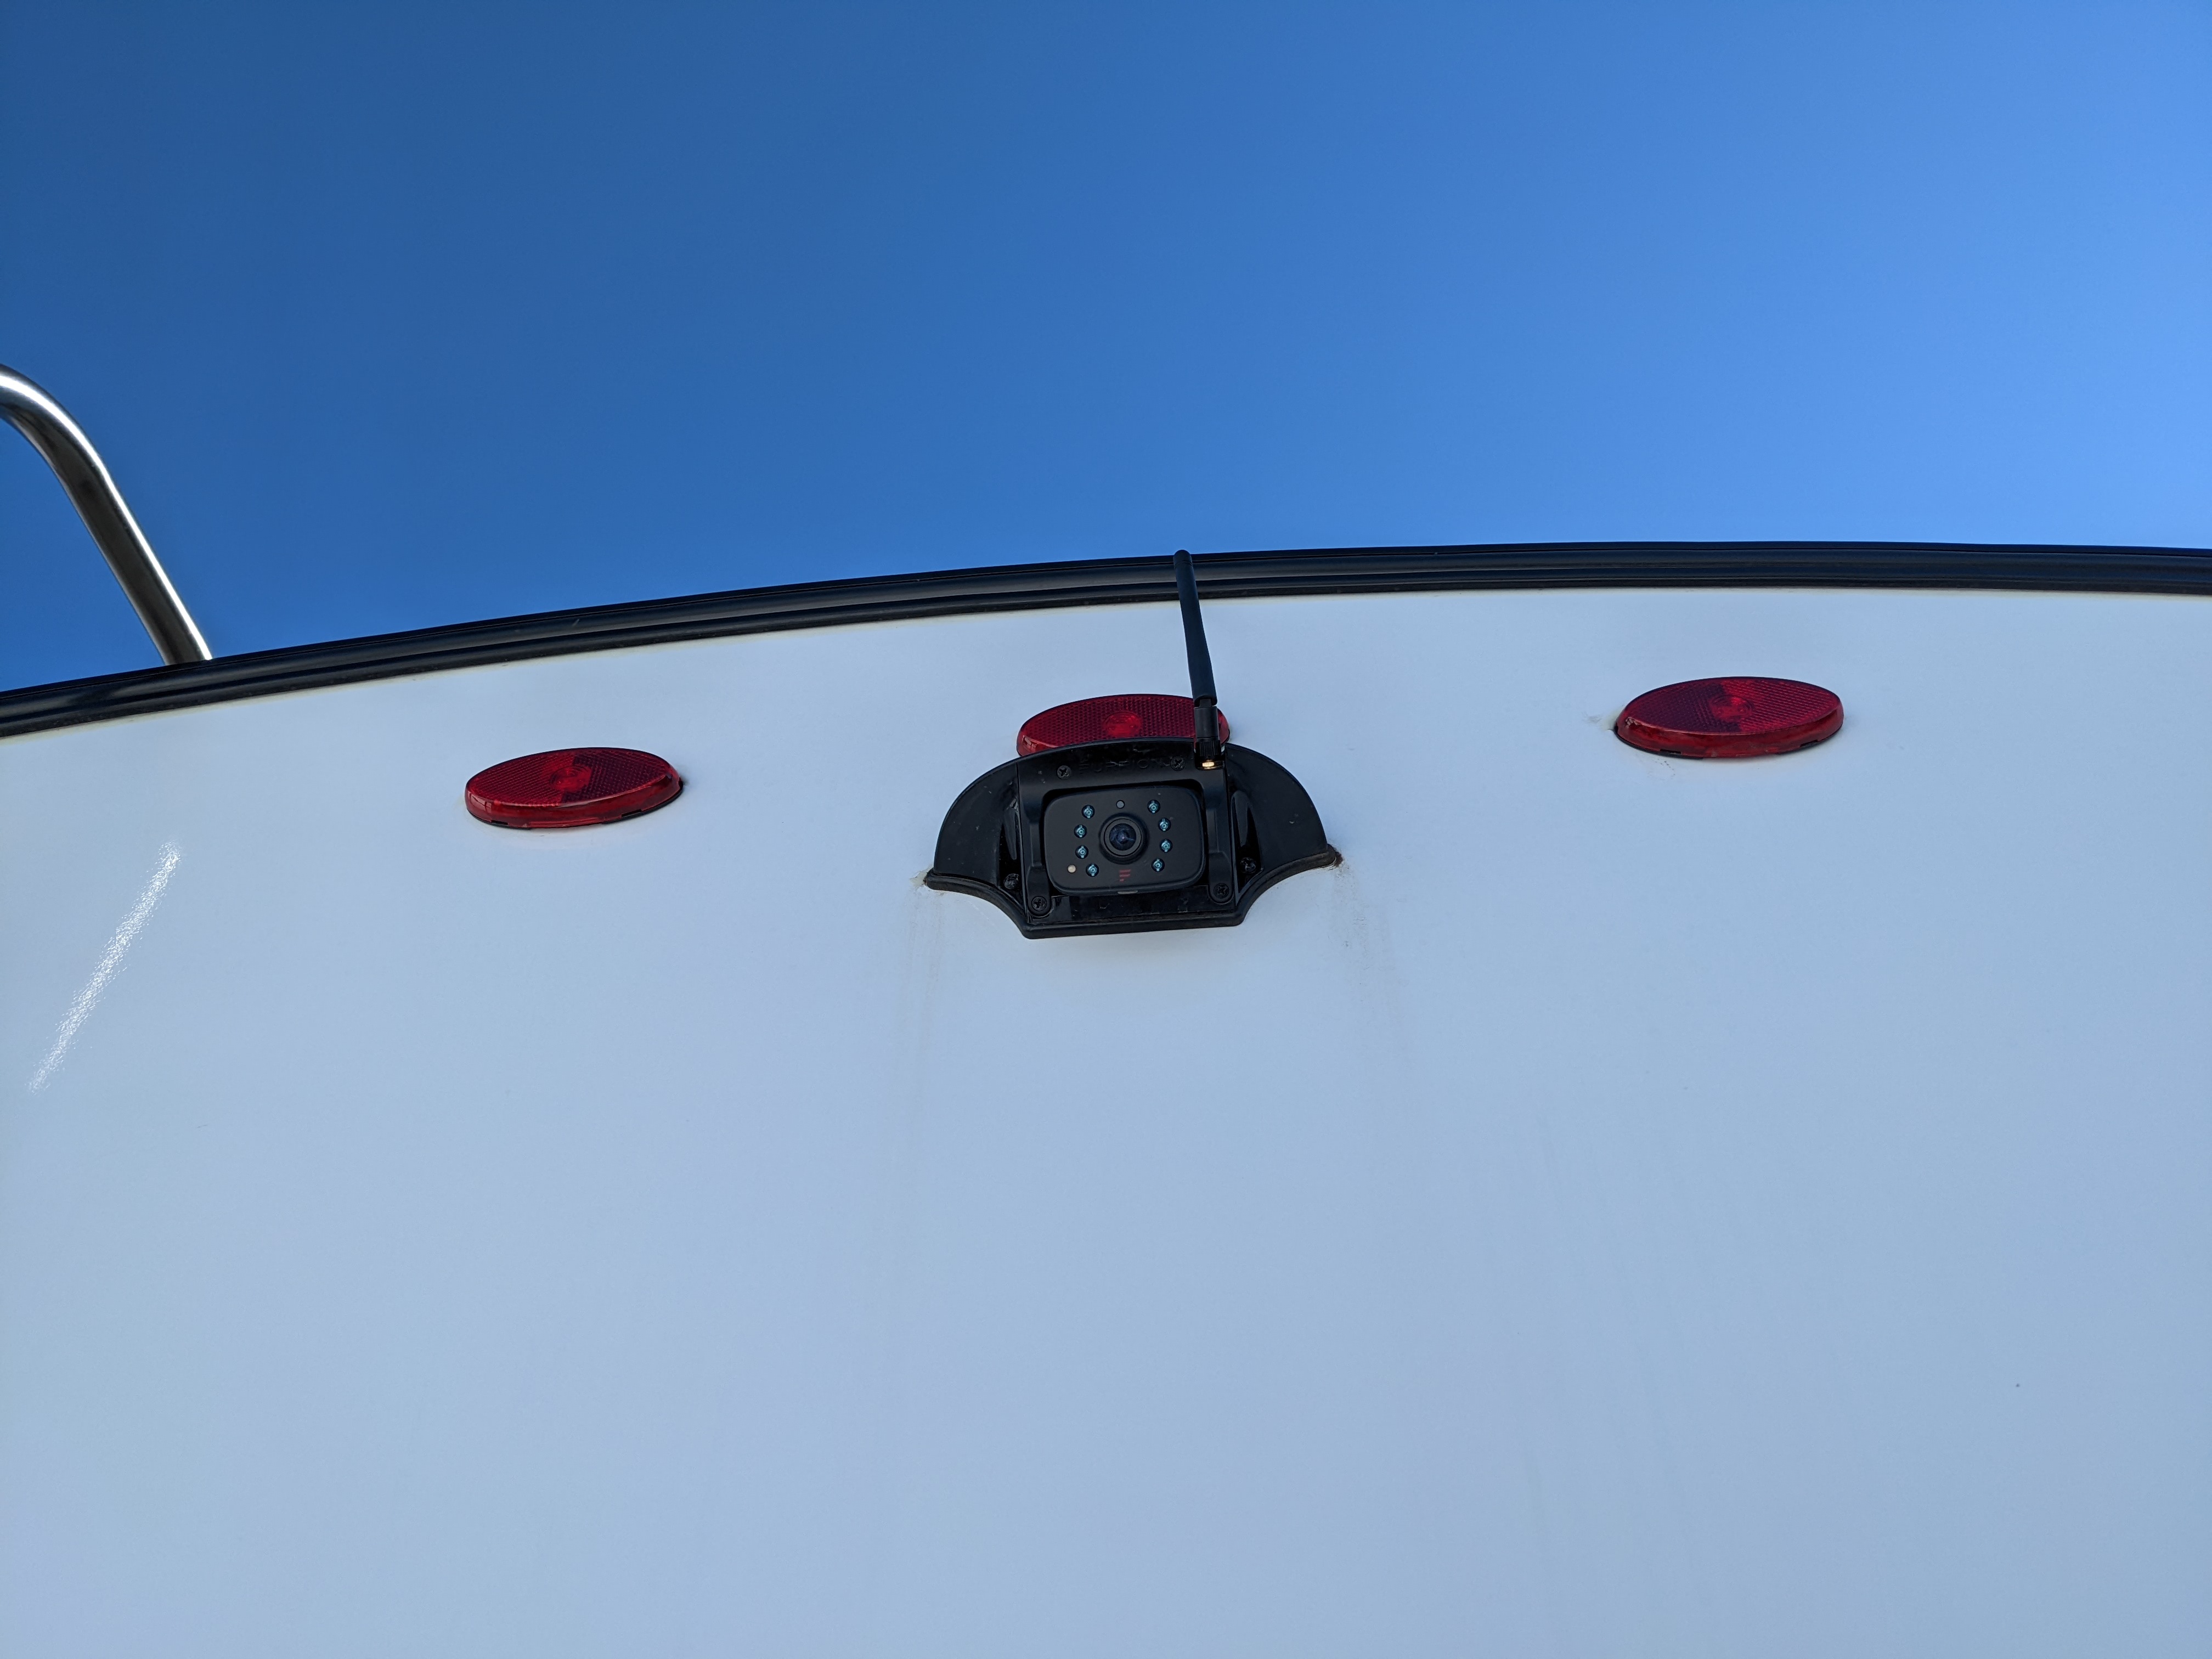
For our GeoPro G20BHS that we tow with our Gladiator I wanted something in addition to our tow mirrors. It came pre-wired for a Furrion backup camera, so I bit the bullet and installed it. Being a first time travel trailer owner and generally nervous driver I was relieved when I can turn on my marker lights and have a live view of what’s going on behind me with the backup camera. The camera mounts high and center on the rear of your travel trailer, and the control unit mounts on your free space on your dashboard. The backup camera in tandem with the tow mirrors give you a 360 degree view of the action, should you need it.
Dashboard Command Center
The backup camera, brake controller, and two other items make up what I call the command center of our Gladiator tow rig. With a phone mount on the front and center of the dash that pipes Android Auto to my infotainment center I’ve got navigation, tunes, and instrumentation. The backup camera can show full motion color video from behind me, or beside me with the optional front door cam installed. I additionally have a trailer TPMS monitoring system that gives me tire pressure and temperatures. This can get a little busy on the dashboard, but offers me all the information I need within arm’s length.

Hitch
We put a lot of thought into this one. I bought a pretty fancy Reese hitch for the truck complete with spring bars for load balancing for a few reasons. Primarily having a small wheelbase truck while towing causes “hobby horsing” (also known as porpising, like Flipper) on expansion joints on the highway. You’ll feel like you’re rocking back and forth. The spring bars help alleviate some of that sensation, as well as side to side sway as you’re being hit by wind. Jeeps are not known for being very aerodynamic, and if you add a cap to your Gladiator tow rig you’ve got a large amount of surface area to be pushed around. A load balancing hitch smooths that out significantly and adds to the quality of your towing experience overall.
Admittedly it does look a little goofy on our Jeep to have such a ridiculous looking hitch, but it’s worth the looks at the gas stations for the lack of heart palpitations every time the wind blows at highway speeds. So what did we go with? I installed the 1150lb tongue weight Reese Round Bar Weight Distribution Hitch with sway control. The spring bars install in the receiver with a spring loaded ball bearing and metal collar to lock them in place.
On the trailer side a pair of steel bar stock bolt on either side of the frame of the trailer near the tongue. Using the trailer jack you hook the Jeep up, raise the rear end, seat the spring bars, and then lower the Jeep. This puts pressure on the spring bars and provides multiple points of contact (3) to the hitch outside of safety chains. This limits the effect of wind, bumps, et cetera on the trailer at speed. It’s been a true godsend with trailering on a small wheelbase vehicle.
Storage
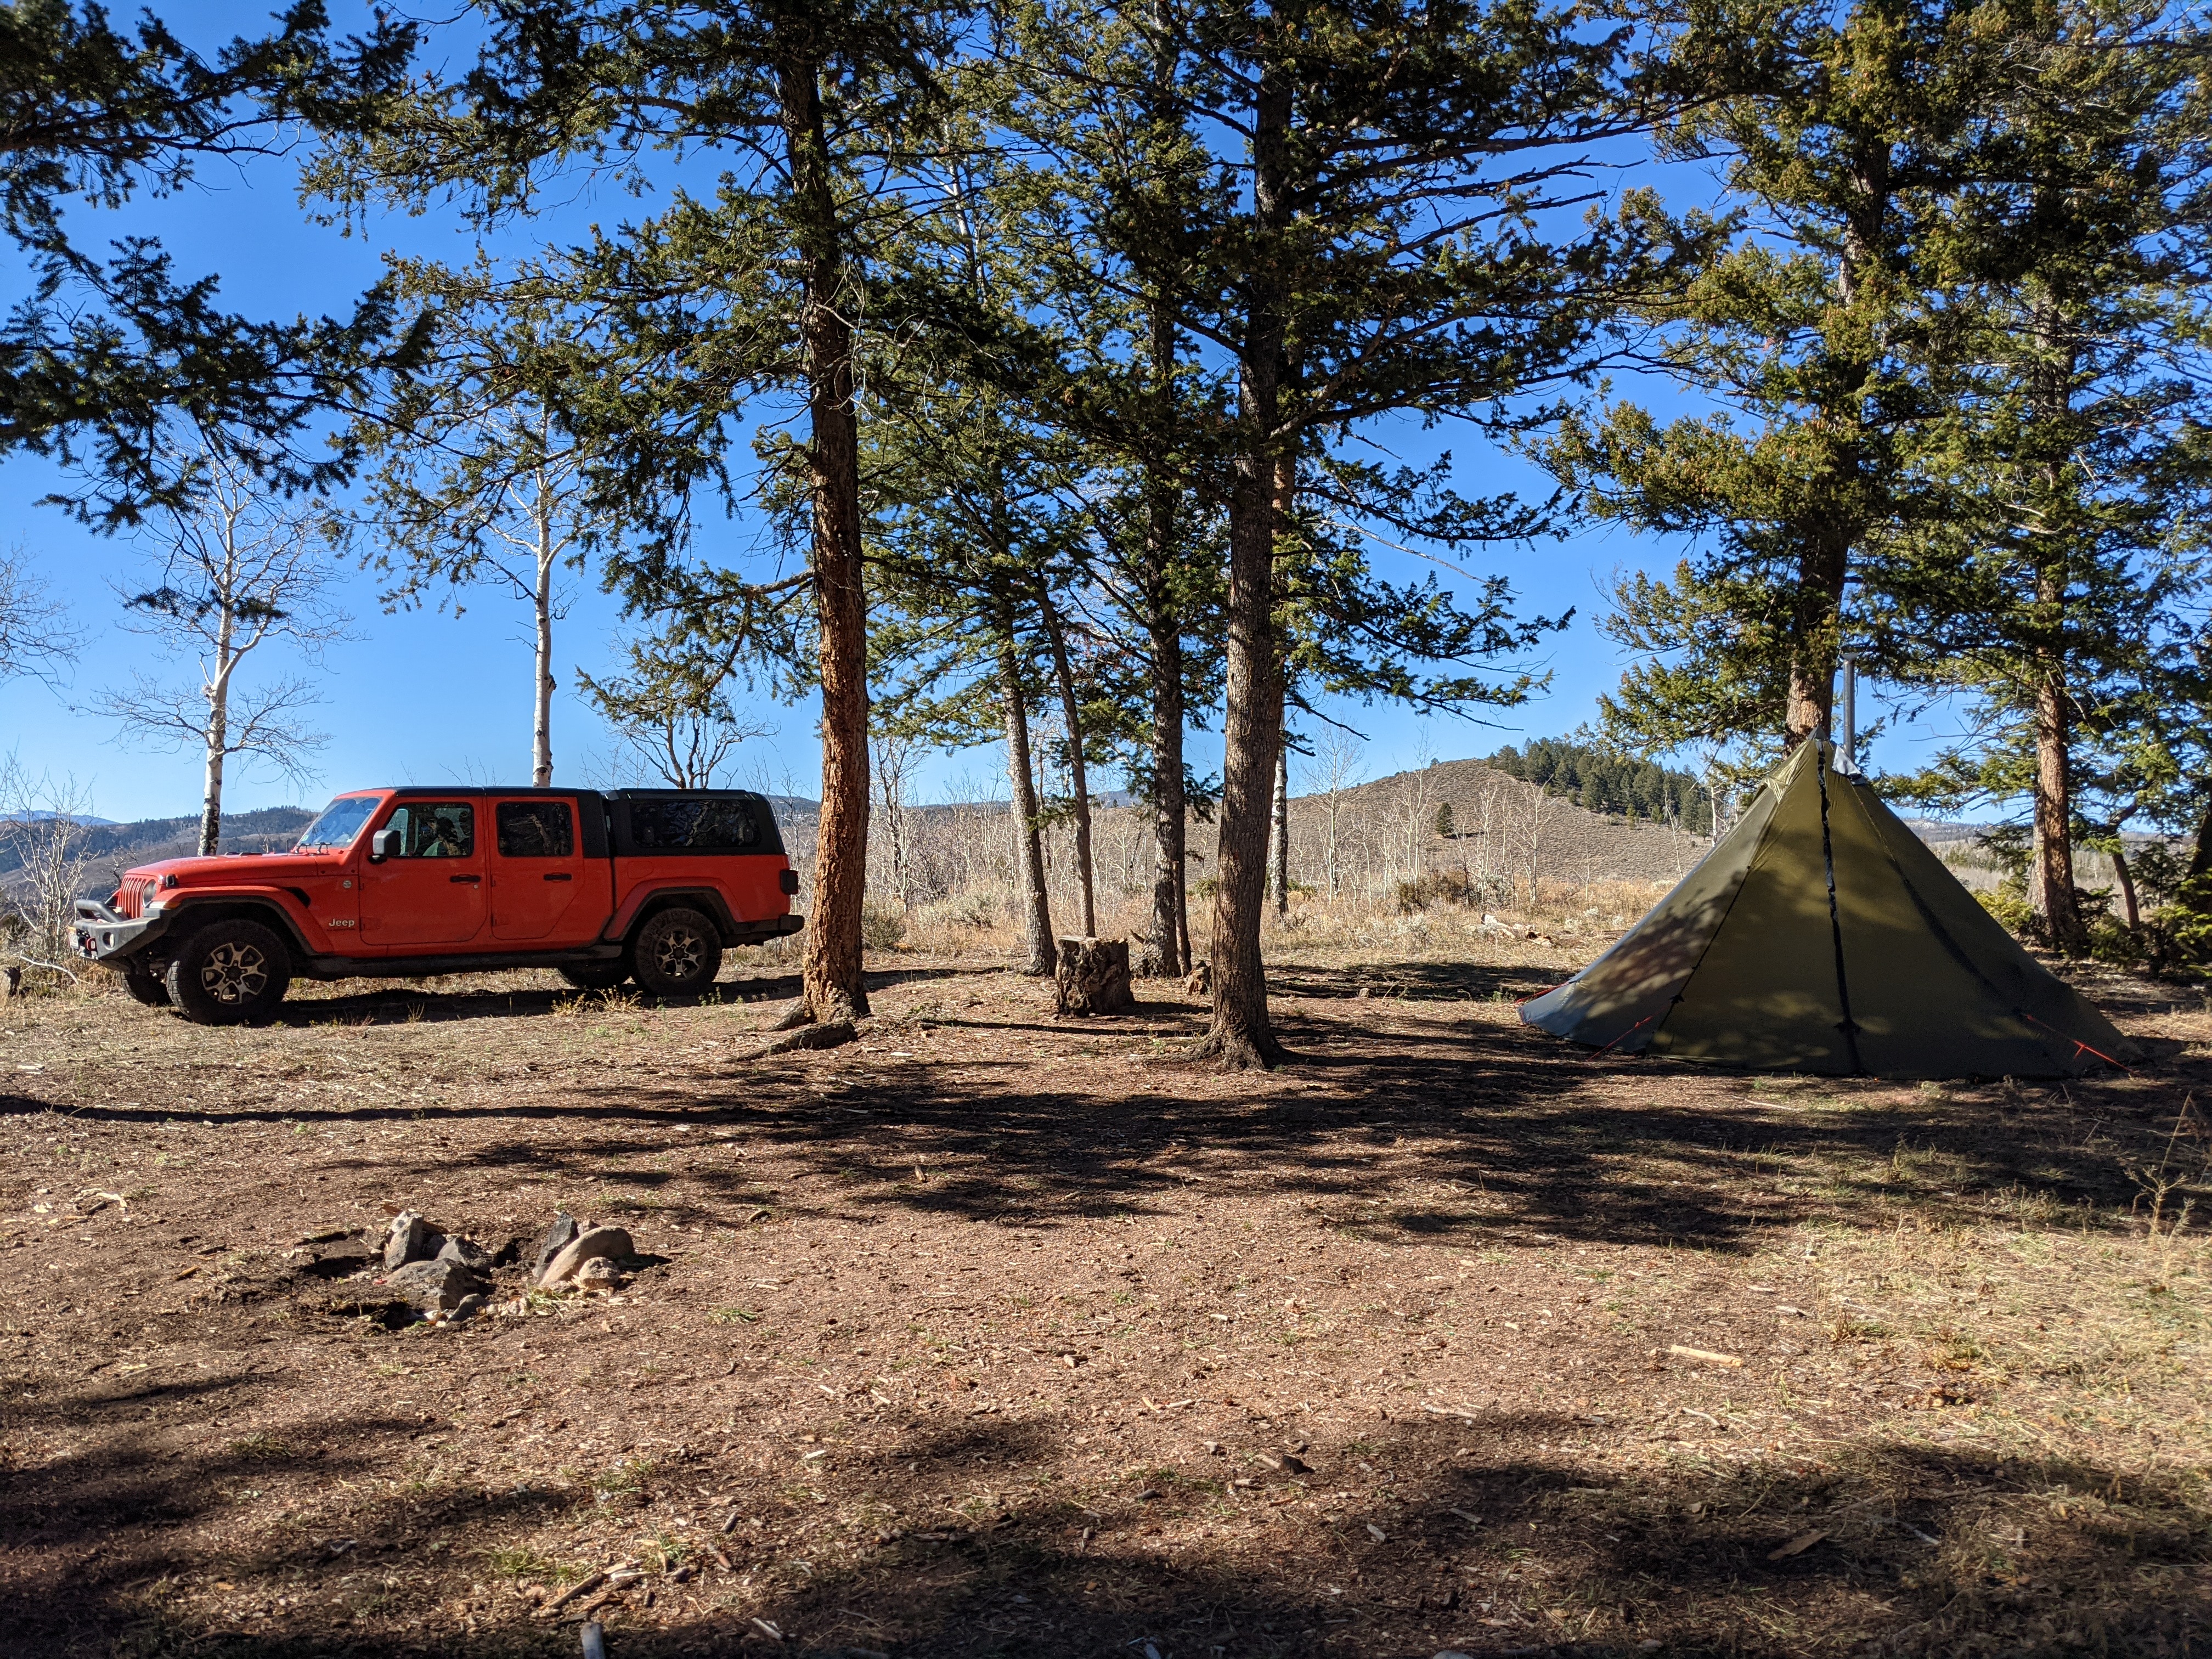
For us, the Gladiator serves as a tow rig and adventure mobile. As our small family grows, seemingly so does the amount of stuff we have to take with us. Since purchase I’ve added an RSi Smartcap to the truck, as well as a Yakima Rocketbox to help alleviate storage woes. This allows four people to sit comfortably in the vehicle and us to schlep our two dogs around in kennels in the rear of the vehicle.
Future Modifications
If you’re like me and you just can’t help but daydream as to how else you might be able to modify your rig, there’s always a “down the road” plan. For me, it’s re-gearing the axle for towing. The Gladiator shipped stock with 3.73’s but 4.10, 4.56, or 4.88’s would help out the towing immensely with being able to pull off the line. Additionally, something that larger pickups have that the Gladiator doesn’t is a turbo.
Prodigy makes a turbo for the JL and JT platforms — and a 150 extra horsepower makes for a compelling argument when you’re pulling mountain passes. But there’s a trade off to be had there. With the Prodigy turbo they require the use of a K&N cone style filter. That means that without an air box I can’t ford deep water. One of the design elements I’m looking to add is a snorkel for creek crossings. With the turbo I can pull the trailer more easily, but cannot take on water with the open filter element. Life is about choices, but I need to choose wisely here. My adventures depend on it.
Towing in Practice
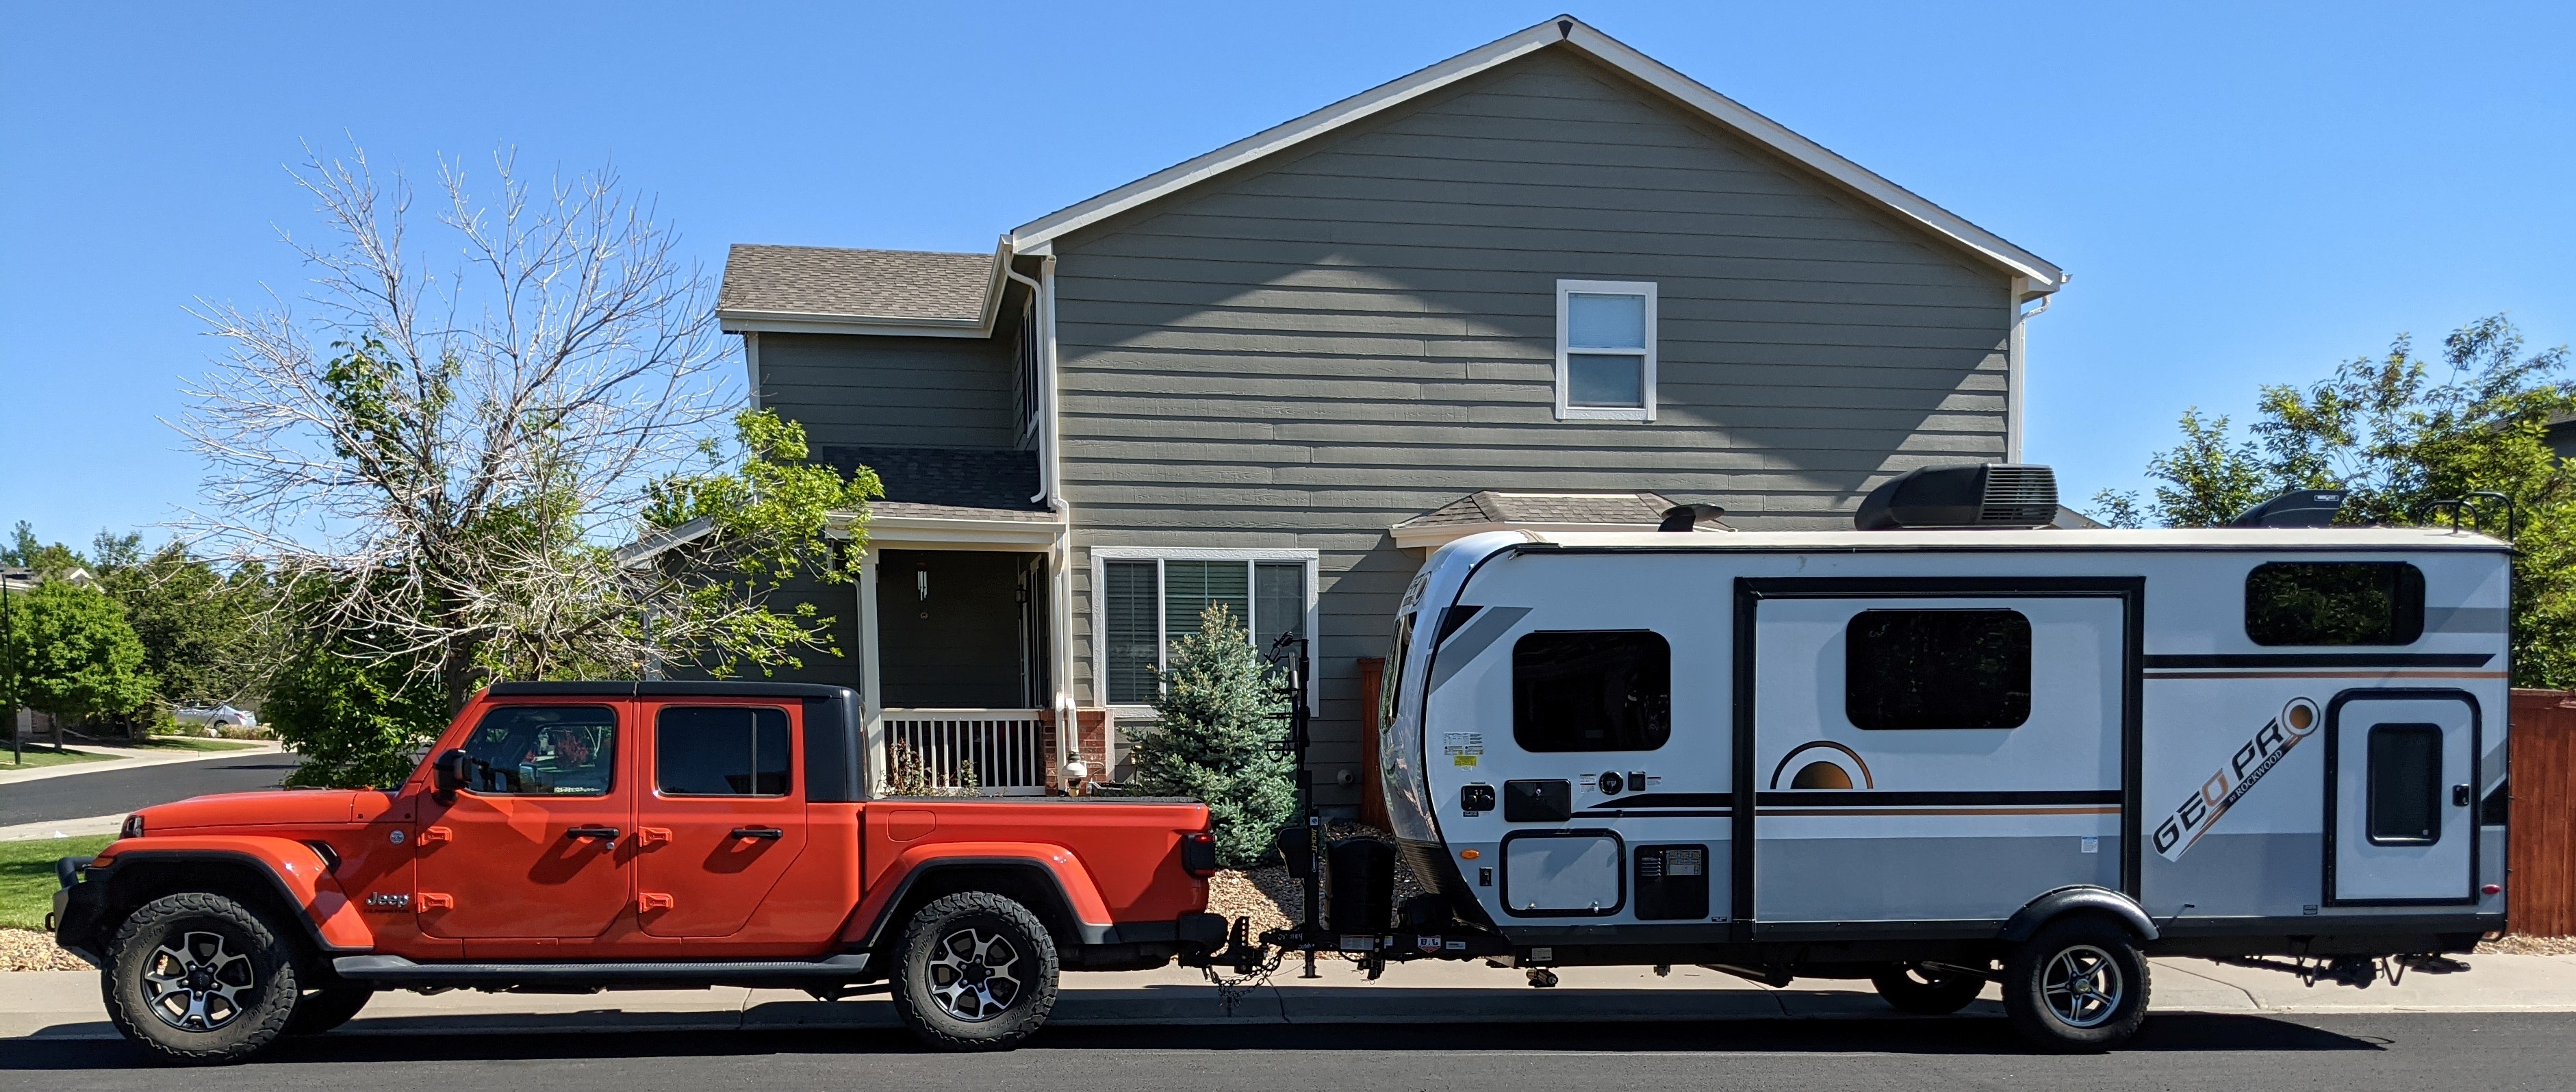
The Jeep Gladiator has a towing capacity that differs based on your trim package and engine. However rule of thumb are the following capacities:
| Trim Package | Towing Capacity |
|---|---|
| Gladiator Sport Max Tow | 7650 lbs |
| Gladiator Rubicon | 7000 lbs |
| Gladiator Overland | 6000 lbs |
When calculating the total towing capacity you’ll also need the payload capacity of the vehicle.
| Trim Package | Payload Capacity |
|---|---|
| Gladiator Sport Max Tow | 1600 lbs |
| Gladiator Rubicon | 1190 lbs |
| Gladiator Overland | 1140 lbs |
One of the biggest annoyances of the Gladiator with an automatic transmission is the lack of a tow haul mode. Allegedly this is all done in software, but in practice when hill climbing or descending with your payload behind you the transmission is often in very high gear. Defeating overdrive will help save brakes and not keep your engine and transmission from completely overheating. Thankfully everything is instrumented on the Gladiator, but do keep an eye on it if you’re traveling in the mountains. So — defeating overdrive. All you need to do is put your transmission into M and then select a gear lower than 7th during ascent or descent and you’re out of overdrive.
Manual override on the transmission helps you from roasting your brakes on descent, and ensures your automatic isn’t flip flopping between gears on ascent. It’s important to note that if you’re doing any of this at elevation you’ll lose up to 15% of your towing capacity. The air is thin up there, so know your payload.
