Since becoming a backpack based hunter I’ve been looking for gym-free ways to train. I’m not really keen on gym membership when I have miles of trails and access to the mountains nearby. I need to be able to minimally put 40-50lbs on my back and be able to take moderate to intense elevation. I don’t really want to haul around all of my camping gear all of the time, and sandbags can be hell on your pack stitching. Since I already had an Outdoorsmans Long Range Optics bag and frame, it was natural to add the Atlas Trainer for my off season training needs.
For starters, you can add the trainer to your existing Outdoorsmans pack frame, or you can purchase the whole assembly pack frame, shoulder straps and hip belt, and Atlas Trainer as a package. The add-on will cost you $100, the whole assembly closer to $300. If you purchase the whole kit, that’s it, you’re done. Just add your Olympic weights and adjust your straps and you’re ready to ruck.
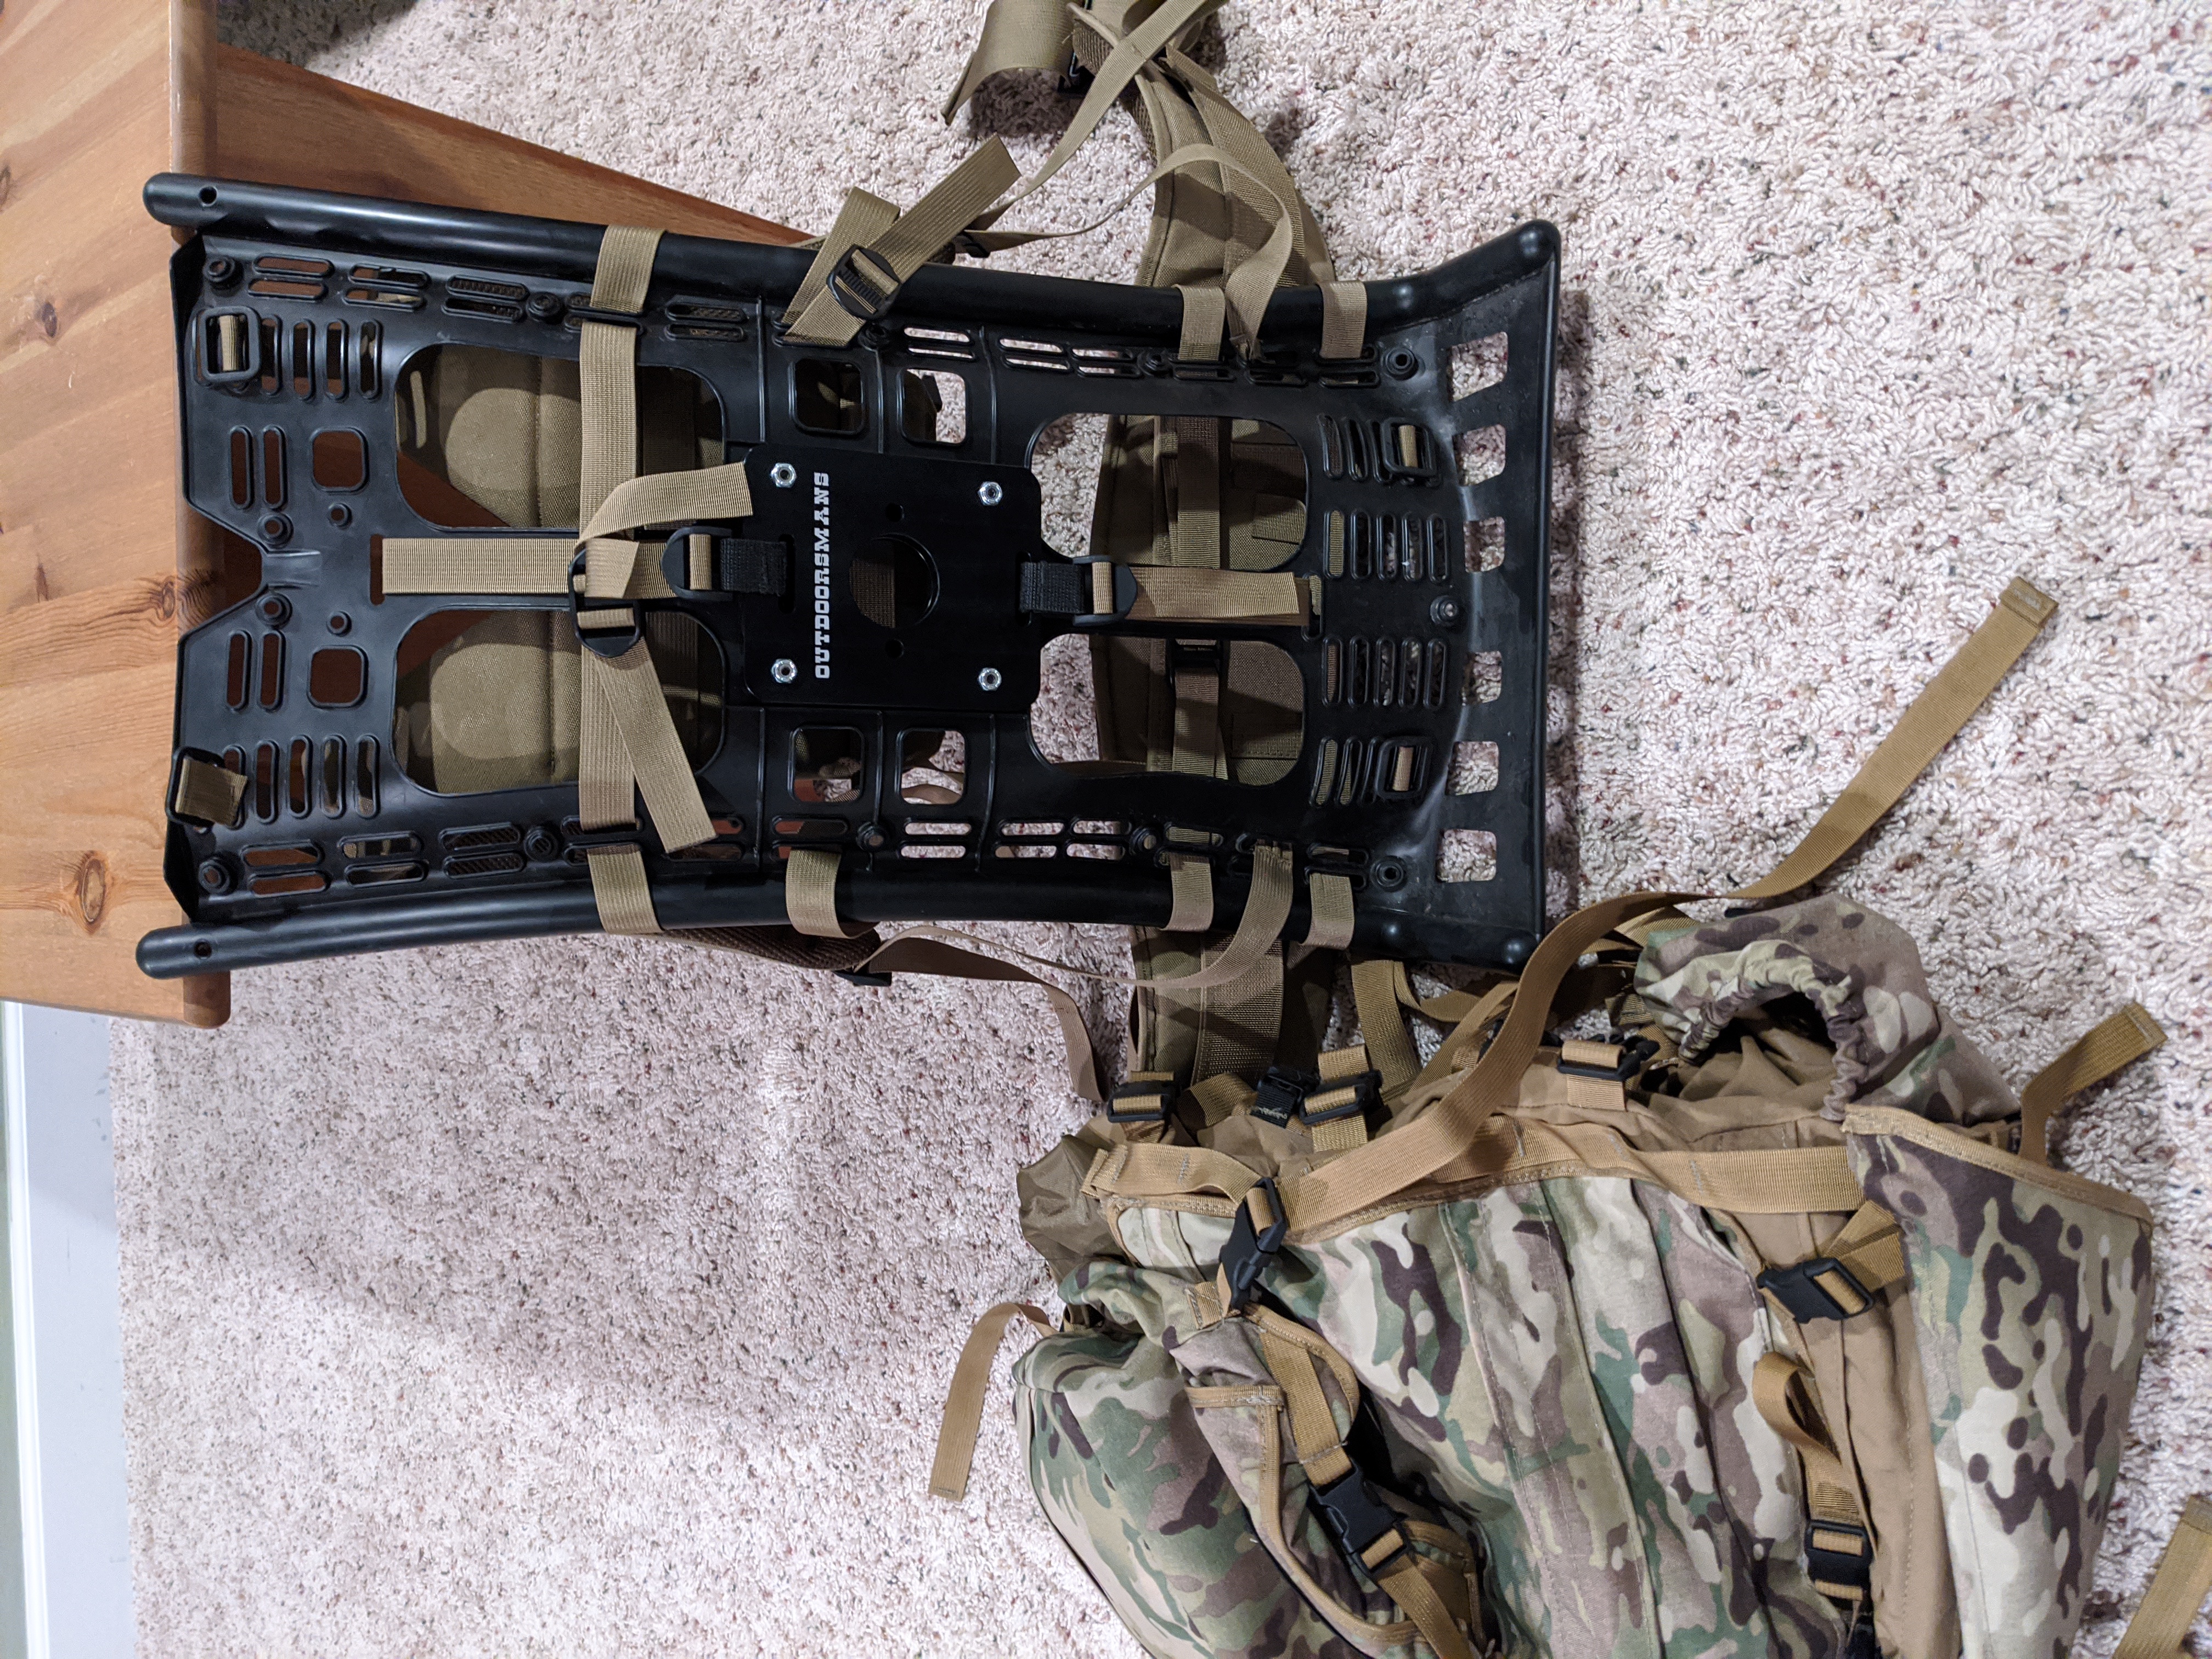
If you’re adding the adapter on to an existing pack you’ve got a little bit of work to do. First you have to take your pack off the frame by releasing all of the adjustable toggles and pushing them through the slots on the frame. Then you mount the back front and back plates, bar, and retention nut. The front and back plates provide additional rigidity to the flexible plastic pack frame and a solid mounting for the bar. I’ve included a link to Outdoorsman’s installation video below in the Resources section. Tighten everything down and you’re ready to ruck.
Usability
The Outdoorsmans Atlas Trainer turns your frame pack into a year round exercise tool. This year I used it during Backcountry Hunters and Anglers’ Hike to Hunt Challenge. I spent about 50 miles hiking with a weighted pack using the Atlas Trainer in the suburbs. Yeah, I was that guy, walking around the suburbs with a pack. It’s actually not that uncommon in Denver.

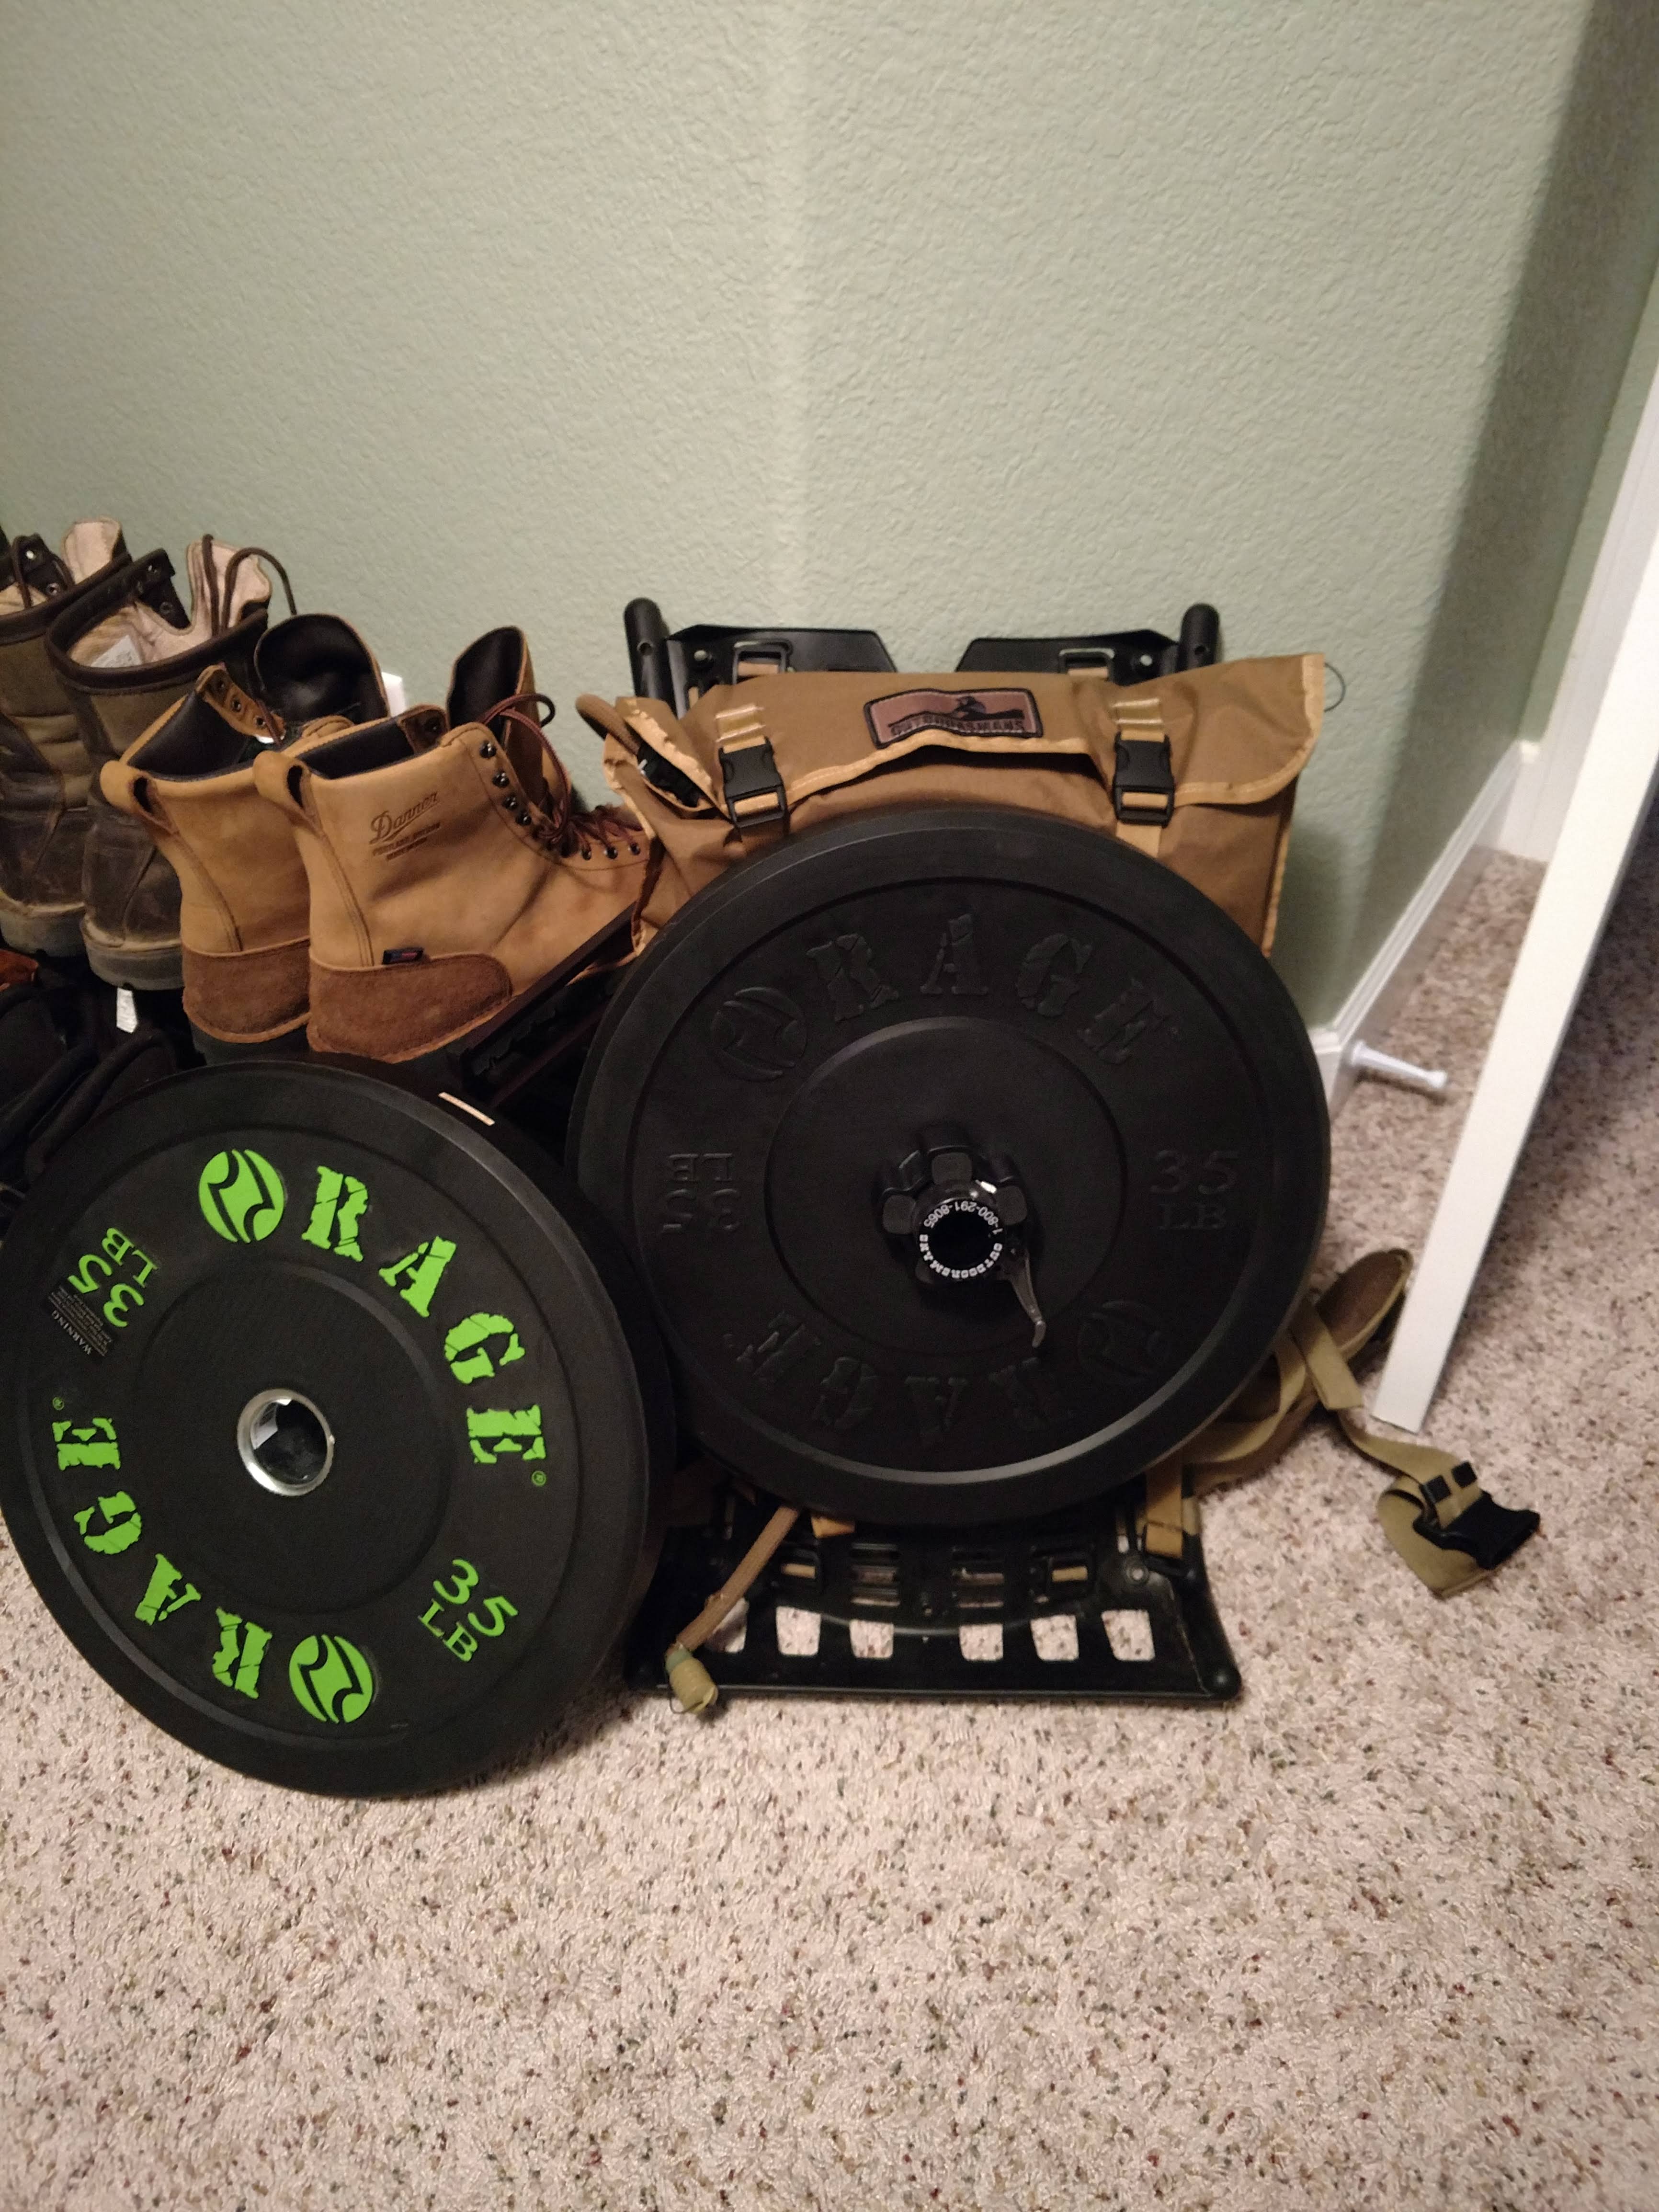
The bar is the same size as an Olympic weight lifting bar, which allows you to use standard 1″ or 2″ weights or bumper plates with a 2″ wide hole. I have a 35lb bumper plate that I generally run when simulating a pack load. Of note, I could not fit 2 2″ wide bumper plates, but you could likely run 3 1″ plates without an issue.
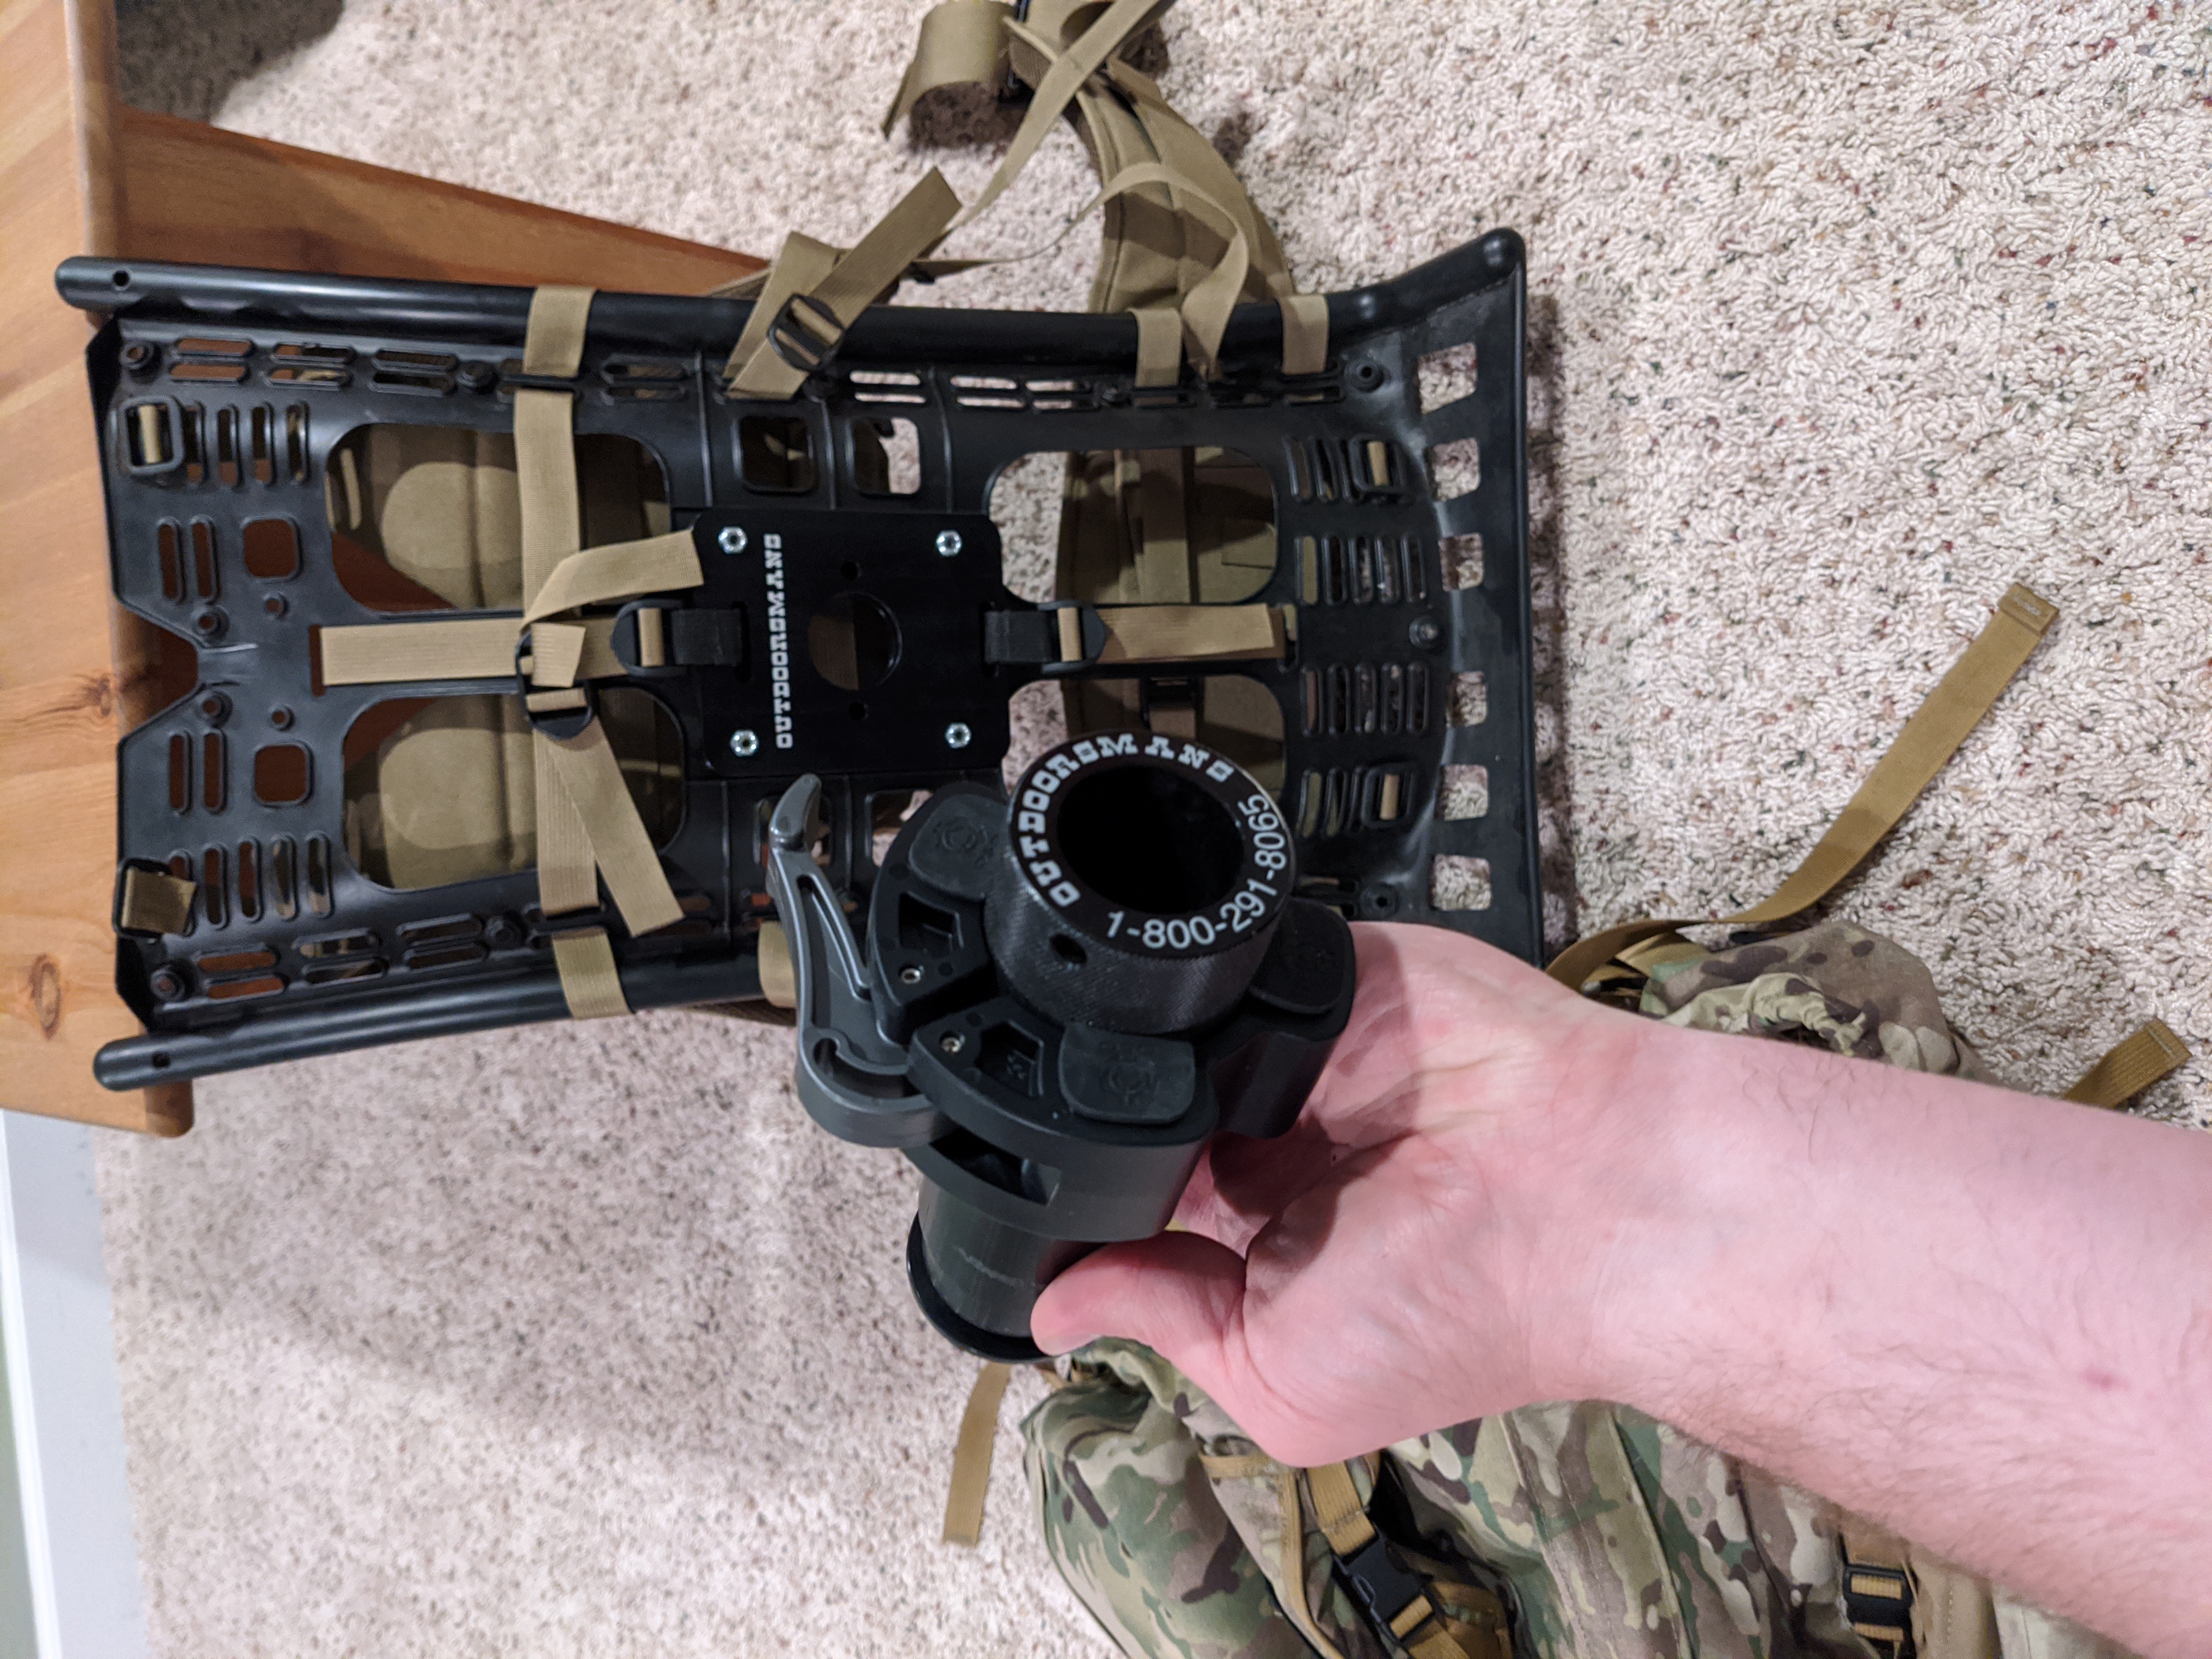
Since you can take off the bar by loosening the retention nut and slipping it out, you’re able to keep the bracket on the pack all year round. That limits the amount of time it takes to swap between a workout and heading into the mountains for a hunt. Since the bracket itself is billet aluminum there’s negligible weight gain across your pack. If you’re shedding ounces though, it’s easy enough to remove again.
Some Gripes
Keep the screws on the plates nice and tight, because under tension of the weights you may hear the frame creak and groan a bit. It’s not really an issue but can get trying after a while. Once the weight is mounted on the bar and clamped down it may still want to spin since there is nothing keeping it stuck to one place. Just press the clamp on closer to the weight and this should not be an issue.
When installing the pack while the bracket remains be sure to keep in mind the toggles and extensions for your pack. There are two extensions mounted to the center straps of your pack that will need to navigate through the large aluminum-plastic-aluminum sandwich created by the bracket. I use what my dad used to refer to as a “Giant Killer” flathead screwdriver to help the toggles through from the back. Then again I’ll gently pull the toggle through using a rocking motion to get the toggles through the aluminum sandwich. It’s a pain in the butt, but it means that you don’t have to take off the mounting plate when you want to hunt or backpack. I’ll call that a bonus for just a little added work.
Overall
If you’ve already dove into the Outdoorsmans pack system I wouldn’t hesitate to add this to the accessories for it. It extends your training for the woods without ruining the stitching on your bag or worse, your body. The bar ensures your load is balanced and centered so you have to worry more about packing and less about centering your load and cinching a sandbag.
The cost is a little harder to swallow if you’re buying the pack frame and straps along with the Atlas trainer. It assumes you already have another incompatible pack and you’ll still have to add weights, so the cost begins to mount from there. However, it’s one of the better systems out there and comes backed by Outdoorsmans out of Arizona.
I’ve added this gear to my gear room and make use of it walking the dog, rucking around the neighborhood, or any time I need to do weight exercises. It’s ensured that I’m not put off balance by shouldering a pack when the time comes, and you can simulate an elk quarter by adding weight. The Atlas Trainer is made of quality material and is built to last.
Resources
Outdoorsmans has a cool installation video here if you’re a visual learner.